Eric Johnson
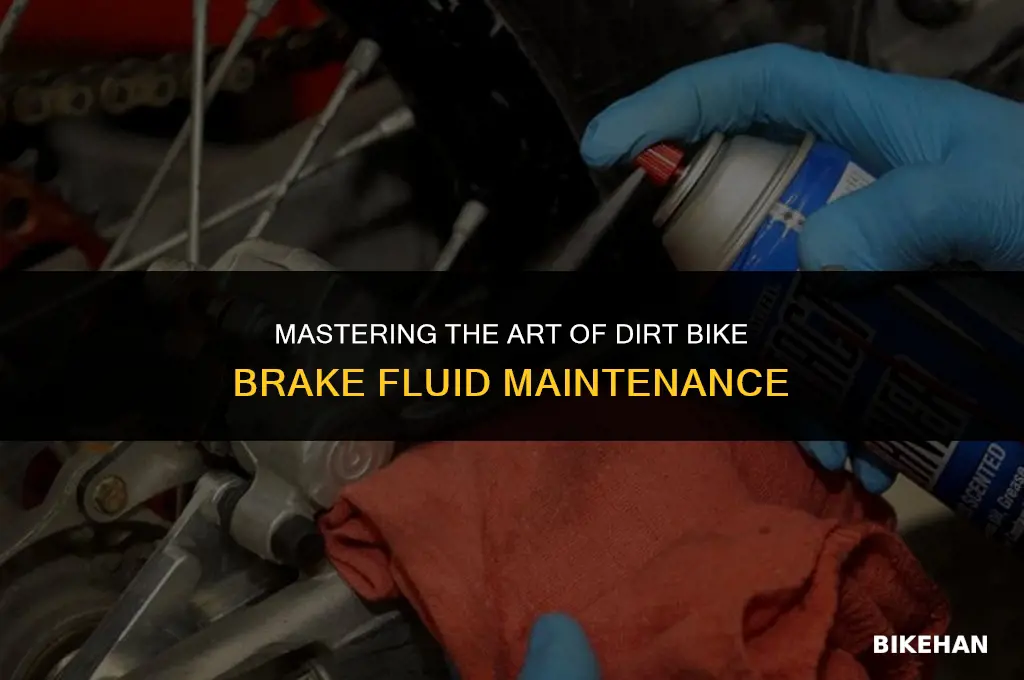
Filling the brake fluid on a dirt bike is a crucial maintenance task that ensures optimal braking performance and safety. Before starting, it's essential to gather the necessary tools and materials, including a suitable brake fluid, a funnel, gloves, and a clean cloth. Begin by locating the brake fluid reservoir, typically found near the handlebars or on the front of the bike. Ensure the bike is on a level surface and the engine is off. Remove the reservoir cap and use the funnel to slowly pour the brake fluid into the reservoir, avoiding any spills. Once the reservoir is full, replace the cap securely and pump the brake lever several times to remove any air bubbles from the system. Finally, check the brake fluid level again and top off if necessary. Regularly inspecting and maintaining the brake fluid level is vital for the safe operation of your dirt bike.
Explore related products


What You'll Learn
- Gather necessary tools and materials: Includes brake fluid, funnel, gloves, and rags
- Locate the brake fluid reservoir: Find the reservoir on your dirt bike, typically near the handlebars
- Check the current brake fluid level: Ensure the reservoir is not overfilled or underfilled
- Fill the reservoir with new brake fluid: Use a funnel to pour in the appropriate type of brake fluid
- Bleed the brakes (if necessary): Remove air from the brake lines for optimal performance

Gather necessary tools and materials: Includes brake fluid, funnel, gloves, and rags
Before you begin the process of filling your dirt bike's brake fluid, it's crucial to gather all the necessary tools and materials. This ensures that you have everything you need at hand, reducing the risk of mistakes and making the process smoother and more efficient.
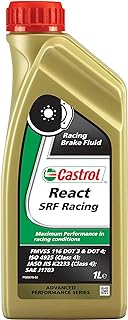
The first item on your list should be the appropriate type of brake fluid for your dirt bike. Check your owner's manual to determine the correct specification. Typically, most dirt bikes use a DOT 4 or DOT 5.1 brake fluid, but it's essential to confirm this for your specific model.
Next, you'll need a funnel to help you pour the brake fluid into the reservoir without spilling. A collapsible funnel is a great option for this task, as it's easy to store and can be adjusted to fit different sizes of openings.
Gloves are another essential item. They protect your hands from the brake fluid, which can be harsh on the skin. Look for gloves that are specifically designed for working with chemicals or automotive fluids.
Finally, you'll need some clean rags to wipe up any spills and to clean the area around the brake fluid reservoir. It's important to keep the area clean to prevent any contamination of the brake fluid, which could compromise its performance.
Once you have all these items, you're ready to proceed with the task of filling your dirt bike's brake fluid. Remember to work in a well-ventilated area and to follow all safety precautions when handling brake fluid.
Mastering the Clutch: A Beginner's Guide to Dirt Bike Driving
You may want to see also
Explore related products


Locate the brake fluid reservoir: Find the reservoir on your dirt bike, typically near the handlebars
To locate the brake fluid reservoir on your dirt bike, you'll need to familiarize yourself with the bike's layout. Typically, the reservoir is situated near the handlebars, which is a logical placement given the proximity to the brake levers. Start by identifying the brake levers themselves; these are usually found on the right handlebar for the front brake and on the left handlebar for the rear brake. Once you've located the levers, look for a small, cylindrical reservoir attached to the handlebar or nearby frame. It's often made of plastic and may have a cap or cover to protect the fluid from debris.
In some cases, the reservoir might be mounted on the top of the front fork, just below the handlebars. This placement is less common but still within the general vicinity of the handlebars. If you're having trouble finding the reservoir, consult your dirt bike's owner's manual for specific instructions tailored to your model.
When you've found the reservoir, take a moment to inspect it for any signs of damage or wear. Cracks or leaks in the reservoir can compromise the braking system's performance and safety. If everything appears to be in order, you're ready to proceed with filling the reservoir with brake fluid.
Remember, it's crucial to use the correct type of brake fluid for your dirt bike. Most modern dirt bikes require a DOT-approved brake fluid, but always check your owner's manual to be certain. Using the wrong type of fluid can lead to poor braking performance or even damage to the braking system.
Before filling the reservoir, make sure the bike is on a level surface and the engine is off. This will prevent any accidental spills or overflows. Slowly pour the brake fluid into the reservoir, being careful not to overfill it. The fluid level should be just below the maximum fill line, which is usually marked on the reservoir itself. Once you've reached the correct level, securely replace the cap or cover and wipe away any excess fluid with a clean rag.
After filling the reservoir, it's a good idea to check the brake fluid level again after a few minutes to ensure it hasn't settled or leaked. If everything looks good, you're ready to test the brakes and enjoy your ride.
Mastering the Art of Draining Your Dirt Bike Carb
You may want to see also
Explore related products



Check the current brake fluid level: Ensure the reservoir is not overfilled or underfilled
Before adding new brake fluid to your dirt bike, it's crucial to check the current level in the reservoir. This step is often overlooked, but it's essential to ensure that the reservoir is not overfilled or underfilled. Overfilling can lead to brake fluid spilling over and causing damage to the bike's components, while underfilling can result in inadequate braking performance and increased risk of accidents.
To check the brake fluid level, locate the reservoir on your dirt bike. It's typically a small, transparent container with a cap, often found near the handlebars or under the seat. Remove the cap and visually inspect the fluid level. The reservoir should have markings indicating the minimum and maximum fill levels. Make sure the fluid level is within this range.
If the fluid level is too low, you'll need to add more brake fluid. However, if it's too high, you'll need to carefully drain some of the excess fluid. This can be done using a syringe or a small container to catch the drained fluid. Be cautious not to spill any brake fluid on the bike's components, as it can be corrosive.
Once you've ensured the brake fluid level is correct, replace the cap on the reservoir and test the brakes to make sure they're functioning properly. Regularly checking and maintaining the brake fluid level is an important part of dirt bike maintenance and will help ensure your safety while riding.
Mastering the Art of Wheelies on Your Dirt Bike
You may want to see also
Explore related products


Fill the reservoir with new brake fluid: Use a funnel to pour in the appropriate type of brake fluid
Begin by ensuring the dirt bike is on a level surface and the engine is off. Locate the brake fluid reservoir, typically found near the handlebars or on the front of the bike. Clean the area around the reservoir cap to prevent any dirt or debris from entering the system. Remove the cap and inspect the fluid level; it should be between the minimum and maximum marks on the reservoir.
If the fluid level is low, prepare the appropriate type of brake fluid for your dirt bike. Most dirt bikes require a specific type of fluid, such as DOT 4 or DOT 5.1, so check your owner's manual to ensure you're using the correct one. Pour the new brake fluid into a funnel and slowly add it to the reservoir, being careful not to overfill. Stop when the fluid reaches the maximum mark.
Once the reservoir is filled, replace the cap and pump the brake lever several times to ensure the new fluid is properly distributed throughout the system. Check for any leaks around the reservoir and the brake lines. If you notice any leaks, tighten the connections and recheck the fluid level.
It's important to note that brake fluid is toxic and can cause serious health issues if ingested or if it comes into contact with skin or eyes. Always wear gloves and safety glasses when handling brake fluid, and dispose of any used fluid properly according to local regulations.
Regularly checking and maintaining the brake fluid level on your dirt bike is crucial for ensuring safe and reliable braking performance. By following these steps, you can confidently fill the brake fluid reservoir and keep your dirt bike in top condition.
Mastering the Basics: A Beginner's Guide to Dirt Bike Riding
You may want to see also
Explore related products


Bleed the brakes (if necessary): Remove air from the brake lines for optimal performance
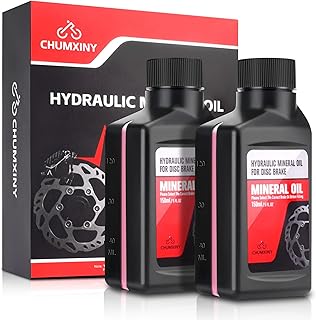
Bleeding the brakes is a crucial step in maintaining optimal brake performance on a dirt bike, especially after changing the brake fluid or if air has entered the system. Air in the brake lines can cause sponginess and reduce the effectiveness of the brakes, which can be dangerous during off-road riding. To bleed the brakes, you'll need a few tools and some patience.
First, ensure the bike is on a level surface and the engine is off. Locate the brake bleeder valve, which is typically found near the brake caliper or on the brake lever itself. You'll need a wrench or hex key to open the valve. Have a container ready to catch the old brake fluid as it's bled out.
Open the bleeder valve and allow the fluid to flow out until it stops. This may take a few minutes. Be careful not to let the fluid overflow from the container. Once the fluid has stopped flowing, close the bleeder valve and check the brake fluid level in the reservoir. If necessary, add fresh brake fluid to the reservoir.
Repeat the bleeding process on the other brake (if your dirt bike has two brakes) to ensure both systems are free of air. After bleeding, test the brakes to ensure they're functioning properly. If you still notice sponginess or reduced performance, you may need to bleed the brakes again or check for other issues in the brake system.
Remember to dispose of the old brake fluid properly, as it can be harmful to the environment. Bleeding the brakes is a relatively simple process that can greatly improve the safety and performance of your dirt bike.
Mastering the Manual: A Beginner's Guide to Dirt Bike Driving
You may want to see also