Megan Blake
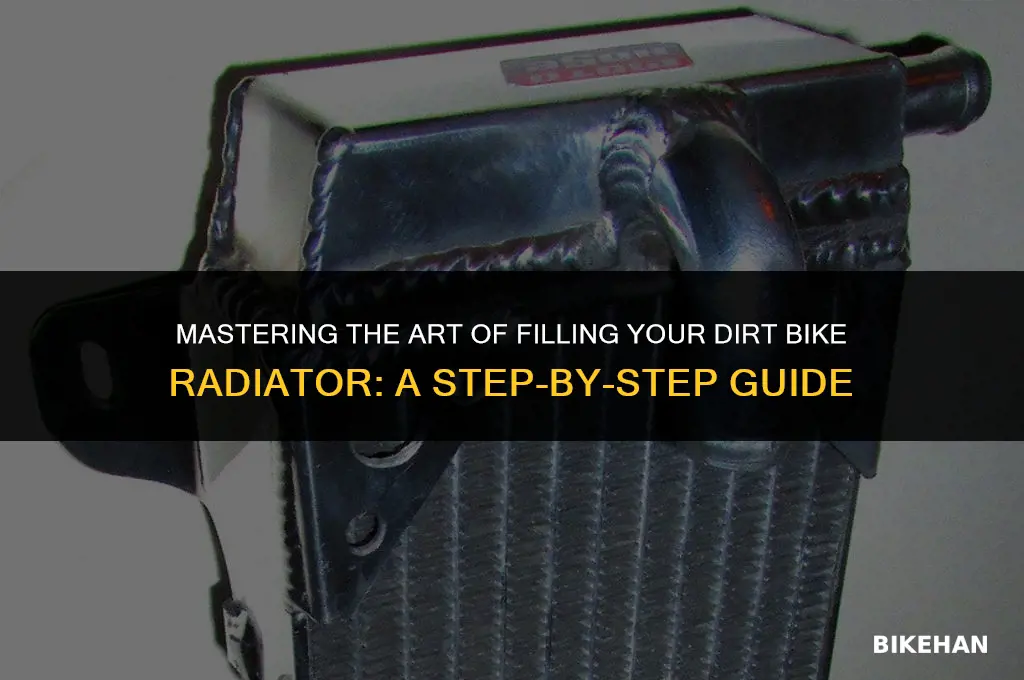
Filling a dirt bike radiator is a crucial maintenance task that ensures the engine runs at optimal temperatures, preventing overheating and potential damage. This process involves several key steps: draining the old coolant, cleaning the radiator, checking for leaks, and refilling with the appropriate coolant mixture. It's important to use the correct type of coolant recommended by the manufacturer and to ensure the radiator is properly sealed to avoid leaks. Regular maintenance of the radiator, including periodic checks and top-ups, is essential for the longevity and performance of the dirt bike.
Explore related products


What You'll Learn
- Gather necessary tools and materials: Includes radiator cap tool, coolant, distilled water, and a funnel
- Prepare the coolant mixture: Mix coolant with distilled water according to the manufacturer's recommended ratio
- Open the radiator cap: Use the radiator cap tool to safely remove the cap without damaging it
- Fill the radiator: Slowly pour the coolant mixture into the radiator until it reaches the top
- Check for leaks and top off: Inspect the radiator for any leaks and add more coolant mixture if necessary

Gather necessary tools and materials: Includes radiator cap tool, coolant, distilled water, and a funnel
Before you begin the process of filling your dirt bike's radiator, it's crucial to gather all the necessary tools and materials. This ensures that you have everything you need at hand, reducing the risk of interruptions or mistakes during the procedure. The essential items include a radiator cap tool, which is specifically designed to remove and replace the radiator cap securely; coolant, which is vital for maintaining the optimal temperature of your bike's engine; distilled water, as impurities in tap water can cause corrosion and blockages; and a funnel, to facilitate the precise pouring of the coolant and water mixture into the radiator.
When selecting coolant, it's important to choose a type that is compatible with your dirt bike's engine and the local climate conditions. Coolants come in various formulations, including those designed for high-performance engines or for use in extreme temperatures. Consult your bike's manual or a professional mechanic if you're unsure about the right type of coolant for your specific model. Additionally, always wear protective gloves and eyewear when handling coolant, as it can be harmful if it comes into contact with your skin or eyes.
The radiator cap tool is a small but critical component of your toolkit. It allows you to safely remove the radiator cap without damaging it or the radiator itself. This tool is especially important for dirt bikes, as the radiator cap is often under high pressure due to the bike's demanding riding conditions. When using the tool, ensure that the bike's engine has cooled down sufficiently to avoid burns or other injuries.
Distilled water is preferred over tap water for filling your dirt bike's radiator because it doesn't contain minerals or other impurities that can lead to corrosion or blockages. These issues can significantly impact your bike's performance and longevity. If distilled water is not readily available, you can use deionized water as an alternative. However, avoid using water that has been softened through a water softener, as it may still contain chemicals that can harm your bike's engine.
Finally, a funnel is an indispensable tool for ensuring that the coolant and water mixture is poured accurately into the radiator. This prevents spills and contamination, which can compromise the effectiveness of the coolant and potentially damage your bike's engine. When using a funnel, make sure it is clean and free of any debris that could fall into the radiator.
By gathering these tools and materials beforehand, you'll be well-prepared to fill your dirt bike's radiator efficiently and safely, ensuring that your bike runs smoothly and reliably during your next ride.
Mastering the Art of Gear Shifting on a Dirt Bike
You may want to see also
Explore related products




Prepare the coolant mixture: Mix coolant with distilled water according to the manufacturer's recommended ratio
To prepare the coolant mixture for your dirt bike radiator, it's crucial to follow the manufacturer's recommended ratio of coolant to distilled water. This ratio is typically specified in your bike's owner's manual or on the coolant container itself. Using the correct mixture ensures optimal performance and prevents potential damage to your radiator and engine.
Start by measuring out the required amount of coolant concentrate. This is usually a 50/50 mix, but some manufacturers may recommend a slightly different ratio. For example, a 60/40 mix might be suggested for bikes that operate in extremely hot conditions. Once you've measured the coolant, slowly add the distilled water, stirring continuously to ensure a thorough blend.
It's important to use distilled water rather than tap water, as tap water can contain minerals and impurities that may clog your radiator or cause corrosion. If you don't have access to distilled water, you can use deionized water as an alternative. However, avoid using water that has been softened through a water softener, as this can leave behind residue that can harm your radiator.
After mixing the coolant and water, it's a good idea to let the mixture sit for a few minutes to allow any air bubbles to rise to the surface and dissipate. This will help ensure that you're not introducing any air into your radiator system, which can cause problems down the line.
Finally, carefully pour the coolant mixture into your dirt bike's radiator, making sure not to overfill. The coolant level should be just below the top of the radiator cap. Once you've filled the radiator, replace the cap and start the engine to check for any leaks or issues. If everything looks good, you're ready to hit the trails!
Mastering the Basics: A Beginner's Guide to Dirt Bike Riding
You may want to see also
Explore related products


Open the radiator cap: Use the radiator cap tool to safely remove the cap without damaging it
Before attempting to fill a dirt bike radiator, it's crucial to safely open the radiator cap. This task requires a specific tool designed for the job to prevent damage to the cap or the radiator itself. Begin by ensuring the dirt bike is on a level surface and the engine has cooled down sufficiently to avoid burns or injury.
Next, locate the radiator cap, which is typically found on the top or side of the radiator. It's essential to use the correct radiator cap tool, as using an improper tool can lead to stripping or rounding off the cap, making it difficult or impossible to remove. Place the tool over the cap and apply gentle, even pressure while turning counterclockwise to loosen it.
Once the cap is loosened, carefully remove it by hand, taking care not to drop it or lose the attached rubber seal. Inspect the cap and seal for any signs of wear or damage, and replace them if necessary. With the cap removed, you can now proceed to fill the radiator with the appropriate coolant, following the manufacturer's recommendations for your specific dirt bike model.
Remember to dispose of the old coolant properly, as it can be hazardous to the environment. After filling the radiator, replace the cap securely, ensuring it is tightened to the manufacturer's specifications. Failure to do so can result in coolant leaks or the cap coming loose during operation.
Finally, start the dirt bike and allow it to run for a few minutes to ensure the coolant circulates properly and reaches the desired temperature. Check for any leaks or issues, and address them promptly to prevent further complications. By following these steps and using the correct tools, you can safely and effectively open the radiator cap and fill your dirt bike radiator.
Dirt Bike Helmet Sizing Guide: Find Your Perfect Fit
You may want to see also
Explore related products


Fill the radiator: Slowly pour the coolant mixture into the radiator until it reaches the top
Before pouring the coolant mixture into the radiator, ensure that the engine is cool to the touch to avoid burns or damage to the radiator. It's also crucial to use the correct type of coolant recommended by the manufacturer, as using the wrong type can lead to corrosion or reduced efficiency.
Slowly pour the coolant mixture into the radiator, making sure to maintain a steady stream to prevent air pockets from forming. Air pockets can cause the engine to overheat, as they can block the flow of coolant through the system. If you notice any air pockets, gently tap the radiator to dislodge them.
As you pour, keep an eye on the coolant level, ensuring that it reaches the top of the radiator but does not overflow. Overfilling the radiator can cause coolant to spill out when the engine is running, potentially leading to damage or injury. Once the coolant reaches the top, replace the radiator cap securely.
After filling the radiator, start the engine and let it run for a few minutes to allow the coolant to circulate through the system. Check the coolant level again, as it may have dropped slightly during this process. If necessary, add more coolant to bring the level back up to the top.
Remember to dispose of any used coolant properly, as it can be toxic to the environment. Check with your local waste management facility for guidelines on how to safely dispose of coolant.
Effortless Dirt Bike Tire Removal: A Step-by-Step Guide
You may want to see also
Explore related products


Check for leaks and top off: Inspect the radiator for any leaks and add more coolant mixture if necessary
Before adding more coolant mixture to your dirt bike's radiator, it's crucial to inspect it for any leaks. A leaking radiator can lead to coolant loss, overheating, and potential engine damage. To check for leaks, start by ensuring the bike is on a level surface and the engine is cool to the touch. Remove the radiator cap and inspect the coolant level; it should be at the top of the radiator. If it's low, you may have a leak.
Next, examine the radiator for any visible signs of damage or cracks. Pay close attention to the hoses and connections, as these are common areas for leaks. If you find any leaks, it's essential to address them before proceeding. Depending on the severity of the leak, you may need to replace the damaged part or use a radiator repair kit.
Once you've confirmed that the radiator is leak-free, you can top off the coolant mixture. Use a high-quality coolant designed for motorcycles, and follow the manufacturer's instructions for mixing it with water. Typically, you'll need to mix the coolant with water in a 50/50 ratio, but this can vary depending on the specific coolant and your bike's requirements.
When adding the coolant mixture, do so slowly and carefully to avoid overfilling the radiator. Once you've reached the recommended level, replace the radiator cap and start the engine. Allow the bike to run for a few minutes to ensure the coolant circulates properly and reaches the correct temperature. Check the coolant level again after the engine has cooled, and top off if necessary.
Remember, it's essential to perform regular radiator maintenance to prevent leaks and ensure your dirt bike runs smoothly. By following these steps and staying vigilant, you can keep your bike's radiator in top condition and avoid costly repairs down the line.
Yamaha Dirt Bike Gas Drainage: A Step-by-Step Guide
You may want to see also
Frequently asked questions
It's recommended to use a high-quality, ethylene glycol-based coolant that is specifically designed for motorcycles. This type of coolant provides excellent heat transfer and protection against corrosion.
Coolant should be changed every 6 months or after every 100 hours of riding, whichever comes first. Regular changes help maintain optimal performance and prevent corrosion.
To bleed air out of the radiator, start by loosening the radiator cap slightly. Then, use a bleed screw if available, or gently tap the radiator to release trapped air. Check the coolant level frequently and top off as needed.
While distilled water can be used in an emergency, it's not recommended for long-term use. Distilled water lacks the corrosion inhibitors and heat transfer properties of a proper coolant, which can lead to radiator damage and reduced performance.
Signs of a leaking radiator include coolant loss, overheating, and visible coolant stains on the ground beneath the bike. If you suspect a leak, inspect the radiator, hoses, and connections for damage or wear.