Megan Blake
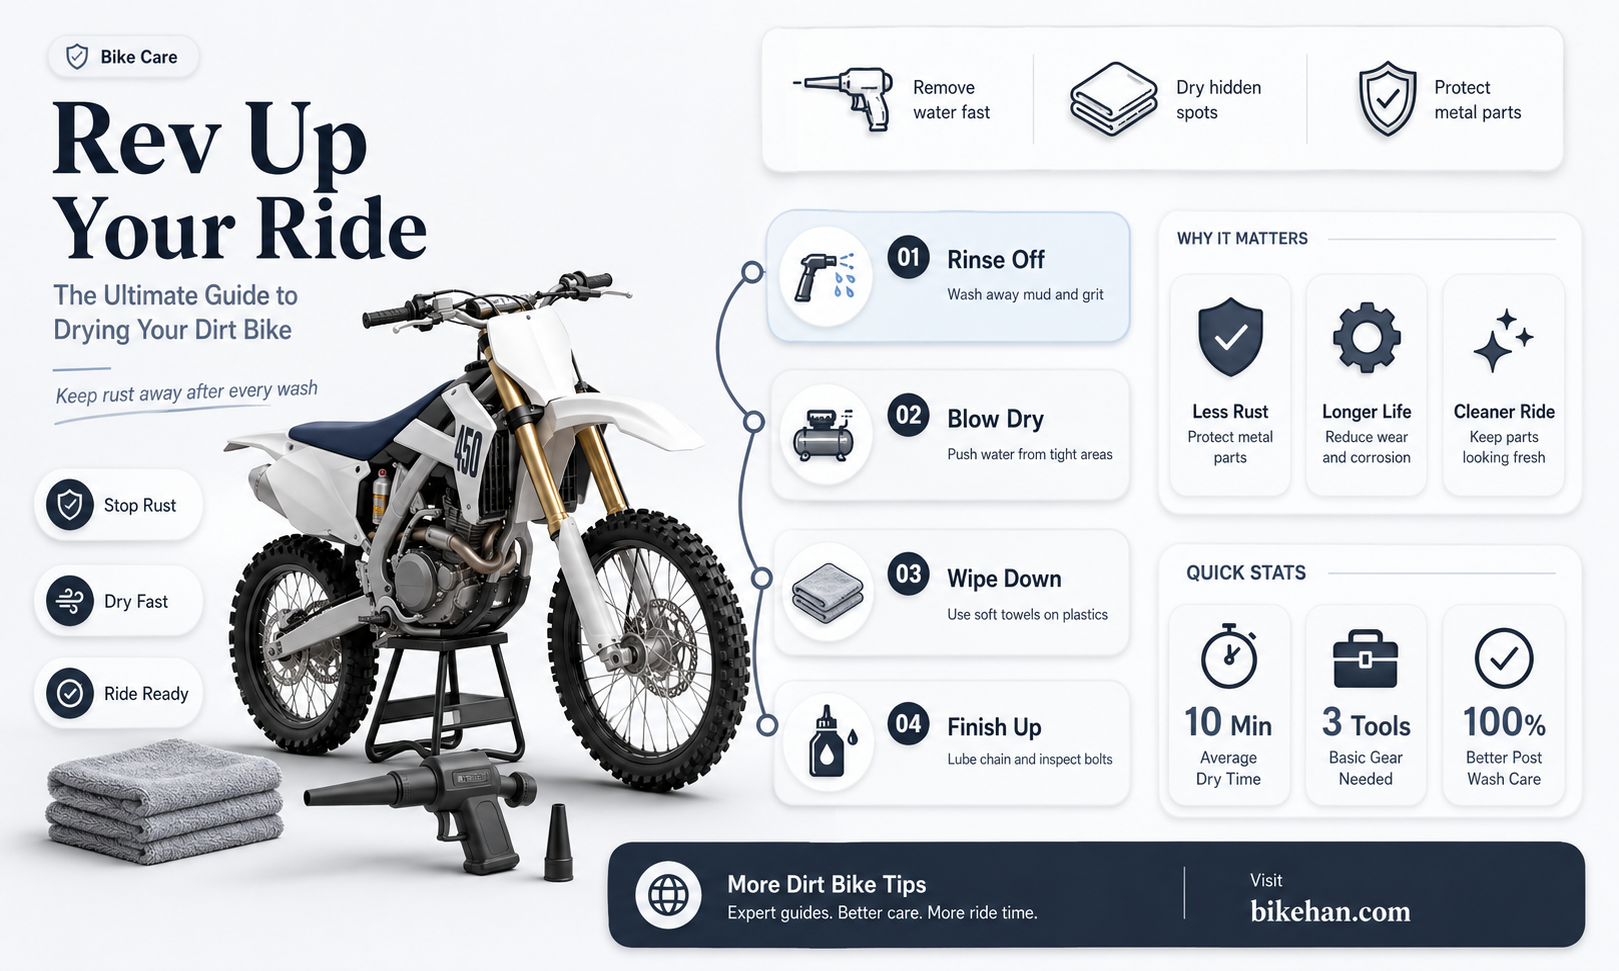
Drying a dirt bike after washing or exposure to moisture is crucial to prevent rust, corrosion, and damage to its components. To effectively dry your dirt bike, start by using a soft, clean towel to gently pat down the bike's frame, seat, and bodywork, absorbing as much water as possible. Next, use a low-pressure air compressor or a hairdryer on a cool setting to blow away any remaining moisture from hard-to-reach areas, such as the engine, exhaust, and wheel bearings. Be sure to keep the air source at a safe distance to avoid causing any damage. Finally, allow the bike to air dry completely in a well-ventilated area, away from direct sunlight or heat sources, which can cause fading or warping of plastic parts. Regularly drying your dirt bike after use will help maintain its performance and prolong its lifespan.
Explore related products


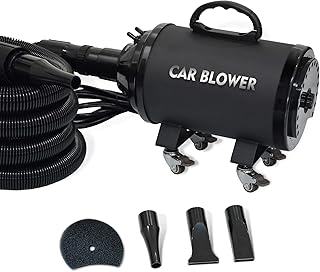

What You'll Learn
- Preparation: Gather necessary tools and materials, such as a clean cloth, air compressor, and degreaser
- Cleaning: Remove excess dirt and mud using a brush or cloth, focusing on the bike's frame and components
- Drying: Use an air compressor or let the bike air dry completely, ensuring all parts are moisture-free
- Lubrication: Apply lubricant to the chain, gears, and other moving parts to prevent rust and ensure smooth operation
- Inspection: Check the bike's tires, brakes, and suspension for any damage or wear that may have occurred during the ride

Preparation: Gather necessary tools and materials, such as a clean cloth, air compressor, and degreaser
Begin by assembling all the essential items you'll need for the drying process. A clean, absorbent cloth is crucial for wiping down the bike's surface and removing excess moisture. An air compressor will be invaluable for blowing off stubborn dirt and water from hard-to-reach areas, such as the chain, sprockets, and suspension components. Make sure to have a suitable degreaser on hand, specifically designed for use on motorcycles, to tackle any greasy spots and ensure a thorough clean.
Once you've gathered your tools, start by giving your dirt bike a gentle wipe-down with the clean cloth to remove any loose dirt and debris. This initial step will make the drying process more efficient and prevent scratches to the bike's paintwork. Next, use the air compressor to blast away water and dirt from the more intricate parts of the bike. Be cautious not to use too high a pressure setting, as this could damage delicate components or force water further into the bike's mechanisms.
After using the air compressor, inspect your bike for any remaining greasy areas that may have been loosened by the water. Apply a small amount of degreaser to these spots and allow it to sit for a few minutes to penetrate the grime. Then, use the clean cloth to scrub the area gently and wipe away the degreaser, taking care not to leave any residue behind.
Throughout the drying process, pay close attention to the bike's chain and sprockets, as these are critical components that can be easily damaged by moisture. Ensure that they are completely dry and free of any lubricant or degreaser before proceeding. Once you've finished drying and cleaning your dirt bike, take a moment to inspect it thoroughly for any signs of wear or damage that may have been exacerbated by the water. Addressing these issues promptly will help maintain your bike's performance and longevity.
Mastering the Art of Whoops on Your Dirt Bike: A Step-by-Step Guide
You may want to see also
Explore related products


Cleaning: Remove excess dirt and mud using a brush or cloth, focusing on the bike's frame and components
Begin the cleaning process by laying out all the necessary tools and supplies. You'll need a soft-bristled brush, a microfiber cloth, a bucket of warm soapy water, and a degreaser if you plan to tackle the chain and drivetrain components. Start by gently brushing away any loose dirt or mud from the bike's frame, wheels, and other components. Be careful not to use too much force, as you don't want to scratch the paint or damage any delicate parts.
Once you've removed the majority of the dirt, dampen the microfiber cloth with the soapy water and begin wiping down the frame and components. Pay special attention to areas where dirt and grime tend to accumulate, such as around the bottom bracket, the rear derailleur, and the front suspension. If you encounter any stubborn stains or buildup, you may need to use the degreaser to help break it down.
After you've thoroughly cleaned the bike, rinse it off with clean water to remove any remaining soap residue. Be sure to dry the bike completely with a clean, dry cloth, paying particular attention to the chain, gears, and other moving parts. This will help prevent rust and corrosion from forming.
Remember to clean your bike in a well-ventilated area, and avoid using harsh chemicals or abrasive materials that could damage the bike's finish or components. By following these steps, you'll be able to keep your dirt bike clean, well-maintained, and ready for your next ride.
Mastering the Mini Dirt Bike: A Beginner's Guide to Off-Road Fun
You may want to see also
Explore related products


Drying: Use an air compressor or let the bike air dry completely, ensuring all parts are moisture-free
After washing your dirt bike, it's crucial to dry it thoroughly to prevent rust and corrosion. One effective method is to use an air compressor. Start by setting the compressor to a low pressure, around 30-40 PSI, to avoid damaging any delicate parts. Hold the nozzle about 6-8 inches away from the bike's components and move it in a sweeping motion, focusing on areas where water tends to accumulate, such as the chain, sprockets, and suspension. Be cautious not to direct the air too forcefully into bearings or seals, as this can cause damage.
If you don't have access to an air compressor, air drying is a viable alternative. Place the bike in a well-ventilated area, preferably outdoors, and allow it to dry completely. This may take several hours, depending on the ambient temperature and humidity. To speed up the process, you can use a soft, clean cloth to gently pat down the bike's surfaces, absorbing any excess moisture.
Regardless of the drying method you choose, it's essential to ensure that all parts of the bike are completely moisture-free. Pay particular attention to the brakes, as any residual moisture can compromise their performance. Once the bike is dry, apply a light coat of lubricant to the chain and any moving parts to protect them from rust and keep them functioning smoothly.
Remember, proper drying is just as important as washing when it comes to maintaining your dirt bike. By following these steps, you can help prolong the life of your bike and ensure it's ready for your next ride.
Mastering the Manual: A Beginner's Guide to Dirt Bike Driving
You may want to see also
Explore related products


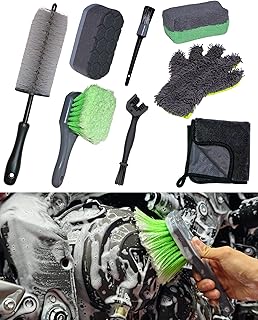

Lubrication: Apply lubricant to the chain, gears, and other moving parts to prevent rust and ensure smooth operation
After thoroughly cleaning and drying your dirt bike, it's crucial to lubricate its components to maintain optimal performance and prevent rust. Begin by selecting a high-quality lubricant designed specifically for motorcycles, as these products are formulated to withstand the unique demands of off-road riding. Look for a lubricant that offers both rust protection and reduced friction for smooth operation.
To apply the lubricant, start with the chain, ensuring it's evenly coated by slowly rotating the rear wheel while spraying or dripping the lubricant onto the chain. Be cautious not to over-lubricate, as excess lubricant can attract dirt and debris, leading to a buildup of grime. Next, move on to the gears, sprockets, and other moving parts, applying a light mist or stream of lubricant to each component. Pay special attention to the pivot points and contact surfaces, as these areas experience the most wear and tear.
When lubricating the suspension components, such as the forks and rear shock, use a lubricant specifically designed for these parts, as they require a different type of lubrication than the drivetrain. Apply the lubricant to the seals and moving parts, ensuring they're well-coated but not saturated. Over-lubricating the suspension can lead to reduced damping performance and a harsher ride.
It's essential to regularly inspect and maintain the lubrication of your dirt bike, especially after riding in wet or muddy conditions. Check the chain tension and adjust as necessary, and look for signs of wear or damage on the gears and other components. By keeping your dirt bike properly lubricated, you'll not only extend its lifespan but also enjoy a smoother, more reliable ride.
Mastering the Trails: A Beginner's Guide to Riding a 125cc Dirt Bike
You may want to see also
Explore related products


Inspection: Check the bike's tires, brakes, and suspension for any damage or wear that may have occurred during the ride
After a rigorous ride through muddy trails, it's crucial to inspect your dirt bike thoroughly to ensure it remains in top condition. Begin by examining the tires for any embedded debris, cuts, or excessive wear. Use a tire pressure gauge to check that the pressure is within the recommended range, as fluctuations can affect performance and safety. Look for signs of uneven wear, which may indicate misalignment or imbalanced weight distribution.
Next, assess the brakes for any damage or wear. Check the brake pads for thickness and replace them if they're worn down to the metal backing plate. Inspect the brake lines for any leaks or kinks, and ensure the brake lever and pedal move freely without any binding. Bleeding the brakes may be necessary if you suspect air in the lines, which can compromise braking power.
The suspension system is another critical component to inspect. Check for any visible damage to the forks and rear shock, such as dents or cracks. Ensure that the suspension moves smoothly without any binding or excessive noise. Adjust the preload and damping settings as needed to maintain optimal performance and comfort. Lubricate the suspension components with a suitable grease to prevent wear and maintain smooth operation.
During this inspection, it's also essential to check for any loose or damaged bolts and nuts. Tighten them to the manufacturer's specifications to ensure the bike remains structurally sound. Finally, clean the bike thoroughly to remove any dirt and debris that may have accumulated during the ride. This not only helps maintain the bike's appearance but also prevents corrosion and wear.
By conducting a thorough inspection after each ride, you can identify and address potential issues before they become more significant problems. This proactive approach will help extend the life of your dirt bike and ensure it remains reliable and safe for future adventures.
Mastering the 450 Dirt Bike: A Beginner's Guide to Off-Road Riding
You may want to see also
Frequently asked questions
The best way to dry a dirt bike after washing it is to use a soft, clean cloth or microfiber towel to gently pat the surfaces dry. Avoid using high-pressure air hoses or harsh chemicals, as these can damage the bike's components and paint.
To speed up the drying process, you can use a hairdryer on a low heat setting, keeping it at a safe distance from the bike to avoid overheating any parts. Additionally, placing the bike in a well-ventilated area or using a fan can help circulate air and expedite drying.
When drying your dirt bike, it's important to avoid using abrasive materials or high-pressure air, which can scratch or damage the paint and components. Also, be cautious not to overheat any parts, especially electrical components, by keeping hairdryers or other heat sources at a safe distance. Finally, ensure the bike is completely dry before storing it to prevent rust or corrosion.