Lauren Kennedy
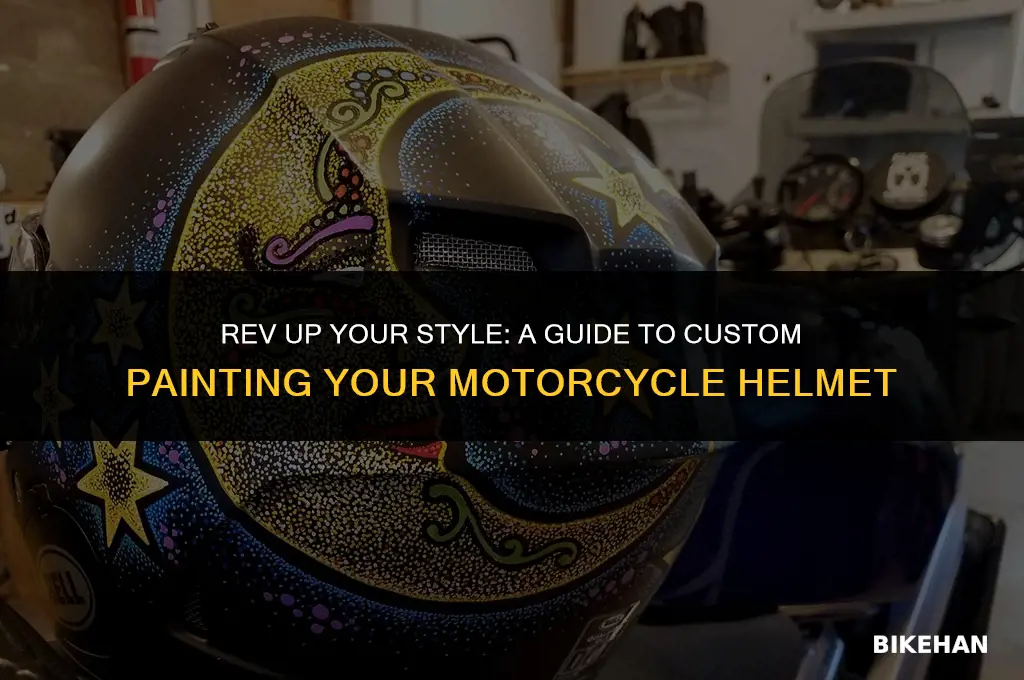
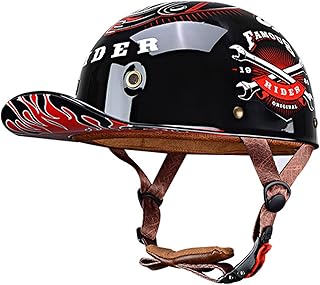
Custom painting a motorcycle helmet allows riders to express their individuality and style while ensuring safety on the road. The process involves several key steps, starting with the preparation of the helmet's surface to ensure proper paint adhesion. This includes sanding, priming, and masking off any areas that should not be painted. Once the helmet is prepped, the rider can choose from a wide range of paint types and colors to create their desired design. From simple color changes to intricate artwork, the possibilities are endless. After the design is finalized and the paint is applied, a clear coat is used to protect the artwork and provide a glossy finish. Throughout this process, it's crucial to use high-quality materials and follow safety guidelines to maintain the helmet's structural integrity and ensure it continues to provide adequate protection.
Explore related products




What You'll Learn
- Choosing the Right Helmet: Select a helmet that fits well and is suitable for painting
- Preparation: Clean the helmet thoroughly and remove any unnecessary parts
- Primer Application: Apply a suitable primer to ensure better paint adhesion
- Painting Techniques: Use appropriate tools and techniques for desired design
- Clear Coat: Apply a clear coat for protection and glossy finish

Choosing the Right Helmet: Select a helmet that fits well and is suitable for painting
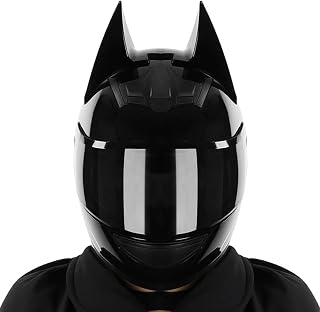
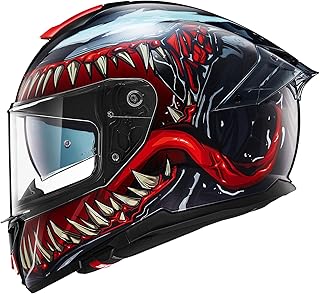
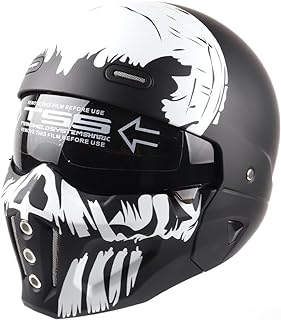
Selecting the right helmet is crucial for both safety and aesthetics when customizing a motorcycle helmet. A well-fitting helmet ensures comfort and protection, while a suitable design provides the perfect canvas for your artistic expression. Start by measuring your head circumference to determine the correct size. Most helmets come with sizing charts, so refer to these to find the best fit. It's essential to choose a helmet that meets safety standards, such as those set by the Department of Transportation (DOT) or the Snell Memorial Foundation.
Next, consider the helmet's shape and style. Full-face helmets offer the most coverage and are ideal for intricate designs, while open-face helmets provide a more minimalist look. Modular helmets, which can be transformed from full-face to open-face, offer versatility. The helmet's material also plays a role in the painting process. Fiberglass and composite helmets are lightweight and easier to work with, while polycarbonate helmets are more durable but can be more challenging to paint.
When selecting a helmet for painting, look for one with a smooth, even surface. This will make it easier to apply paint and achieve a professional finish. Avoid helmets with excessive contours or textures, as these can complicate the painting process. Additionally, choose a helmet with a good ventilation system to ensure comfort during long rides.
Before painting, prepare the helmet by cleaning it thoroughly and applying a primer. This will help the paint adhere better and ensure a more vibrant finish. When painting, use high-quality automotive paint and follow the manufacturer's instructions for application and curing times. Consider using a clear coat to protect your design and add a glossy finish.
In conclusion, choosing the right helmet for custom painting involves considering factors such as fit, safety, style, material, and surface quality. By selecting a helmet that meets these criteria, you can create a unique and personalized design that not only looks great but also provides the necessary protection for your rides.
Essential Features to Consider When Choosing a Motorcycle Helmet
You may want to see also
Explore related products



Preparation: Clean the helmet thoroughly and remove any unnecessary parts
Before applying any custom paint to your motorcycle helmet, it's crucial to prepare the surface properly. This involves a thorough cleaning to remove any dirt, grease, or debris that could interfere with the paint's adhesion. Start by using a mild detergent and warm water to scrub the helmet's exterior. Be sure to use a soft cloth or sponge to avoid scratching the surface. Rinse the helmet thoroughly and allow it to dry completely before proceeding.
Once the helmet is clean, inspect it for any unnecessary parts that could be removed to make the painting process easier. This might include the visor, chin strap, or any other detachable components. Carefully remove these parts, taking note of how they fit together so you can reassemble them later. If you're unsure about removing a particular part, consult your helmet's user manual or contact the manufacturer for guidance.
After removing any unnecessary parts, give the helmet a final wipe-down with a tack cloth or a damp cloth dipped in isopropyl alcohol. This will help remove any remaining oils or residues that could affect the paint job. Allow the helmet to dry completely once more before moving on to the next step.
Proper preparation is key to achieving a professional-looking custom paint job on your motorcycle helmet. By taking the time to clean and remove unnecessary parts, you'll ensure that the paint adheres well and that the final result is smooth and durable. Remember, safety should always be your top priority when customizing your helmet, so be sure to use non-toxic paints and follow all safety guidelines.
Exploring the Composition of Motorcycle Helmets: A Comprehensive Guide
You may want to see also
Explore related products


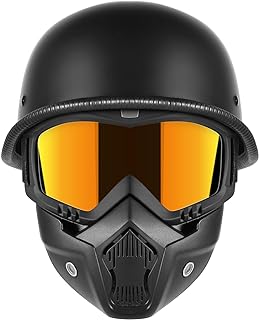

Primer Application: Apply a suitable primer to ensure better paint adhesion
Applying a suitable primer is a critical step in ensuring better paint adhesion when customizing a motorcycle helmet. This process not only enhances the durability of the paint job but also provides a smooth surface for the paint to adhere to, resulting in a more professional and polished finish.
Before applying the primer, it is essential to prepare the helmet's surface properly. This involves thoroughly cleaning the helmet to remove any dirt, grease, or debris that could interfere with the primer's adhesion. A mild detergent and water solution can be used for this purpose, followed by a rinse with clean water and a dry with a soft, lint-free cloth.
Once the helmet's surface is clean and dry, the primer can be applied. It is important to choose a primer that is specifically designed for use on motorcycle helmets, as these primers are formulated to provide optimal adhesion and durability. The primer should be applied in thin, even coats using a spray gun or brush, ensuring that all areas of the helmet are covered. It is crucial to avoid applying too much primer, as this can lead to drips and runs, which can compromise the paint job.
After the primer has been applied, it is necessary to allow it to dry completely before proceeding with the paint application. The drying time will vary depending on the specific primer used, but it is typically recommended to wait at least 24 hours to ensure that the primer has fully cured.
In conclusion, applying a suitable primer is a vital step in the process of customizing a motorcycle helmet. By following the proper preparation and application techniques, one can ensure better paint adhesion, resulting in a more durable and professional-looking finish.
Secure Your Ride: The Ultimate Guide to Strapping Your Motorcycle Helmet
You may want to see also
Explore related products


Painting Techniques: Use appropriate tools and techniques for desired design
To achieve a professional-looking custom paint job on a motorcycle helmet, it's crucial to select the right tools and techniques for the desired design. This involves understanding the different types of paints available and the specific methods required for each. For instance, using acrylic paints will necessitate a different approach than oil-based paints due to their varying drying times and application properties.
One key technique is to ensure proper surface preparation. This includes thoroughly cleaning the helmet to remove any dirt, grease, or debris that could affect paint adhesion. Additionally, sanding the surface with fine-grit sandpaper can help create a smooth base for the paint to adhere to. It's also important to use a primer that is compatible with the chosen paint type to ensure optimal coverage and durability.
When it comes to the actual painting process, using the appropriate brushes or spray equipment is essential. For detailed designs, fine-tipped brushes may be necessary, while larger areas can be covered more efficiently with spray paint. It's important to work in a well-ventilated area and to use protective gear such as gloves and a mask to avoid inhaling fumes or getting paint on the skin.
Another technique to consider is the use of stencils or masking tape to create clean lines and intricate designs. This can be particularly useful for achieving sharp edges or replicating complex patterns. Additionally, understanding how to properly thin paints for spray application or how to layer colors for depth and dimension can significantly enhance the final result.
Finally, it's crucial to allow the paint to dry completely according to the manufacturer's instructions before applying any clear coats or sealants. This will help protect the design and ensure that it remains vibrant and durable over time. By following these techniques and using the appropriate tools, one can achieve a high-quality custom paint job on a motorcycle helmet that is both visually appealing and long-lasting.
Exploring the Quality and Reputation of Bell Motorcycle Helmets
You may want to see also
Explore related products


Clear Coat: Apply a clear coat for protection and glossy finish
Applying a clear coat to a custom-painted motorcycle helmet is a crucial step that serves both protective and aesthetic purposes. The clear coat acts as a barrier against environmental elements such as UV rays, rain, and dust, which can damage the paint job over time. Additionally, it provides a glossy finish that enhances the vibrancy and depth of the colors used in the custom design.
To apply a clear coat effectively, it is essential to prepare the surface of the helmet properly. This involves sanding the painted areas lightly with fine-grit sandpaper to ensure a smooth finish and to help the clear coat adhere better. After sanding, the helmet should be cleaned thoroughly with a mild detergent and water to remove any dust or debris. It is also advisable to use a tack cloth to wipe down the surface and remove any remaining particles.
When selecting a clear coat, it is important to choose a product that is specifically designed for use on motorcycle helmets. These clear coats are typically formulated to be durable, flexible, and resistant to yellowing. They may also contain UV inhibitors to protect the paint from fading. The application process usually involves spraying the clear coat in thin, even layers, allowing each layer to dry completely before applying the next. It is crucial to follow the manufacturer's instructions regarding drying times and the number of coats recommended.
One common mistake to avoid when applying a clear coat is over-spraying, which can lead to drips and runs. To prevent this, it is best to hold the spray can at a distance of about 8-10 inches from the helmet and to use a steady, sweeping motion. If drips do occur, they can be smoothed out with a fine-grit sandpaper once the clear coat has dried.
In conclusion, applying a clear coat to a custom-painted motorcycle helmet is a vital step that not only protects the paint job but also enhances its appearance. By following proper preparation techniques and using a high-quality clear coat product, one can achieve a professional-looking finish that will withstand the elements and maintain its glossy sheen for years to come.
California Motorcycle Helmet Law: What You Need to Know
You may want to see also
Frequently asked questions
The best type of paint for custom painting a motorcycle helmet is acrylic enamel or urethane paint, as they provide a durable and glossy finish that can withstand the elements and the wear and tear of regular use.
Yes, it is recommended to prime your motorcycle helmet before painting it. Priming helps to create a smooth surface for the paint to adhere to, ensures better paint coverage, and can help to prevent the paint from chipping or peeling off over time.
To custom paint your motorcycle helmet, you will need a variety of tools including a paint gun or spray can, paintbrushes, a respirator mask, gloves, a helmet stand or turntable, masking tape, and a clear coat sealant.
To prepare your motorcycle helmet for painting, you should first clean it thoroughly with soap and water, then dry it completely. Next, remove any existing decals or stickers, and sand the surface to create a smooth base for the paint. Finally, apply a primer and allow it to dry before beginning the painting process.
To achieve a professional-looking finish when custom painting a motorcycle helmet, it is important to work in a well-ventilated area, use high-quality paint and tools, and take your time to ensure even coverage and smooth application. Additionally, using a clear coat sealant can help to protect the paint and give it a glossy, polished look.