Matthew Brooks
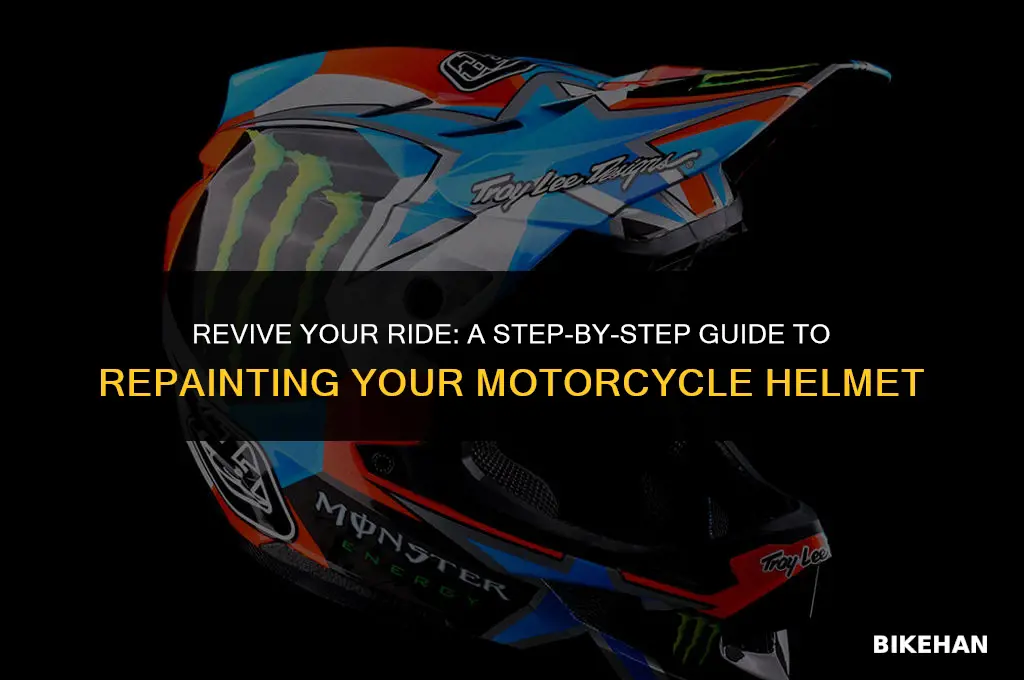
Repainting a motorcycle helmet can be a rewarding DIY project that allows you to customize your gear and give it a fresh, personalized look. Whether you're looking to touch up a few scratches, change the color scheme entirely, or add some unique designs, the process requires careful preparation and attention to detail. In this guide, we'll walk you through the essential steps, from selecting the right paint and preparing the helmet surface, to applying the new color and finishing with a protective clear coat. By following these instructions, you can achieve a professional-looking result that not only enhances the appearance of your helmet but also ensures it remains safe and functional for your rides.
Explore related products


What You'll Learn
- Preparation: Clean helmet, remove visor, vents, and padding. Ensure a well-ventilated workspace
- Sanding: Lightly sand the helmet's surface to create a smooth base for paint adhesion
- Priming: Apply a suitable primer to the helmet, allowing it to dry completely before painting
- Painting: Use automotive-grade paint to apply the desired color and design, ensuring even coverage
- Clear Coating: Finish with a clear coat to protect the paint and provide a glossy, durable finish

Preparation: Clean helmet, remove visor, vents, and padding. Ensure a well-ventilated workspace
Before diving into the repainting process, it's crucial to prepare your motorcycle helmet properly. Start by thoroughly cleaning the helmet's exterior to remove any dirt, grime, or old adhesive residues. Use a mild detergent and a soft cloth to scrub the surface gently, avoiding abrasive materials that could scratch the helmet. Once clean, allow the helmet to dry completely in a well-ventilated area.
The next step is to remove the visor, vents, and padding. Carefully detach the visor by unscrewing or unclipping it, depending on your helmet's design. Store the visor in a safe place to prevent scratches or damage. Then, remove the vents and padding, which may require some gentle prying or unscrewing. Be cautious not to damage these components, as they are essential for the helmet's functionality and safety.
After removing these parts, inspect the helmet for any cracks, dents, or other damage that may need to be repaired before repainting. If you find any issues, address them accordingly, as painting over damaged areas can lead to further complications down the line.
Finally, ensure that your workspace is well-ventilated to prevent the inhalation of fumes from the paint and solvents you'll be using. Set up your painting area in a garage, workshop, or outdoors, away from direct sunlight and heat sources, which can affect the paint's drying time and quality. Cover your work surface with a drop cloth or newspaper to protect it from paint spills and splatters.
By following these preparation steps, you'll create an optimal environment for repainting your motorcycle helmet, ensuring a smooth and successful process.
Essential Guide to Choosing the Perfect Motorcycle Helmet
You may want to see also
Explore related products


Sanding: Lightly sand the helmet's surface to create a smooth base for paint adhesion
Before applying any paint to your motorcycle helmet, it's crucial to prepare the surface properly. Sanding is a key step in this process, as it helps to create a smooth base for the paint to adhere to. Start by using a fine-grit sandpaper, such as 400 or 600 grit, to lightly sand the entire surface of the helmet. Be sure to sand in a circular motion, applying even pressure to avoid creating any scratches or gouges.
As you sand, pay close attention to any imperfections or rough spots on the helmet's surface. These areas may require additional sanding or even some filler to create a perfectly smooth base. It's also important to clean the helmet thoroughly after sanding to remove any dust or debris that could interfere with the paint's adhesion.
One common mistake to avoid is sanding too aggressively. While it's important to create a smooth surface, sanding too hard can actually damage the helmet's material or create scratches that will be difficult to cover up with paint. Instead, use a gentle touch and let the sandpaper do the work.
After sanding, be sure to wipe down the helmet with a tack cloth or a damp cloth to remove any remaining dust or debris. This will help ensure that the paint adheres properly and creates a smooth, professional-looking finish.
In summary, sanding is a critical step in preparing your motorcycle helmet for repainting. By using the right technique and materials, you can create a smooth base that will help ensure a successful paint job. Remember to sand lightly and evenly, clean the helmet thoroughly, and avoid common mistakes like sanding too aggressively. With these tips in mind, you'll be well on your way to a beautifully repainted motorcycle helmet.
Secure Your Ride: Mastering the Art of Buckling a Motorcycle Helmet
You may want to see also
Explore related products


Priming: Apply a suitable primer to the helmet, allowing it to dry completely before painting
Applying a suitable primer to your motorcycle helmet is a crucial step in the repainting process. The primer acts as a foundation for the new paint, ensuring better adhesion and a smoother finish. It's essential to choose a primer that's specifically designed for use on helmets, as these products are formulated to withstand the unique conditions and stresses that helmets endure.
Before applying the primer, make sure the helmet is clean and dry. Any dirt, oil, or moisture can interfere with the primer's ability to bond properly with the helmet's surface. Once the helmet is clean, apply the primer in thin, even coats using a spray gun or brush. Be sure to follow the manufacturer's instructions for application and drying times.
It's important to allow the primer to dry completely before painting. This may take several hours or even overnight, depending on the product and environmental conditions. Rushing this step can lead to poor paint adhesion and a less durable finish.
When selecting a primer, consider the type of paint you'll be using. Some primers are designed for use with specific types of paint, such as acrylic or urethane. Using the right primer for your chosen paint will help ensure the best possible results.
In addition to providing a smooth surface for painting, the primer also helps to protect the helmet's underlying material from the elements. This is especially important if you're repainting a helmet that's been previously damaged or exposed to harsh conditions.
By taking the time to properly prime your motorcycle helmet, you'll be setting yourself up for a successful repainting project. The primer will help ensure that your new paint job looks great and lasts for years to come.
Secure Your Ride: The Essential Guide to Wearing a Motorcycle Helmet
You may want to see also
Explore related products


Painting: Use automotive-grade paint to apply the desired color and design, ensuring even coverage
Automotive-grade paint is the preferred choice for repainting a motorcycle helmet due to its durability and ability to withstand the elements. When selecting a paint, look for one that is specifically designed for automotive use and is compatible with the helmet's material. It's important to choose a paint that is both flexible and resistant to chipping, as the helmet will be subject to movement and potential impacts.
Before applying the paint, ensure that the helmet is clean and free of any debris or oils. This can be done by washing the helmet with a mild soap and water solution, then drying it thoroughly with a clean cloth. If there are any scratches or imperfections on the helmet's surface, these should be sanded down and filled in with a suitable filler before painting.
When applying the paint, it's important to do so in a well-ventilated area and to wear appropriate protective gear, such as gloves and a mask. The paint should be applied in thin, even coats, allowing each coat to dry completely before applying the next. This will help to ensure even coverage and prevent the paint from running or dripping.
After the final coat of paint has been applied and allowed to dry, a clear coat should be applied to protect the paint and give the helmet a glossy finish. This clear coat should also be automotive-grade and compatible with the paint used. Once the clear coat has been applied and allowed to dry, the helmet is ready to be reassembled and used.
It's important to note that repainting a motorcycle helmet can be a time-consuming process, and it may take several days for the paint and clear coat to dry completely. However, taking the time to do the job properly will result in a helmet that looks great and is protected from the elements.
Texas Motorcycle Helmet Laws: What You Need to Know
You may want to see also
Explore related products


Clear Coating: Finish with a clear coat to protect the paint and provide a glossy, durable finish
Applying a clear coat to a motorcycle helmet is a crucial step in the repainting process. This final layer not only enhances the visual appeal by providing a glossy finish but also serves as a protective barrier against environmental elements and wear and tear. When selecting a clear coat, it's essential to choose a product specifically designed for use on helmets, as these formulations are engineered to withstand the unique stresses and impacts that helmets endure.
Before applying the clear coat, ensure that the paint is completely dry and cured. This may take several hours or even days, depending on the type of paint and environmental conditions. Once the paint is fully dry, clean the helmet's surface with a mild detergent and water to remove any dust, dirt, or oils that could interfere with the clear coat's adhesion. Dry the helmet thoroughly with a clean, lint-free cloth.
When applying the clear coat, use a high-quality spray gun or airbrush to achieve an even, smooth finish. Hold the sprayer approximately 8-10 inches away from the helmet's surface and apply the clear coat in thin, overlapping layers. This technique helps to prevent runs and drips, ensuring a professional-looking result. Allow each layer to dry for the recommended time before applying additional coats. Typically, three to four coats are sufficient to provide adequate protection and gloss.
After the final coat, allow the clear coat to cure for the specified time, which can range from 24 hours to several days. During this period, avoid exposing the helmet to direct sunlight, heat, or moisture, as these factors can negatively impact the curing process. Once the clear coat is fully cured, inspect the helmet for any imperfections or areas that may require touch-ups.
In addition to its protective qualities, a clear coat can also enhance the helmet's aerodynamics by reducing drag. This is particularly important for riders who travel at high speeds, as even small improvements in aerodynamics can lead to increased stability and reduced fatigue. Furthermore, a well-applied clear coat can help to maintain the helmet's resale value by preserving the paint job and overall appearance.
In conclusion, applying a clear coat to a motorcycle helmet is a critical step that should not be overlooked. By following proper preparation and application techniques, riders can ensure that their helmets not only look great but also provide the necessary protection and durability for safe riding.
The Lifespan of Safety: Do Motorcycle Helmets Expire?
You may want to see also