Samantha Lee
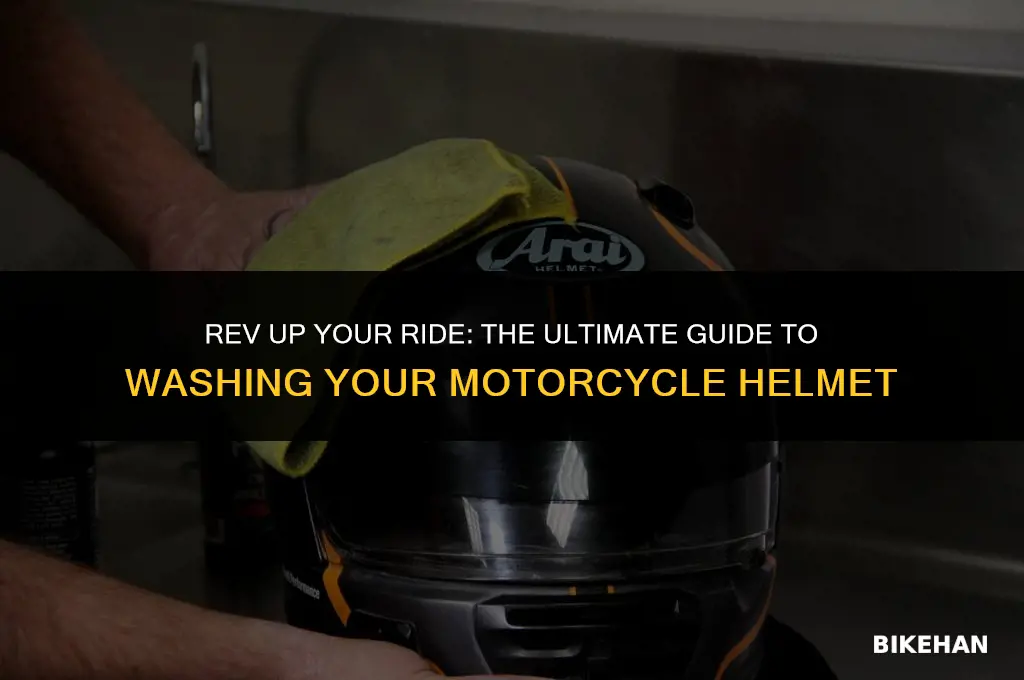
Cleaning your motorcycle helmet is an essential part of maintaining both its appearance and functionality. Over time, helmets can accumulate dirt, grime, and insects, which can not only look unsightly but also compromise the helmet's protective capabilities. Regular washing helps to remove these contaminants, ensuring that your helmet remains in optimal condition. In this guide, we'll walk you through the steps to properly wash your motorcycle helmet, covering everything from the materials you'll need to the best techniques for getting your helmet clean without causing any damage. By following these instructions, you can keep your helmet looking great and functioning effectively for years to come.
Explore related products


What You'll Learn
- Preparation: Gather necessary supplies like mild soap, warm water, a soft cloth, and a helmet cleaning solution
- Removing the Visor: Carefully detach the visor from the helmet to clean it separately and avoid scratching
- Cleaning the Exterior: Use a soft cloth with soapy water to gently scrub the helmet's exterior, avoiding abrasive materials
- Cleaning the Interior: Remove any padding and use a mild cleaner to wipe down the interior surfaces, ensuring thorough drying
- Drying and Reassembly: Allow all parts to air dry completely before reassembling the helmet and visor

Preparation: Gather necessary supplies like mild soap, warm water, a soft cloth, and a helmet cleaning solution
Before diving into the cleaning process, it's crucial to gather all the necessary supplies. This ensures that you have everything you need at hand, preventing any interruptions or potential damage to your helmet. Start by collecting a mild soap, specifically designed for cleaning delicate surfaces like those found on motorcycle helmets. Avoid using harsh chemicals or abrasive cleaners, as these can damage the helmet's finish and compromise its structural integrity.
Next, prepare warm water in a container large enough to submerge the helmet. The ideal temperature is lukewarm, as this helps to loosen dirt and grime without causing any thermal shock to the helmet's materials. A soft cloth, preferably microfiber, is also essential for gently scrubbing the helmet's surface. Microfiber cloths are particularly effective at trapping dirt and preventing scratches.
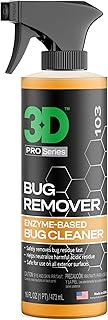
In addition to these basic supplies, it's highly recommended to use a specialized helmet cleaning solution. These solutions are formulated to tackle the unique challenges of cleaning motorcycle helmets, such as removing bugs, road salt, and other stubborn residues. When selecting a helmet cleaning solution, look for one that is compatible with your helmet's material and finish.
Once you have all your supplies ready, it's a good idea to lay them out in a clean, well-ventilated area. This will help you stay organized and ensure that you don't misplace any items during the cleaning process. With everything in place, you're now ready to begin the task of washing your motorcycle helmet, confident that you have the right tools for the job.
Top Spots to Sell Your Motorcycle Helmets: A Comprehensive Guide
You may want to see also
Explore related products


Removing the Visor: Carefully detach the visor from the helmet to clean it separately and avoid scratching
Begin by ensuring the helmet is securely placed on a flat, stable surface to prevent it from tipping over during the visor removal process. Locate the release mechanism, which is typically found on the sides or bottom edge of the visor. Gently press or slide this mechanism to unlock the visor from the helmet's frame. Be cautious not to apply excessive force, as this could damage the visor or the helmet.
Once the release mechanism is engaged, carefully lift the visor away from the helmet. It's essential to do this slowly and evenly to avoid any sudden movements that could cause scratching. If the visor is particularly stubborn, you may need to wiggle it slightly back and forth to dislodge it fully. However, be mindful not to overdo this, as excessive wiggling can also lead to scratches.
With the visor removed, inspect it for any dirt, debris, or insects that may have become trapped between the visor and the helmet. Use a soft, microfiber cloth to gently wipe away any surface dirt. For more stubborn grime, you can use a mild soap solution and a soft sponge, but be sure to rinse thoroughly and dry the visor completely before reattaching it to the helmet.
When reinstalling the visor, align it carefully with the helmet's frame, ensuring that it clicks securely into place. Test the visor's movement by gently opening and closing it to confirm that it operates smoothly and without any obstructions. Regularly practicing this removal and cleaning process will help maintain the clarity and functionality of your motorcycle helmet's visor, ensuring optimal visibility and safety during your rides.
Do Motorcycle Helmets Expire? Safety Insights and Replacement Tips
You may want to see also
Explore related products


Cleaning the Exterior: Use a soft cloth with soapy water to gently scrub the helmet's exterior, avoiding abrasive materials
Begin the cleaning process by preparing a solution of mild soap and lukewarm water in a bucket. The soap should be free from harsh chemicals or abrasives, as these can damage the helmet's exterior finish. Dip a soft, clean cloth into the soapy water, wring it out thoroughly to remove excess moisture, and then gently wipe down the entire surface of the helmet.
Pay special attention to areas with stubborn dirt or grime buildup, such as around the vents, visor, and chin guard. Use a circular motion to dislodge any particles, being careful not to apply too much pressure which could scratch the surface. Avoid using sponges or brushes with stiff bristles, as these can also cause abrasions.
For particularly tough stains, you may need to let the soapy water sit on the affected area for a few minutes before gently scrubbing it again. Remember to frequently rinse the cloth in clean water to remove any dirt and prevent it from being redeposited onto the helmet.
Once you have thoroughly cleaned the exterior, rinse the helmet with clean water to remove any remaining soap residue. Use a soft, clean towel to pat the helmet dry, or allow it to air dry in a well-ventilated area away from direct sunlight.
After the helmet has dried, inspect it closely for any missed spots or areas that require additional cleaning. If the helmet's exterior is particularly dirty or has accumulated a significant amount of grime, you may need to repeat the cleaning process.
Regularly cleaning the exterior of your motorcycle helmet not only helps maintain its appearance but also ensures optimal visibility and safety while riding. By following these steps and avoiding abrasive materials, you can effectively remove dirt and grime without damaging the helmet's finish.
Rev Up Your Safety: The Ultimate Guide to Motorcycle Helmet Replacement
You may want to see also
Explore related products


Cleaning the Interior: Remove any padding and use a mild cleaner to wipe down the interior surfaces, ensuring thorough drying
Begin by carefully removing any padding or liners from the helmet's interior. These components are often designed to be detachable, allowing for easier cleaning and maintenance. Once removed, inspect the padding for any signs of wear or damage, and replace it if necessary.
Next, prepare a cleaning solution using a mild detergent and warm water. Avoid using harsh chemicals or abrasive cleaners, as these can damage the helmet's interior materials. Dip a soft cloth or sponge into the solution and gently wipe down all interior surfaces, including the chin strap and any ventilation systems.
Pay particular attention to areas that may have accumulated sweat, dirt, or bacteria, such as the forehead and cheek regions. Use a toothbrush or small brush to clean any hard-to-reach areas or crevices. Rinse the cloth or sponge thoroughly and wipe down the interior surfaces again to remove any soap residue.
After cleaning, allow the helmet to air dry completely before reinstalling the padding. This may take several hours, depending on the climate and humidity levels. To speed up the drying process, you can use a fan or place the helmet in a well-ventilated area.
Once the helmet is dry, inspect the interior for any lingering odors or moisture. If necessary, repeat the cleaning process or consider using a deodorizing spray or powder specifically designed for helmets. Finally, reattach the padding and liners, ensuring they are securely fastened and properly aligned.
Exploring the Versatility of Modular Motorcycle Helmets
You may want to see also
Explore related products


Drying and Reassembly: Allow all parts to air dry completely before reassembling the helmet and visor
After washing your motorcycle helmet, it's crucial to ensure that all parts are thoroughly dried before reassembly. This step is often overlooked but is vital for maintaining the helmet's integrity and functionality. Moisture trapped inside the helmet can lead to mold growth, unpleasant odors, and even compromise the structural components over time.
To properly dry your helmet, disassemble all removable parts, including the visor, chin strap, and any interior padding. Lay these components out in a well-ventilated area, away from direct sunlight or heat sources, which can warp or damage the materials. Allow the parts to air dry completely, which may take several hours depending on the humidity and temperature of the environment.
While waiting for the parts to dry, inspect them for any signs of wear or damage. This is an excellent opportunity to replace any worn-out components or address any issues that may have been overlooked during regular use. Once all parts are dry and in good condition, reassemble the helmet carefully, ensuring that each component is securely fastened and properly aligned.
It's important to note that rushing the drying process or reassembling the helmet while parts are still damp can have negative consequences. Premature reassembly can trap moisture inside the helmet, leading to the problems mentioned earlier. Additionally, attempting to speed up the drying process using heat sources can damage the helmet's materials, compromising its safety and performance.
In conclusion, allowing all parts of your motorcycle helmet to air dry completely before reassembly is a critical step in maintaining its functionality and longevity. By following this simple yet essential procedure, you can ensure that your helmet remains in top condition, providing you with the protection and comfort you need while riding.
California Motorcycle Helmet Law: What You Need to Know
You may want to see also
Frequently asked questions
It's recommended to wash your motorcycle helmet at least once a month or more frequently if you ride in dusty or dirty conditions. Regular cleaning helps maintain visibility and hygiene.
Use mild soap or a specialized helmet cleaner. Avoid harsh chemicals, abrasives, or petroleum-based products, as they can damage the helmet's materials and compromise its safety features.
No, do not put your motorcycle helmet in the dishwasher. The high temperatures and harsh detergents can damage the helmet's structure and interior padding. Always hand wash your helmet.
After washing, gently pat the helmet dry with a soft cloth. Avoid using a hairdryer or leaving it in direct sunlight, as excessive heat can warp the helmet's shell or damage the interior. Allow it to air dry completely before use.