Ryan Cole
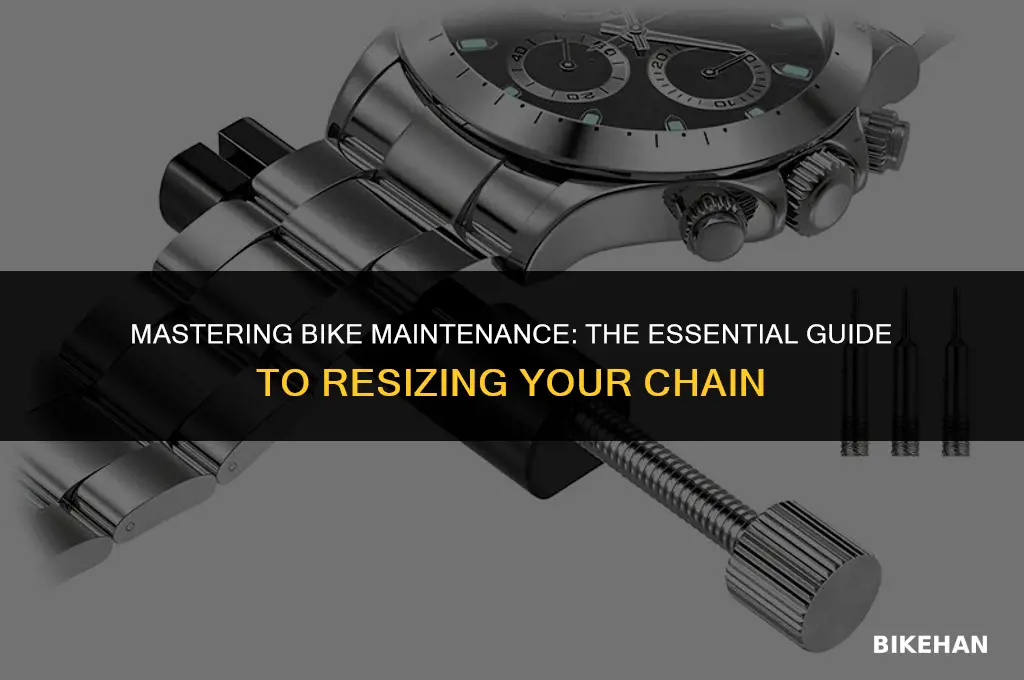
Resizing a bike chain is a crucial maintenance task that ensures smooth and efficient operation of your bicycle. Over time, a bike chain can stretch or become damaged, leading to poor performance and potential safety hazards. Learning how to resize a bike chain involves understanding the correct tools and techniques required for the job. This process typically includes measuring the chain, determining the appropriate length, and using specialized tools to remove or add links as needed. Properly resizing a bike chain not only extends the life of the chain but also enhances the overall riding experience by ensuring optimal power transfer and reducing the risk of derailments or other mechanical issues.
Explore related products






What You'll Learn
- Tools Needed: Essential tools for resizing a bike chain include a chain tool, measuring tape, and lubricant
- Measuring Chain Length: Accurately measure the current chain length to determine the desired new length
- Removing Links: Use a chain tool to carefully remove excess links from the chain
- Adding Links: If necessary, add new links to the chain using a chain tool and lubricant
- Reinstalling Chain: Properly reinstall the resized chain onto the bike's drivetrain, ensuring correct tension and alignment

Tools Needed: Essential tools for resizing a bike chain include a chain tool, measuring tape, and lubricant
Resizing a bike chain requires precision and the right tools to ensure a smooth and efficient process. The essential tools for this task include a chain tool, measuring tape, and lubricant. Each of these tools plays a crucial role in the resizing process, and understanding their functions is key to achieving the desired outcome.
The chain tool is a specialized device designed to remove and install chain pins. It is important to select a chain tool that is compatible with the specific type of chain being resized. Using an incorrect tool can lead to damage to the chain or the tool itself. To use the chain tool effectively, it is necessary to follow the manufacturer's instructions carefully. This typically involves placing the chain on the tool, aligning the pin with the tool's slot, and then using the handle to push the pin out.
A measuring tape is another indispensable tool for resizing a bike chain. It is used to measure the length of the chain before and after resizing. This ensures that the chain is the correct length for the bike's drivetrain. When measuring the chain, it is important to measure from the center of one pin to the center of another. This provides an accurate measurement of the chain's length.
Lubricant is also a critical component of the resizing process. It is used to reduce friction between the chain and the drivetrain components, making it easier to resize the chain and ensuring that it moves smoothly once installed. When selecting a lubricant, it is important to choose one that is appropriate for the conditions in which the bike will be ridden. For example, a wet lubricant may be necessary for riding in rainy conditions, while a dry lubricant may be more suitable for dry climates.
In addition to these essential tools, there are a few other items that can be helpful during the resizing process. These include a rag for cleaning the chain, a pair of gloves to protect the hands, and a bike stand to keep the bike stable while working on it. By having all of these tools and supplies on hand, the resizing process can be completed efficiently and effectively, ensuring that the bike chain is the correct length and functions smoothly.
Effortless Cycling: Mastering the Art of 7-Speed Bike Chain Replacement
You may want to see also
Explore related products


Measuring Chain Length: Accurately measure the current chain length to determine the desired new length
To accurately measure the current chain length on a bicycle, you'll need a few essential tools and a methodical approach. First, ensure the bike is on a level surface and the chain is properly lubricated for an accurate measurement. Using a chain length checker or a ruler, measure the distance between two corresponding pins on the chain. This measurement should be taken with the chain under slight tension, as if it were being pedaled. Record this measurement to the nearest millimeter or inch, depending on your preference and the tools available.
Once you have the current chain length, you can determine the desired new length based on the bike's specifications and your riding preferences. Most bike manufacturers provide recommended chain lengths for their specific models, which can usually be found in the bike's manual or on their website. If you're unsure, a general rule of thumb is to aim for a chain length that allows for smooth pedaling without excessive slack or tension.
When measuring the chain length, it's crucial to avoid common mistakes that can lead to inaccurate results. For example, don't measure the chain when it's completely slack or under excessive tension, as this will give you an incorrect reading. Additionally, make sure to measure the chain length when it's clean and free of debris, as dirt and grime can affect the accuracy of your measurement.
In some cases, you may need to adjust the chain length to accommodate different sprocket sizes or to fine-tune your bike's performance. When making these adjustments, it's important to remember that even small changes in chain length can have a significant impact on your bike's handling and efficiency. Therefore, it's always a good idea to double-check your measurements and consult with a professional mechanic if you're unsure about any aspect of the process.
By following these steps and taking the necessary precautions, you can ensure that your bike chain is properly sized for optimal performance and safety. Remember, accurate chain length measurement is a critical component of bike maintenance, and it's worth taking the time to get it right.
Effortless Bike Maintenance: Mastering the Art of Chain Replacement
You may want to see also
Explore related products


Removing Links: Use a chain tool to carefully remove excess links from the chain
To resize a bike chain effectively, one crucial step is removing excess links. This process requires precision and care to ensure the chain functions smoothly and safely. A chain tool is essential for this task, as it allows you to push out the pins that hold the links together without damaging the chain.
Begin by identifying the number of links you need to remove. This will depend on the desired length of the chain and the specific bike you're working on. Once you've determined the number of links to remove, position the chain tool over one of the links you intend to remove. Ensure the tool is aligned properly with the pin you want to push out.
Apply gentle, consistent pressure to the chain tool to drive the pin out of the link. It's important to do this slowly and carefully to avoid bending or breaking the pin, which could make it difficult to reassemble the chain later. As you push the pin out, keep an eye on the surrounding links to ensure they don't become misaligned or damaged.
After removing the necessary links, inspect the chain closely for any signs of wear or damage. If you notice any issues, it may be necessary to replace the entire chain rather than just resizing it. Once you're satisfied that the chain is in good condition, you can proceed to reassemble it by inserting the pins back into the links and ensuring they are securely in place.
Remember to always follow the manufacturer's instructions for your specific chain and chain tool. Additionally, it's a good idea to wear safety goggles and gloves while working on your bike chain to protect yourself from any potential injuries. By taking the time to carefully remove excess links, you can ensure your bike chain is the perfect length for your ride.
BMX Bike Chain Replacement: A Step-by-Step Guide
You may want to see also
Explore related products


Adding Links: If necessary, add new links to the chain using a chain tool and lubricant
To add new links to a bike chain, you'll need a chain tool and lubricant. The chain tool is used to push out the pins that hold the links together, allowing you to add or remove links as needed. Lubricant is essential for reducing friction and wear on the chain, ensuring smooth operation and prolonging the life of the chain.
Before adding links, it's important to determine the correct number of links for your bike. This can be done by measuring the chain's length or by consulting your bike's manual. Once you know the correct length, you can proceed with adding links.
To add a link, first, use the chain tool to push out the pin of the link you want to add. Be careful not to push the pin all the way out, as you'll need to reinsert it later. Once the pin is partially out, you can add the new link to the chain. Make sure the new link is properly aligned with the existing links, and then use the chain tool to push the pin back into place.
After adding the new link, it's important to lubricate the chain. This can be done by applying a small amount of lubricant to each link and then wiping off any excess. This will help to reduce friction and wear on the chain, ensuring smooth operation.
When adding links, it's important to avoid common mistakes such as over-lubricating the chain or using the wrong type of lubricant. Over-lubrication can lead to dirt and grime buildup, which can cause the chain to wear out more quickly. Using the wrong type of lubricant can also cause problems, as some lubricants are not compatible with certain types of chains.
In conclusion, adding links to a bike chain is a relatively simple process that can be done with the right tools and knowledge. By following these steps and avoiding common mistakes, you can ensure that your bike chain is properly resized and operating smoothly.
Reviving Your Ride: A Step-by-Step Guide to Re-Rusting Your Bike Chain
You may want to see also
Explore related products


Reinstalling Chain: Properly reinstall the resized chain onto the bike's drivetrain, ensuring correct tension and alignment
Begin by carefully threading the resized chain through the bike's derailleur, ensuring it aligns correctly with the sprockets. It's crucial to maintain proper tension throughout this process to prevent the chain from slipping or binding. Use a chain tensioner tool if necessary to achieve the optimal tension. Once the chain is correctly positioned, secure it in place using the appropriate fasteners, such as a quick link or a chain pin.
Next, pedal the bike slowly to ensure the chain moves smoothly through the drivetrain. Listen for any unusual noises or feel for resistance, which could indicate improper alignment or tension. If everything feels correct, continue pedaling to test the chain under normal riding conditions. Make any necessary adjustments to the derailleur or chain tension to fine-tune the shifting and overall performance.
Remember to always refer to your bike's specific manual for detailed instructions on reinstalling the chain, as different models may have unique requirements. Additionally, consider wearing protective gear, such as gloves and safety glasses, to prevent injury during this process. With proper care and attention to detail, you can successfully reinstall a resized chain and enjoy a smooth, efficient ride.
Effortless Chain Replacement: A Schwinn Bike Owner's Guide
You may want to see also
Frequently asked questions
To resize a bike chain, you will need a chain tool, which is used to push out the pins in the chain links. You may also need a ruler or measuring tape to measure the chain length, and lubricant to keep the chain running smoothly after resizing.
The correct chain length depends on the size of your bike's sprockets and the distance between them. A general rule of thumb is to have about 1/2 inch of slack in the chain when it's on the largest sprocket. You can also refer to your bike's manual for specific chain length recommendations.
To remove a link from a bike chain, first, position the chain on the chain tool with the pin you want to remove aligned with the tool's pushing pin. Then, slowly turn the handle of the chain tool to push the pin out of the chain link. Be careful not to push the pin all the way out, as you may need to reuse it.
To add a link to a bike chain, first, find the end of the chain with the outer link (the link with the pin that goes through the outer plates). Then, insert the new link's pin through the outer plates of the chain and the inner plates of the new link. Finally, use the chain tool to push the pin in until it's flush with the outer plates.
After resizing your bike chain, it's important to lubricate the chain to ensure smooth operation. You should also check the chain tension and adjust it if necessary. Finally, test ride your bike to make sure the chain is running smoothly and quietly.