Lauren Kennedy
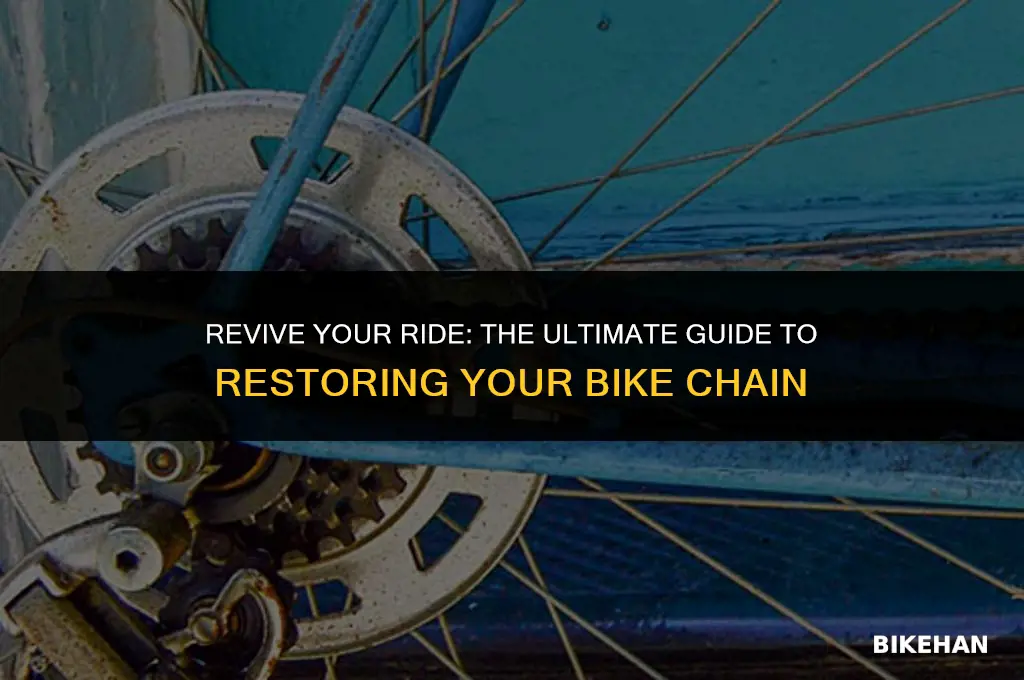
Restoring a bike chain is an essential maintenance task that can significantly extend the life of your bicycle and ensure smooth, efficient rides. Over time, bike chains can become worn, rusty, or damaged, leading to poor performance and potential safety hazards. In this guide, we'll walk you through the step-by-step process of restoring your bike chain, from assessing its condition to cleaning, lubricating, and making any necessary adjustments. By following these simple yet effective techniques, you can keep your bike running like new and enjoy a safer, more enjoyable cycling experience.
Explore related products




What You'll Learn
- Cleaning the Chain: Remove dirt and grime using a chain cleaning device or degreaser
- Inspecting for Damage: Check for any signs of wear, such as rust or bent links
- Lubricating the Chain: Apply a suitable lubricant to ensure smooth operation and prevent rust
- Adjusting Chain Tension: Ensure the chain is properly tensioned for optimal performance
- Replacing the Chain: If the chain is damaged beyond repair, replace it with a new one

Cleaning the Chain: Remove dirt and grime using a chain cleaning device or degreaser
To effectively clean a bike chain, it's essential to remove dirt and grime using a chain cleaning device or degreaser. A chain cleaning device is a specialized tool designed to scrub the chain while it's still on the bike, ensuring thorough cleaning without the need for disassembly. These devices typically consist of a rotating brush that contacts the chain as it moves, dislodging dirt and grime.
When using a chain cleaning device, it's important to follow the manufacturer's instructions carefully. Generally, the process involves placing the device around the chain, applying a degreaser or cleaning solution, and then pedaling the bike to rotate the chain through the device. This method is efficient and minimizes the risk of damaging the chain or other bike components.
Alternatively, degreasers can be used to clean the chain without a specialized device. Apply the degreaser directly to the chain, allowing it to penetrate and break down the grime. Then, use a brush or rag to scrub the chain thoroughly, ensuring all surfaces are cleaned. After scrubbing, wipe the chain with a clean rag to remove any remaining degreaser and grime.
When choosing a degreaser, opt for a product specifically designed for bike chains. These degreasers are formulated to effectively remove grease and grime without damaging the chain's lubrication or causing it to wear prematurely. Avoid using harsh chemicals or solvents, as these can damage the chain and other bike components.
After cleaning the chain, it's crucial to re-lubricate it properly. Apply a small amount of lubricant to each roller of the chain while slowly pedaling the bike. This ensures even distribution of the lubricant and helps to protect the chain from wear and corrosion. Regular cleaning and lubrication are essential for maintaining a healthy bike chain and ensuring smooth, efficient operation.
Mastering the Art of Repinning Your Bike Chain: A Step-by-Step Guide
You may want to see also
Explore related products


Inspecting for Damage: Check for any signs of wear, such as rust or bent links
Begin by thoroughly inspecting each link of the bike chain for signs of wear and damage. Look for rust, which appears as reddish-brown discoloration on the metal surface. Rust can weaken the chain and cause it to break under tension. Also, check for bent or misshapen links, which can interfere with the chain's ability to shift smoothly and may cause it to skip or jam.
To inspect the chain, hold it up to the light and rotate it slowly, examining each link from multiple angles. Use a magnifying glass if necessary to spot small signs of wear. Pay particular attention to the pins and rollers, as these are the most common areas for damage to occur. If you find any links that are severely rusted or bent, it's best to replace the entire chain rather than trying to repair it.
In addition to checking for rust and bent links, also inspect the chain for any signs of stretching or elongation. A stretched chain will not engage properly with the sprockets and can cause slipping and reduced efficiency. To check for stretching, measure the distance between two pins on the chain and compare it to the manufacturer's recommended measurement. If the chain is stretched beyond this point, it's time to replace it.
When inspecting the chain, it's also important to check for any foreign objects or debris that may be lodged between the links. Small rocks, twigs, or other particles can cause the chain to skip or jam, and may also lead to premature wear. Use a soft brush or cloth to gently remove any debris from the chain.
Finally, be sure to inspect the chain in a well-lit area, and take your time to thoroughly examine each link. A careful inspection can help you identify potential problems early on, before they lead to more serious issues down the road. By regularly inspecting your bike chain for signs of wear and damage, you can help ensure that it remains in good working condition and provides a safe and efficient ride.
Easy Steps to Replace Your Child's Bike Chain
You may want to see also
Explore related products


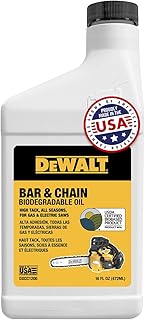


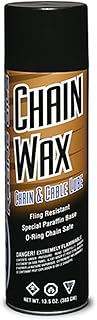
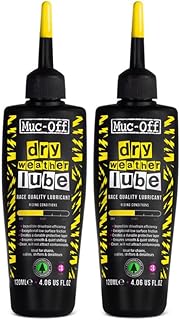
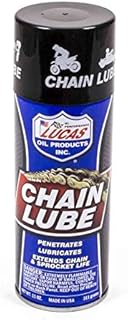
Lubricating the Chain: Apply a suitable lubricant to ensure smooth operation and prevent rust
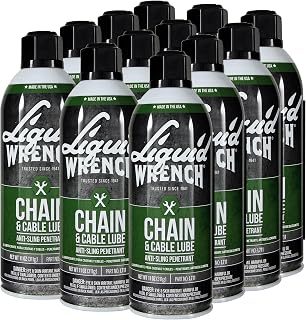
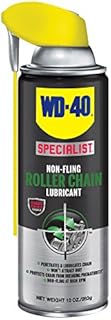
To ensure the longevity and optimal performance of a bike chain, proper lubrication is crucial. This involves selecting the right type of lubricant and applying it correctly to prevent rust and ensure smooth operation. When choosing a lubricant, it's important to consider the riding conditions. For wet or muddy environments, a thicker, more water-resistant lubricant is recommended, while a lighter oil may be sufficient for dry conditions.
Before applying the lubricant, the chain should be thoroughly cleaned to remove any dirt or debris that could interfere with the lubrication process. This can be done using a chain cleaning device or by wiping the chain with a clean rag. Once the chain is clean, the lubricant should be applied sparingly, focusing on the rollers and pins of the chain links. It's important to avoid over-lubrication, as this can attract dirt and lead to a buildup of grime.
After applying the lubricant, the chain should be rotated slowly to ensure that it penetrates all the moving parts. Any excess lubricant should be wiped off with a clean rag. Regular maintenance, including cleaning and lubricating the chain, can significantly extend its lifespan and improve the overall performance of the bike.
In addition to the type of lubricant used, the frequency of application is also important. For frequent riders, it may be necessary to lubricate the chain every few hundred miles, while less frequent riders may only need to do so every few months. It's also important to inspect the chain regularly for signs of wear or damage, such as rust or stretched links, and replace it if necessary.
By following these guidelines for lubricating a bike chain, riders can ensure that their bikes operate smoothly and efficiently, while also preventing rust and other forms of damage that can lead to costly repairs or replacements. Proper chain maintenance is an essential part of bike care that should not be overlooked.
Mastering Bike Maintenance: The Easy Guide to Replacing a Chain Pin
You may want to see also
Explore related products


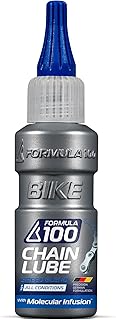
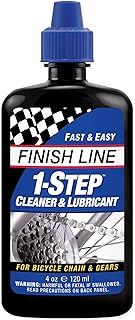

Adjusting Chain Tension: Ensure the chain is properly tensioned for optimal performance
To adjust chain tension, begin by identifying the type of derailleur system your bike uses—whether it's a rear derailleur or a front derailleur. Rear derailleurs typically require you to pull the chain taut and secure it with a barrel adjuster, while front derailleurs often involve a cable tension adjustment. Ensure the chain is properly tensioned by checking that it doesn't sag excessively when pressed down but also isn't too tight, which can cause undue wear.
For rear derailleurs, start by shifting the chain to the smallest cog. Locate the barrel adjuster, usually found where the derailleur cable enters the derailleur body. Turn the barrel adjuster clockwise to increase tension and counterclockwise to decrease it. As you adjust, keep an eye on the chain's alignment and tension. Once the chain is taut but not overly tight, secure the barrel adjuster in place.
For front derailleurs, the process involves adjusting the cable tension. Begin by loosening the cable clamp on the derailleur. Pull the cable taut and then tighten the clamp. Check the chain's tension by shifting through the gears. If the chain slips or doesn't engage properly, you may need to fine-tune the cable tension or check for other issues such as worn pulleys or a misaligned derailleur hanger.
After adjusting the chain tension, it's crucial to test the bike's performance. Shift through all the gears to ensure smooth transitions and proper chain alignment. If you notice any issues, such as chain slipping or excessive noise, you may need to make further adjustments or consider replacing worn components.
Regular maintenance is key to keeping your bike's chain in optimal condition. In addition to adjusting tension, remember to clean and lubricate the chain regularly to prevent wear and tear. By following these steps and staying attentive to your bike's needs, you can ensure a smooth and efficient ride.
Revive Your Ride: A Simple Guide to Replacing Your Bike's Chain Guard
You may want to see also
Explore related products
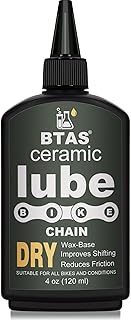


Replacing the Chain: If the chain is damaged beyond repair, replace it with a new one
If your bike chain is damaged beyond repair, it's crucial to replace it with a new one to ensure safe and efficient riding. Here's a step-by-step guide on how to replace a bike chain:
- Remove the old chain: Start by removing the old chain from the bike. You'll need a chain tool to push out the pins and separate the links. Be careful not to damage the surrounding components, such as the chainrings and cassette.
- Clean the drivetrain: Before installing the new chain, it's essential to clean the drivetrain thoroughly. Use a degreaser and a brush to remove any dirt, grime, or old lubricant from the chainrings, cassette, and derailleur pulleys. This will help the new chain to function smoothly and prolong its lifespan.
- Install the new chain: Once the drivetrain is clean, it's time to install the new chain. Start by threading the chain through the derailleur and onto the cassette. Then, pull the chain across to the front chainring and connect the two ends using a chain link or a quick link. Make sure the chain is properly aligned and seated on the sprockets.
- Adjust the derailleur: After installing the new chain, you may need to adjust the derailleur to ensure proper shifting. Check the derailleur's limit screws and make sure they're set correctly. You may also need to adjust the cable tension to achieve smooth and accurate shifting.
- Lubricate the new chain: Finally, lubricate the new chain with a suitable chain lube. Apply a small amount of lubricant to each roller and pin, and then wipe off any excess. This will help to reduce friction and wear, and keep the chain running smoothly.
Replacing a bike chain is a relatively straightforward task that can be done at home with the right tools and a bit of patience. By following these steps, you can ensure that your bike is safe and efficient to ride, and that your new chain will last for miles to come.
BMX Bike Chain Replacement: A Step-by-Step Guide
You may want to see also
Frequently asked questions
It's recommended to clean your bike chain every 100-200 miles, or more frequently if you ride in dirty or wet conditions.
The best way to clean a bike chain is to use a chain cleaning device or a degreaser spray. Remove the chain from the bike, spray it with degreaser, and let it sit for a few minutes before wiping it clean with a rag.
A worn-out bike chain will often make a clicking or grinding noise when pedaling. You can also check for wear by measuring the chain's pitch (the distance between pins) - if it's more than 1/16 inch, it's time to replace the chain.
For most riding conditions, a wet lubricant is recommended as it provides better protection against rust and corrosion. However, if you ride in dry, dusty conditions, a dry lubricant may be a better choice.
To install a new bike chain, first remove the old chain and clean the chainrings and cassette. Then, thread the new chain through the derailleur and around the chainrings and cassette, making sure it's properly aligned. Finally, connect the chain using a chain tool and adjust the derailleur as needed.