Eric Johnson
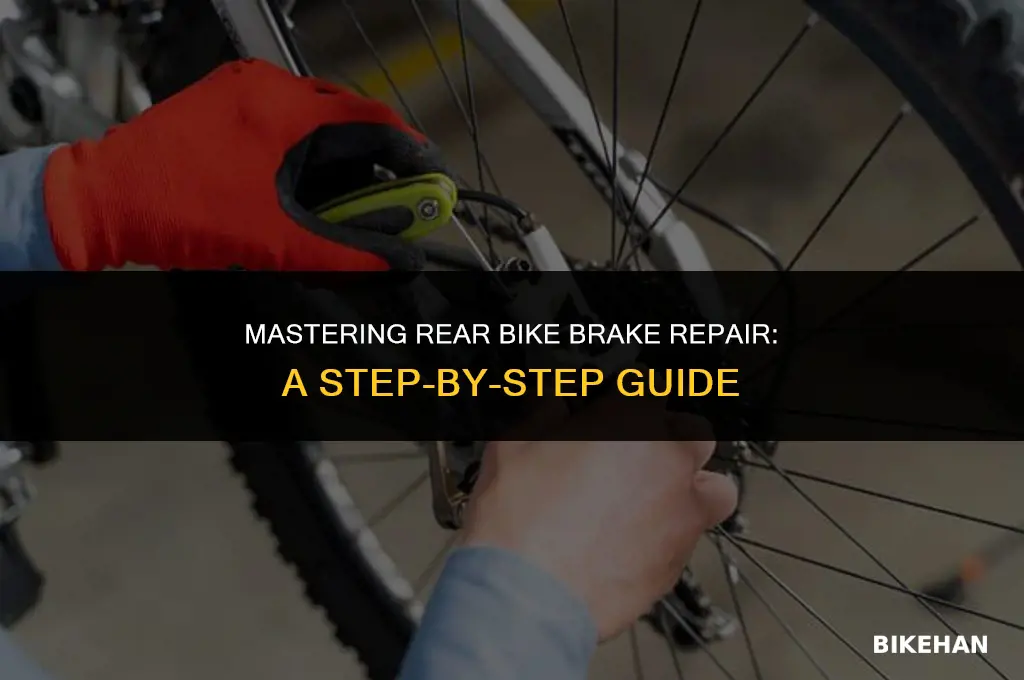
Repairing rear bike brakes is an essential skill for any cyclist, as it ensures safety and control while riding. The process typically involves several key steps: identifying the type of brake system (rim or disc), assessing the brake pads for wear, adjusting the brake cable tension, and ensuring proper alignment of the brake components. For rim brakes, this may include adjusting the brake caliper and ensuring the pads make even contact with the rim. For disc brakes, it might involve bleeding the brake lines to remove air bubbles and checking the rotor for any damage. Regular maintenance and timely repairs can prevent brake failure and enhance overall riding performance.
Explore related products



What You'll Learn
- Identify Brake Type: Determine if your bike has rim brakes, disc brakes, or coaster brakes
- Gather Tools: Assemble necessary tools like screwdrivers, wrenches, pliers, and lubricant
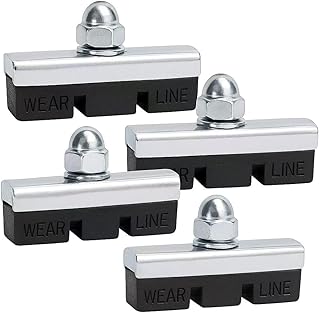
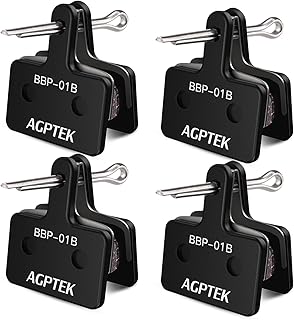
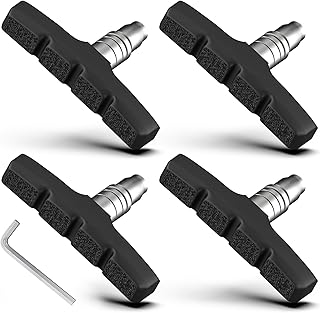
- Remove Brake Pads: Carefully detach the brake pads from the brake caliper
- Inspect Components: Check brake pads for wear, calipers for damage, and cables for fraying
- Reassemble Brakes: Reattach brake pads, lubricate moving parts, and test brake function

Identify Brake Type: Determine if your bike has rim brakes, disc brakes, or coaster brakes
To identify the type of brake on your bike, you need to examine the components closely. Rim brakes are the most common type and are easily recognizable by the brake pads that sit above the wheel rim. Disc brakes, on the other hand, have a rotor attached to the wheel hub and a caliper mounted near the rotor. Coaster brakes are less common and are typically found on older bikes; they engage when you pedal backward and disengage when you pedal forward.
Start by locating the brake lever on your handlebars. If the brake lever is connected to a cable that runs down to the wheel, you likely have rim brakes. Follow the cable to where it attaches to the brake arm, which should be positioned above the wheel rim. For disc brakes, you'll notice a hydraulic line running from the brake lever to the caliper near the rotor. Coaster brakes don't have an external brake lever; instead, they're engaged by pedaling backward.
Once you've identified the brake type, you can proceed with the appropriate repair or maintenance. For rim brakes, common issues include worn brake pads or misaligned brake arms. Disc brakes may require bleeding the hydraulic system or replacing the rotor. Coaster brakes often need adjustment or lubrication of the internal mechanism.
Remember to always consult your bike's manual for specific instructions and diagrams related to your brake system. If you're unsure about any part of the process, it's best to seek professional help from a bike mechanic. Properly functioning brakes are essential for safe riding, so don't hesitate to address any issues you encounter.
Efficiently Cleaning WD-40 Off Bike Brakes: A Simple Guide
You may want to see also
Explore related products



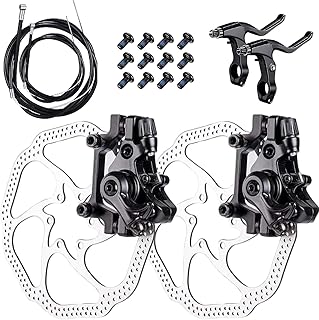

Gather Tools: Assemble necessary tools like screwdrivers, wrenches, pliers, and lubricant
Before diving into the intricacies of repairing rear bike brakes, it's crucial to ensure you have the right tools at your disposal. Gathering the necessary tools not only makes the process smoother but also helps avoid potential mishaps that could occur if you're caught mid-repair without the right equipment. Start by assembling a toolkit that includes various sizes of screwdrivers, both flathead and Phillips, to accommodate different screw types you may encounter. Wrenches are also essential, particularly adjustable wrenches that can handle various nut sizes. Pliers, including needle-nose pliers for precision work and slip-joint pliers for a stronger grip, are indispensable for manipulating small parts and wires. Lastly, don't forget to have a good quality lubricant on hand, such as silicone or Teflon-based lubes, to ensure smooth operation of the brake components once the repair is complete.
When selecting tools, consider the specific needs of your bike. For instance, if your bike has hexagonal bolts, you'll need Allen wrenches in the appropriate sizes. It's also a good idea to have a multi-tool or a compact toolkit that includes a variety of small tools, such as Torx drivers and hex keys, which can be particularly useful for bikes with integrated brake systems. Additionally, having a cable housing cutter and a cable end cap crimper can make brake cable replacement much easier. Remember, the goal is to be prepared for any eventuality, so it's better to have a tool and not need it than to need a tool and not have it.
Once you've gathered your tools, lay them out in an organized manner to ensure easy access during the repair process. This not only saves time but also reduces the risk of losing small parts or tools. If you're working in a shared space, make sure to label your tools or keep them in a designated area to avoid confusion or misplacement. Proper tool maintenance is also key; clean and lubricate your tools regularly to keep them in good working condition and extend their lifespan.
In summary, the 'Gather Tools' stage is a critical component of repairing rear bike brakes. By assembling a comprehensive toolkit and keeping it well-organized and maintained, you set yourself up for a successful and efficient repair process. This preparation not only enhances the quality of your work but also ensures a safer and more enjoyable experience.
Effortless Brake Caliper Removal: A Step-by-Step Guide for Bike Enthusiasts
You may want to see also
Explore related products


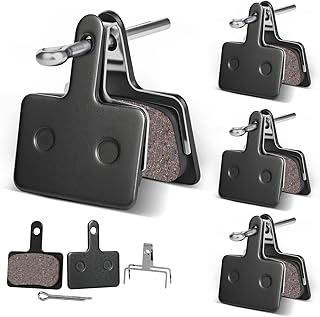


Remove Brake Pads: Carefully detach the brake pads from the brake caliper
Begin by ensuring your bike is securely positioned on a stand or against a stable surface, with the rear wheel at eye level. This will make it easier to access the brake components. Next, locate the brake caliper, which is typically mounted above the rear wheel. It's crucial to note that the brake pads are housed within the caliper, and your goal is to carefully remove them without damaging any parts.
Before proceeding, it's essential to understand the type of brake system your bike has. Most modern bikes use either rim brakes or disc brakes. Rim brakes have pads that press against the wheel rim, while disc brakes have pads that press against a rotor attached to the wheel hub. The removal process differs slightly between the two, so ensure you're familiar with your bike's system.
For rim brakes, start by loosening the brake cable clamp and gently pulling the cable through it. This will release the tension on the brake pads, allowing you to remove them. Disc brakes, on the other hand, require you to remove the caliper bolts and carefully slide the caliper off the rotor. Once the caliper is removed, you can take out the brake pads.
When removing the brake pads, be cautious not to touch the braking surface of the pads or the rotor, as oils from your skin can compromise their performance. If you're replacing the pads, ensure the new ones are compatible with your bike's brake system and follow the manufacturer's instructions for installation.
After removing the brake pads, inspect them for wear and tear. If they're excessively worn or damaged, it's time to replace them. Also, check the rotor for any signs of damage or excessive wear. If the rotor is worn beyond the manufacturer's recommended limit, it should be replaced as well.
Finally, once you've removed the brake pads, take a moment to clean the caliper and rotor with a soft cloth and mild detergent. This will help remove any dirt or debris that may have accumulated, ensuring optimal performance when you reinstall the brake pads or replace them with new ones.
Efficiently Clean Your Bike Disc Brakes: A Step-by-Step Guide
You may want to see also
Explore related products
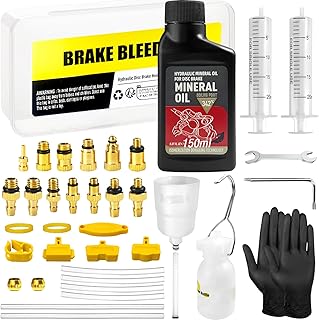


Inspect Components: Check brake pads for wear, calipers for damage, and cables for fraying
Begin by removing the rear wheel from the bike to access the brake components. This will allow for a thorough inspection of the brake pads, calipers, and cables. When examining the brake pads, look for signs of wear such as thinning, cracking, or uneven surfaces. If the pads are worn beyond the manufacturer's recommended thickness, they will need to be replaced.
Next, inspect the brake calipers for any damage or corrosion. Check that the calipers are properly aligned with the brake pads and that the mounting bolts are secure. If the calipers are damaged or not functioning correctly, they may need to be replaced or serviced by a professional.
Finally, examine the brake cables for fraying or other damage. If the cables are frayed, they will need to be replaced to ensure proper brake function. When replacing the cables, be sure to properly adjust the tension to ensure smooth and responsive braking.
Throughout the inspection process, it's important to refer to the bike's owner's manual for specific instructions and guidelines. This will help ensure that the inspection is done correctly and that any necessary repairs are made safely and effectively.
In addition to the inspection, it's also important to perform regular maintenance on the rear bike brakes to prevent issues from arising. This includes cleaning the brake components, lubricating the moving parts, and adjusting the brake tension as needed. By staying on top of maintenance, you can help prolong the life of your bike's brakes and ensure safe and reliable performance.
Mastering the Art of Removing Bike Wheels with Hydraulic Brakes
You may want to see also
Explore related products


Reassemble Brakes: Reattach brake pads, lubricate moving parts, and test brake function
Begin by carefully reattaching the brake pads to the caliper. Ensure that they are securely fastened and aligned properly with the rim. It's crucial to avoid any misalignment, as this can lead to uneven wear and reduced braking efficiency. Once the pads are in place, apply a small amount of lubricant to the moving parts of the caliper, such as the pivot points and the pad retention clips. This will help to reduce friction and ensure smooth operation.
After lubricating the moving parts, it's time to test the brake function. Start by gently squeezing the brake lever to ensure that the pads make contact with the rim. If the brake lever feels spongy or doesn't engage the pads properly, you may need to adjust the cable tension or bleed the brakes to remove any air bubbles. Once the brake lever engages the pads correctly, perform a series of test rides to ensure that the brakes are functioning as expected. Start with slow speeds and gradually increase to higher speeds, applying the brakes at various intervals to test their responsiveness and stopping power.
During the test rides, pay close attention to any unusual noises or sensations. If you hear any squealing or grinding sounds, it may indicate that the brake pads are not properly aligned or that there is debris caught between the pads and the rim. If you feel any vibration or wobbling when applying the brakes, it could be a sign of a warped rim or a loose component. Address any issues promptly to ensure safe and reliable braking performance.
Remember to always wear appropriate safety gear, such as a helmet and gloves, when working on your bike and when test riding. It's also a good idea to have a basic toolkit and a bike repair manual on hand to guide you through the process. By following these steps and paying close attention to detail, you can successfully reassemble and test your rear bike brakes, ensuring safe and efficient operation.
Mastering Bike Hand Brake Repair: A Step-by-Step Guide
You may want to see also