Matthew Brooks
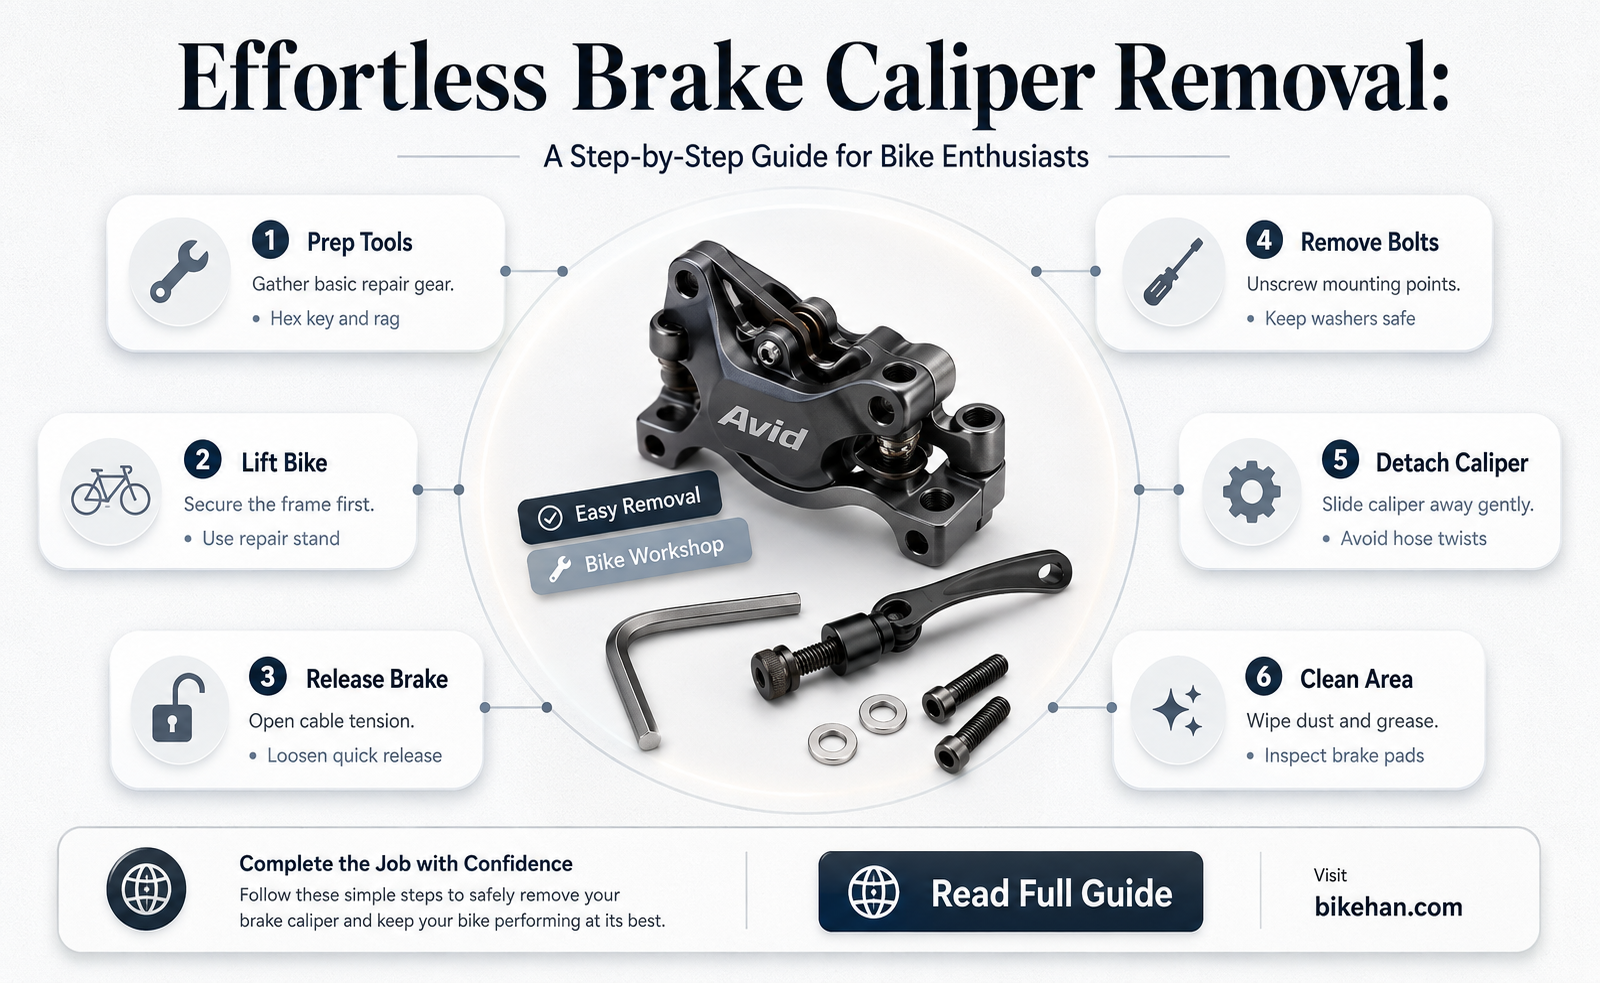
Removing a brake caliper from a bicycle is a common maintenance task that can be performed with the right tools and a bit of know-how. The process typically involves loosening the caliper mounting bolts, carefully removing the caliper from the frame or fork, and then disconnecting the brake pads and cable or hydraulic line. It's important to ensure that the bike is properly supported and that the brakes are fully disengaged before beginning this procedure. Additionally, it's crucial to follow the specific instructions for your bike's brake system, as different models may have unique requirements. By following these steps and taking necessary precautions, you can successfully remove a brake caliper from your bike for cleaning, repair, or replacement.
Explore related products


What You'll Learn
- Gather necessary tools: Assemble all required tools like wrenches, screwdrivers, and pliers before starting
- Loosen the bolts: Carefully loosen the bolts securing the caliper to the bike frame using appropriate tools
- Disconnect brake pads: Remove the brake pads from the caliper, ensuring not to damage them for future use
- Remove the caliper: Gently lift the caliper off the bike frame, taking care not to harm any components
- Clean and inspect: Clean the caliper and surrounding area, inspect for wear or damage, and replace parts if necessary

Gather necessary tools: Assemble all required tools like wrenches, screwdrivers, and pliers before starting
Before diving into the process of removing a brake caliper from a bike, it's crucial to ensure you have all the necessary tools at hand. This not only saves time but also prevents potential damage to your bike or injury to yourself. The essential tools for this task typically include a set of wrenches, screwdrivers, and pliers. Wrenches are needed to loosen and tighten bolts, screwdrivers to remove screws, and pliers to manipulate small parts or wires.
When assembling your toolkit, consider the specific type of brake caliper you're dealing with. Some calipers may require specialized tools, such as a caliper piston compressor or a bleed kit if you plan to bleed the brakes after removal. It's also wise to have a rag and some lubricant nearby to clean parts and ensure smooth reassembly.
Once you've gathered all the required tools, lay them out in an organized manner. This helps you keep track of everything and ensures you don't misplace any critical components during the process. Additionally, having your tools readily accessible can make the task more efficient and less frustrating.
Remember, safety should always be a priority. Wear appropriate protective gear, such as gloves and safety glasses, to protect yourself from sharp edges and debris. And if you're unsure about any part of the process, don't hesitate to consult a professional or a detailed repair manual specific to your bike model.
Mastering the Art of Removing Bike Wheels with Hydraulic Brakes
You may want to see also
Explore related products


Loosen the bolts: Carefully loosen the bolts securing the caliper to the bike frame using appropriate tools
Begin by identifying the correct bolts to loosen. Typically, these will be hex bolts or bolts with a flat head, depending on the bike's make and model. Ensure you have the appropriate tools, such as a hex key or a flathead screwdriver, to match the bolt type.
Next, position yourself so that you have easy access to the bolts. This may involve flipping the bike upside down or using a bike stand to elevate it to a comfortable working height. Make sure the bike is stable and secure before you begin working on it.
Carefully loosen the bolts by turning them counterclockwise. Apply steady pressure and avoid using excessive force, which could damage the bolts or the bike frame. If the bolts are particularly tight, you may need to use a lubricant, such as WD-40, to help loosen them.
As you loosen the bolts, keep track of the order in which you remove them. This will help you when reassembling the caliper later. Once the bolts are sufficiently loosened, you should be able to remove the caliper from the bike frame.
Remember to handle the caliper with care, as it is a delicate component. Avoid dropping it or applying unnecessary force, which could damage the caliper or the brake pads. With the caliper removed, you can now proceed to the next step in your brake maintenance or replacement process.
Reviving Your Ride: A Guide to Removing Rusted, Seized Brake Cables
You may want to see also
Explore related products


Disconnect brake pads: Remove the brake pads from the caliper, ensuring not to damage them for future use
Begin by ensuring your bike is securely positioned on a stand or against a stable surface to prevent it from falling over during the process. Next, locate the brake caliper, which is typically mounted near the wheel hub. Once you've identified the caliper, carefully remove the bolts that secure it to the bike frame. These bolts are usually found on the front or sides of the caliper.
After removing the bolts, gently pull the caliper away from the frame, taking care not to damage any of the components. You may need to wiggle the caliper slightly to free it from the frame. Once the caliper is removed, you can access the brake pads.
To remove the brake pads, locate the retaining clips or pins that hold them in place. These clips or pins are usually found on the sides of the caliper. Carefully remove them, and then gently pull the brake pads out of the caliper. Be sure to handle the brake pads with care to avoid damaging them for future use.
Inspect the brake pads for wear and tear. If they are worn down or damaged, it's best to replace them. If the brake pads are in good condition, you can reuse them when reassembling the brake system.
When reassembling the brake system, ensure that the brake pads are properly aligned with the caliper and that the retaining clips or pins are securely in place. Then, reattach the caliper to the bike frame, making sure the bolts are tightened securely. Finally, test the brakes to ensure they are functioning properly.
Effortless Brake Cable Removal: A Step-by-Step Guide for Bike Owners
You may want to see also
Explore related products


Remove the caliper: Gently lift the caliper off the bike frame, taking care not to harm any components
Begin by ensuring the bike is securely positioned on a stable surface or bike repair stand to prevent any accidental falls or damage during the process. It's crucial to have the necessary tools at hand, such as a set of hex keys or wrenches, to efficiently remove the caliper without causing any harm to the bike's components.
Gently lift the caliper off the bike frame, taking care not to harm any components. This step requires precision and patience, as the caliper is often attached with bolts that may be tight or rusted. Use the appropriate tool to loosen the bolts, applying steady pressure to avoid stripping them. Once the bolts are sufficiently loosened, carefully lift the caliper away from the frame, ensuring not to catch it on any other parts of the bike.
After removing the caliper, it's essential to inspect it for any signs of wear or damage. Check the brake pads for excessive wear and replace them if necessary. Also, examine the caliper for any bends or cracks that could compromise its performance. If the caliper appears to be in good condition, you can proceed with reinstallation or maintenance as needed.
When reinstalling the caliper, ensure that it is properly aligned with the brake rotor and that the bolts are tightened to the manufacturer's specifications. It's also a good idea to apply a small amount of lubricant to the bolts to prevent them from seizing in the future. Once the caliper is securely in place, test the brakes to ensure they are functioning correctly and make any necessary adjustments.
Remember, safety should always be a top priority when working on your bike. If you're unsure about any part of the process, it's best to consult a professional mechanic to avoid any potential risks or damage to your bike.
Effortless Maintenance: Swapping Out Bike Disk Brake Pads
You may want to see also
Explore related products


Clean and inspect: Clean the caliper and surrounding area, inspect for wear or damage, and replace parts if necessary
Begin by thoroughly cleaning the brake caliper and the surrounding area to remove any dirt, grime, or debris that may have accumulated. This can be done using a soft brush or cloth and a mild detergent solution. Be sure to clean all surfaces of the caliper, including the brake pads, pistons, and mounting bolts. Once the caliper is clean, dry it completely with a clean cloth to prevent any moisture from causing rust or corrosion.
Next, inspect the caliper for any signs of wear or damage. Look for any cracks, dents, or deformities in the caliper body, as well as any worn or damaged brake pads. Check the pistons for any signs of leakage or damage, and ensure that they are moving freely. If any parts of the caliper are found to be worn or damaged, they should be replaced immediately to ensure proper braking performance and safety.
When replacing parts, it is important to use high-quality, compatible components that are designed for your specific bike model. Refer to your bike's manual or consult with a professional mechanic to ensure that you are using the correct parts. Take care to properly install the new parts, following the manufacturer's instructions and torque specifications.
After replacing any necessary parts, reassemble the caliper and test it to ensure that it is functioning properly. Apply the brakes and check for any leaks or unusual noises. If any issues are detected, disassemble the caliper again and recheck the installation of the new parts.
Regular cleaning and inspection of the brake caliper is an essential part of bike maintenance, as it helps to ensure proper braking performance and safety. By following these steps, you can keep your bike's brakes in good working condition and avoid potential accidents or injuries.
Effortlessly Remove Your Bike's Disc Brakes: A Step-by-Step Guide
You may want to see also
Frequently asked questions
To remove a brake caliper from your bike, you will typically need a set of Allen wrenches or hex keys, a flathead screwdriver, and possibly a cable housing tool if you need to disconnect the brake cable.
To disconnect the brake cable from the caliper, first, locate the cable housing where it enters the caliper. Use a cable housing tool or a flathead screwdriver to pry open the housing and carefully pull the cable out. Make sure to keep the cable's tension in mind to avoid losing the small parts inside the housing.
After removing the brake cable, the next step is to remove the bolts that secure the caliper to the bike's frame or fork. Use the appropriate Allen wrench or hex key to loosen and remove these bolts. Be cautious not to overtighten or strip the bolts.
To properly store the brake caliper after removal, clean it thoroughly to remove any dirt or debris. Apply a light coat of lubricant to the moving parts to prevent rust and keep it in a dry, cool place. If you plan to reinstall it later, make sure to keep track of the bolts and any other small components that were removed during the process.