Megan Blake
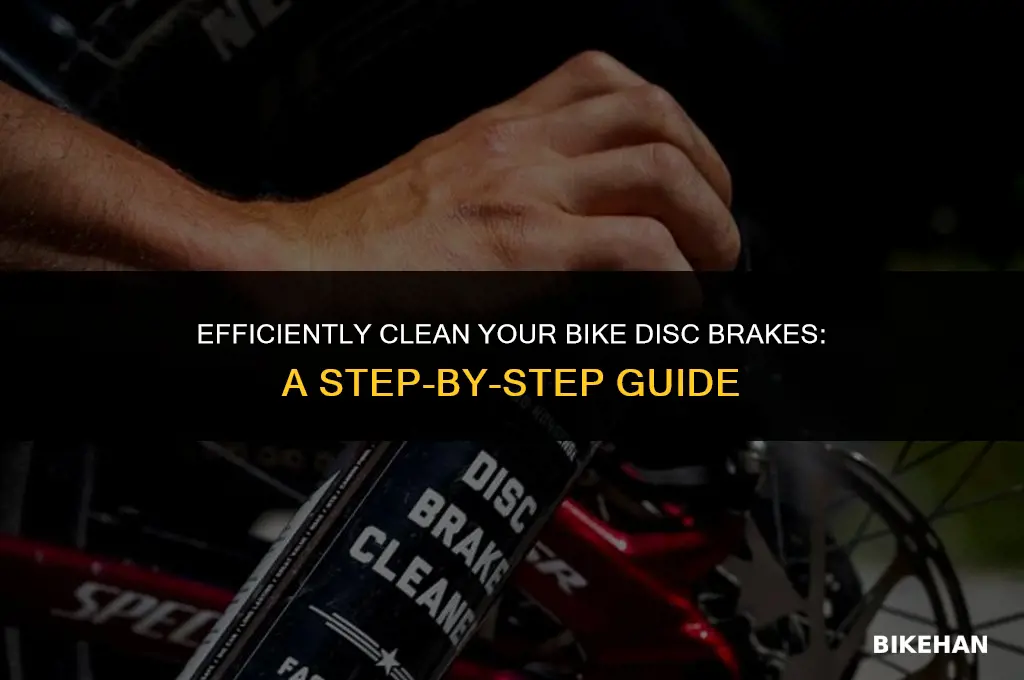
To effectively remove oil from bike disc brakes, it's essential to follow a meticulous cleaning process. Begin by disassembling the brake components, ensuring you have access to the rotor and caliper. Use a degreaser specifically designed for bicycle maintenance to dissolve the oil. Apply the degreaser to a clean cloth and gently scrub the affected areas, paying close attention to the rotor's surface and the caliper's piston. After the oil has been loosened, wipe away the degreaser and oil residue with a dry cloth. For stubborn stains, you may need to repeat the process. Once the components are clean, reassemble the brake system, ensuring all parts are securely fastened. This thorough cleaning method will help restore optimal braking performance and prolong the lifespan of your bike's disc brakes.
Explore related products


What You'll Learn
- Identify the Source: Determine if the oil is from the brake system or another part of the bike
- Gather Materials: Collect necessary cleaning supplies like isopropyl alcohol, cotton swabs, and paper towels
- Disassemble the Brake: Carefully remove the brake pads and rotor to access the contaminated areas
- Clean the Components: Use isopropyl alcohol and cotton swabs to clean the brake pads, rotor, and caliper
- Reassemble and Test: Once dry, reassemble the brake and test its performance to ensure proper function

Identify the Source: Determine if the oil is from the brake system or another part of the bike
To effectively remove oil from bike disc brakes, it's crucial to first identify the source of the oil. This involves a careful examination of the bike's components to determine whether the oil is originating from the brake system itself or from another part of the bike. Begin by inspecting the brake calipers and pads for any signs of oil residue. If oil is present in these areas, it's likely that the brake system is the source. However, if the calipers and pads appear clean, you may need to look elsewhere.
Next, check the bike's drivetrain, including the chain, derailleurs, and crankset, for any signs of oil leakage. Oil from the drivetrain can sometimes migrate to the brake system, especially if the bike has been ridden in wet or dirty conditions. If you find oil in the drivetrain, it's possible that this is the source of the oil on the brakes. In this case, you'll need to clean and lubricate the drivetrain components in addition to addressing the brake system.
Another potential source of oil on bike disc brakes is the suspension system, if the bike is equipped with one. Inspect the suspension components, including the shock absorbers and fork, for any signs of oil leakage. If oil is present in the suspension system, it may have seeped onto the brake components. In this scenario, you'll need to address the suspension system as well as the brakes.
Once you've identified the source of the oil, you can proceed with the appropriate cleaning and maintenance procedures. If the oil is from the brake system, you'll need to clean the calipers, pads, and rotors thoroughly. If the oil is from another part of the bike, such as the drivetrain or suspension, you'll need to address those components as well. Remember to use appropriate cleaning solvents and lubricants for each component, and to follow the manufacturer's recommendations for maintenance.
In conclusion, identifying the source of oil on bike disc brakes is a critical step in the cleaning and maintenance process. By carefully examining the bike's components and addressing the root cause of the oil, you can ensure that your bike's brakes are functioning properly and safely.
DIY Guide: Replacing Brake Pads on Your Caliper Bike
You may want to see also
Explore related products


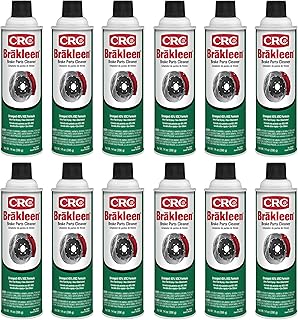
Gather Materials: Collect necessary cleaning supplies like isopropyl alcohol, cotton swabs, and paper towels
Before you begin the process of removing oil from your bike's disc brakes, it's crucial to gather all the necessary materials. This ensures that you have everything you need at hand, which will make the cleaning process more efficient and less frustrating. Start by collecting isopropyl alcohol, which is a powerful solvent that can effectively break down and remove oil residues. You'll also need cotton swabs, which are ideal for applying the alcohol to small, precise areas and for scrubbing away stubborn oil buildup. Additionally, have paper towels ready to wipe away any excess oil and to dry the brake components after cleaning.
When selecting your cleaning supplies, it's important to choose high-quality products that are specifically designed for cleaning bike brakes. Avoid using household cleaners or other chemicals that could damage the brake components or leave behind harmful residues. If you're unsure about which products to use, consult with a professional bike mechanic or do some research online to find recommended cleaning solutions.
Once you have all your materials gathered, make sure to work in a well-ventilated area to avoid inhaling any fumes from the isopropyl alcohol. It's also a good idea to wear gloves to protect your skin from the alcohol and any other chemicals you might be using. Before you start cleaning, remove the brake pads from the caliper to ensure that you can access all the components that need to be cleaned.
Begin by applying a small amount of isopropyl alcohol to a cotton swab and gently scrubbing the brake rotor. Be sure to cover the entire surface of the rotor, paying special attention to any areas with heavy oil buildup. After you've cleaned the rotor, use a paper towel to wipe away any excess oil and to dry the surface. Repeat this process with the brake caliper and the brake pads, making sure to clean all the nooks and crannies where oil can accumulate.
After you've cleaned all the brake components, allow them to dry completely before reassembling the brake system. This is important to ensure that no moisture remains in the system, which could lead to rust or other damage. Once everything is dry, reassemble the brake pads and caliper, and test the brakes to make sure they're functioning properly.
Remember, regular cleaning and maintenance of your bike's disc brakes is essential to ensure optimal performance and safety. By following these steps and using the right materials, you can keep your brakes in top condition and enjoy a smoother, safer ride.
Mastering the Art of BMX Bike Brake Removal: A Step-by-Step Guide
You may want to see also
Explore related products


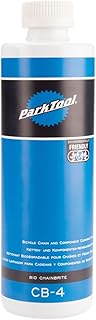


Disassemble the Brake: Carefully remove the brake pads and rotor to access the contaminated areas
Begin by ensuring the bike is securely positioned on a stand or hung from a repair rack to prevent any accidental falls or movements. Next, locate the brake caliper and carefully remove the brake pads. This may require pressing a retaining clip or unscrewing a bolt, depending on the specific brake model. Once the pads are removed, inspect them for wear and contamination. If they are excessively worn or heavily contaminated with oil, they will need to be replaced.
Proceed to remove the rotor by loosening the bolts that secure it to the wheel hub. Use a rotor truing tool or a flathead screwdriver to gently pry the rotor away from the hub, taking care not to damage the bearing seal. With the rotor removed, inspect it for any signs of warping or excessive wear. If the rotor is warped, it can be trued using a rotor truing tool. However, if it is excessively worn or damaged, it will need to be replaced.
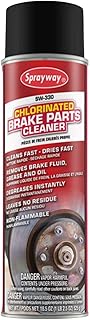
Now that the brake pads and rotor have been removed, you can access the contaminated areas. Use a clean rag or paper towel to wipe away any visible oil or debris. For stubborn contamination, you may need to use a degreaser or brake cleaner. Be sure to follow the manufacturer's instructions for any cleaning products used. Once the area is clean, inspect the brake caliper for any signs of damage or wear. If the caliper is damaged, it will need to be replaced.
Before reassembling the brake, apply a small amount of brake grease to the back of the brake pads. This will help to reduce friction and prevent the pads from sticking to the rotor. Reinstall the brake pads and rotor, ensuring that all bolts are tightened to the manufacturer's specifications. Finally, test the brake to ensure that it is functioning properly and make any necessary adjustments.
Effortless Brake Caliper Removal: A Step-by-Step Guide for Bike Enthusiasts
You may want to see also
Explore related products
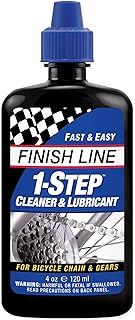



Clean the Components: Use isopropyl alcohol and cotton swabs to clean the brake pads, rotor, and caliper
Begin by preparing your cleaning solution. Mix a 50/50 solution of isopropyl alcohol and distilled water in a clean spray bottle. This mixture will effectively break down and remove oil without leaving any residue. Next, gather your cleaning tools: cotton swabs, a microfiber cloth, and a small brush, such as an old toothbrush, for more stubborn areas.
Start by spraying the brake pads with the cleaning solution. Use the cotton swabs to gently scrub the surface of the pads, working in a circular motion to lift away any oil or grime. Be careful not to apply too much pressure, as this can damage the pads. After scrubbing, use a clean, dry cotton swab to remove any excess moisture.
Move on to the rotor, spraying it with the cleaning solution and using the brush to scrub away any oil. Pay special attention to the grooves and edges of the rotor, as oil can accumulate in these areas. Once the rotor is clean, use the microfiber cloth to dry it thoroughly.
Finally, clean the caliper by spraying it with the cleaning solution and using the cotton swabs to wipe away any oil or dirt. Be sure to clean both the inside and outside of the caliper, as well as the bolts and other components. After cleaning, use the microfiber cloth to dry the caliper and ensure that all components are completely dry before reassembling the brake system.
Remember to always wear gloves when working with cleaning chemicals, and ensure that you are working in a well-ventilated area. Additionally, be sure to dispose of any used cleaning materials properly, as they may be hazardous.
Effortless Riding: A Guide to Removing Hand Brakes from Your Bike
You may want to see also
Explore related products


Reassemble and Test: Once dry, reassemble the brake and test its performance to ensure proper function
After carefully cleaning and drying the bike disc brakes, it's crucial to reassemble them correctly to ensure optimal performance and safety. Begin by reattaching the brake pads to the caliper, making sure they are securely fastened and aligned properly with the rotor. Next, reconnect the brake hose to the caliper, ensuring a tight seal to prevent any fluid leaks. Once the hose is connected, bleed the brakes to remove any air bubbles that may have entered the system during the cleaning process. This step is essential for maintaining the brake's responsiveness and effectiveness.
With the brakes reassembled, it's time to test their performance. Start by checking the brake lever's tension and adjust it if necessary to ensure a comfortable and safe braking experience. Then, take the bike for a test ride, gradually increasing your speed and applying the brakes at different intervals. Pay close attention to how the brakes respond, looking for any signs of sponginess, squealing, or uneven wear. If you notice any issues, return to your workspace and make the necessary adjustments before testing again.
During the testing phase, it's important to be aware of the brake's bedding-in process. This is a period where the brake pads and rotor wear down slightly to create a smooth, even surface for optimal braking performance. Bedding-in typically takes a few rides, so be patient and allow the brakes to adjust naturally. After this process is complete, your bike disc brakes should be functioning smoothly and efficiently, providing you with the confidence and control you need for a safe and enjoyable ride.
Effortless Maintenance: Swapping Out Bike Disk Brake Pads
You may want to see also
Frequently asked questions
The best method to remove oil from bike disc brakes is to use a degreaser specifically designed for bicycle maintenance. Spray the degreaser onto the brake pads and rotors, let it sit for a few minutes to penetrate the oil, and then wipe it off with a clean rag or paper towel.
Yes, you can use household items such as rubbing alcohol or white vinegar mixed with water to clean oil off your bike's disc brakes. However, be cautious as some household chemicals can be too harsh and may damage the brake components.
It's recommended to clean your bike's disc brakes every 100-200 miles or after riding in wet or muddy conditions. Regular cleaning helps prevent the buildup of oil, dirt, and debris that can reduce braking efficiency.
Avoid using abrasive materials like steel wool or harsh chemicals that can damage the brake pads and rotors. Also, be careful not to get any cleaning solution on the brake calipers or pistons, as this can cause corrosion or other damage.
It depends on the condition of your brake pads. If they are heavily worn or contaminated with oil and dirt, it may be necessary to replace them. However, if they are in good condition and you have cleaned them thoroughly, they should continue to function properly.