Ryan Cole
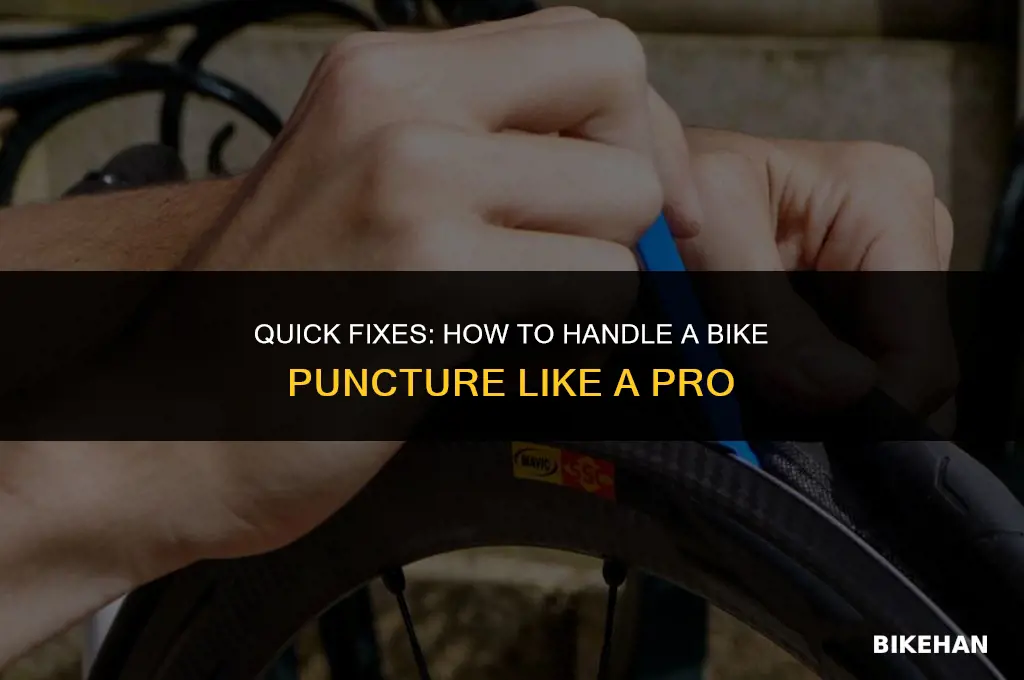
A bike puncture can be a common and frustrating issue for cyclists, but with the right knowledge and tools, it can be easily resolved. In this guide, we'll walk you through the steps to take when you encounter a puncture, from safely removing the wheel to patching the tube and getting back on the road. Whether you're a seasoned cyclist or a beginner, knowing how to fix a puncture is an essential skill that can save you time and money. So, let's dive in and learn how to handle this common cycling mishap like a pro!
Explore related products


What You'll Learn
- Safety First: Move to a safe location, away from traffic, and turn on your bike's lights or use reflective gear
- Assess the Damage: Check the tire for sharp objects, inspect the puncture, and determine if it's a simple fix or requires professional help
- Gather Tools and Materials: Collect necessary items like a pump, patch kit, spare tube, tire levers, and a multi-tool or small wrench
- Remove the Punctured Tube: Loosen the tire, remove the tube, and inspect it for damage. Replace if necessary
- Fix or Replace the Tube: Patch the puncture or insert a new tube, inflate the tire to the recommended pressure, and test the bike before continuing

Safety First: Move to a safe location, away from traffic, and turn on your bike's lights or use reflective gear
Immediately upon realizing you have a bike puncture, prioritize your safety by moving to a secure location away from traffic. This is crucial to avoid potential accidents or injuries. If you're on a busy road, carefully maneuver your bike to the side, ideally onto a shoulder or a designated bike lane if available. Once you've reached a safe spot, ensure you're visible to passing vehicles by turning on your bike's lights or using reflective gear. This is especially important if the puncture occurs during low-light conditions or at night.
Before attempting any repairs, take a moment to assess your surroundings. Look for any hazards or obstacles that could pose a risk while you're working on your bike. Ensure the area is well-lit and that you have enough space to comfortably address the puncture. If you're in a remote area, consider using your phone to notify someone of your situation or to call for assistance if needed.
When working on your bike, always follow proper safety protocols. Wear gloves to protect your hands from sharp objects and debris. If you're using tools, make sure they're the appropriate ones for the job and that you know how to use them correctly. Keep your focus on the task at hand and avoid distractions that could lead to mistakes or injuries.
In addition to personal safety, be mindful of your bike's condition. A puncture can sometimes be a sign of a more serious issue, such as a damaged rim or a worn-out tire. Inspect your bike thoroughly before making any repairs to ensure that it's safe to ride once the puncture is fixed. If you're unsure about the extent of the damage or how to proceed with repairs, it's always best to consult a professional mechanic.
Finally, remember to be prepared for future punctures by carrying essential repair items with you when you ride. This includes a spare tube, a pump or CO2 inflator, and basic tools like tire levers and a multi-tool. Knowing how to change a tire and being equipped to do so can make a significant difference in your safety and convenience when dealing with a bike puncture.
Choosing the Perfect E-Bike: A Comprehensive Guide for Beginners
You may want to see also
Explore related products



Assess the Damage: Check the tire for sharp objects, inspect the puncture, and determine if it's a simple fix or requires professional help
Upon encountering a bike puncture, the first step is to assess the damage. This involves a careful inspection of the tire to identify any sharp objects that may have caused the puncture. Common culprits include nails, glass shards, and small rocks. If a sharp object is found, it should be removed with caution to avoid further damage to the tire or injury to oneself.
Next, inspect the puncture itself. Determine its size and location, as this will influence the repair method. Small punctures, typically less than 1/8 inch in diameter, can often be repaired with a patch kit. Larger punctures or those located on the sidewall of the tire may require a more extensive repair or even replacement of the tire.
If the puncture is small and you have a patch kit, you can attempt a simple fix. Clean the area around the puncture with a cloth or sandpaper to ensure a good seal. Apply a small amount of glue to the patch and press it firmly over the puncture, holding it in place for the recommended time. Once the glue has set, inflate the tire to the proper pressure and check for leaks.
However, if the puncture is large or located on the sidewall, it's best to seek professional help. A bike shop can provide a more durable repair or replace the tire if necessary. They may use a technique called "booting," where a patch is applied to the inside of the tire, or they may replace the entire tube.
In some cases, the damage may be too extensive for a simple repair. If the tire is old or worn, it may be more cost-effective to replace it entirely. A new tire will provide better performance and safety in the long run.
Remember, prevention is key. Regularly inspect your tires for signs of wear or damage, and avoid riding over sharp objects or rough terrain. Proper tire maintenance can help prevent punctures and extend the life of your tires.
Pedal to Freedom: Your Guide to Obtaining a Bike License
You may want to see also
Explore related products


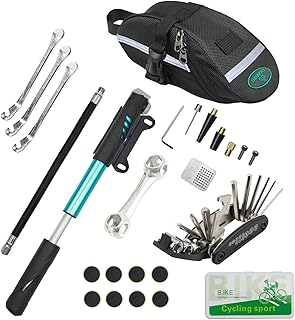
Gather Tools and Materials: Collect necessary items like a pump, patch kit, spare tube, tire levers, and a multi-tool or small wrench
Before you can begin the process of fixing a bike puncture, it's essential to have all the necessary tools and materials at hand. This will save you time and frustration, and ensure that you can complete the repair safely and effectively. Start by collecting the following items: a pump, patch kit, spare tube, tire levers, and a multi-tool or small wrench.
The pump is crucial for inflating the tire once the puncture has been repaired. Make sure you have a pump that is compatible with your bike's valve type, and that it is in good working condition. A patch kit will provide you with the necessary patches, glue, and sandpaper to repair the puncture. It's a good idea to have a spare tube on hand as well, in case the puncture is too large to be patched or if you encounter another puncture on your ride.
Tire levers are essential for removing the tire from the rim, and a multi-tool or small wrench will come in handy for loosening and tightening the bolts on your bike's wheel. It's also a good idea to have a small container or bag to store these tools and materials in, so that you can easily transport them with you on your bike.
Once you have gathered all the necessary tools and materials, you can proceed with the process of fixing the puncture. Remember to always follow safety guidelines and seek professional help if you are unsure about any aspect of the repair process. With the right tools and materials, you can quickly and easily fix a bike puncture and get back on the road.
Choosing the Perfect Bike Size: A Comprehensive Guide
You may want to see also
Explore related products


Remove the Punctured Tube: Loosen the tire, remove the tube, and inspect it for damage. Replace if necessary
Begin by ensuring the bike is safely positioned on a flat surface and that you have the necessary tools: a tire lever, a spare tube, and a pump. It’s crucial to work in a well-lit area to avoid missing any small punctures or damage. Start by loosening the tire using the tire lever, working your way around the rim to release the tire from the wheel. Be cautious not to damage the rim or the tire itself during this process.
Once the tire is sufficiently loosened, carefully remove it from the wheel, taking note of the position of the valve stem. This will help you align the tire correctly when reinstalling it. With the tire removed, extract the punctured tube by gently pulling it out through the valve hole. Inspect the tube thoroughly for any signs of damage, such as punctures, tears, or abrasions. If the damage is extensive or if you cannot locate the puncture, it is advisable to replace the tube entirely.
When replacing the tube, ensure that the new one is the correct size and type for your tire. Inflate the new tube slightly before inserting it into the tire to give it shape and make it easier to fit. Carefully insert the tube into the tire, making sure it is not twisted or folded. Once the tube is in place, inflate the tire to the recommended pressure, checking for any leaks or issues.
Reinstall the tire onto the wheel, ensuring that the valve stem is properly aligned and that the tire is seated correctly on the rim. Tighten the tire securely, using the tire lever if necessary, and double-check that everything is properly inflated and secure. Finally, test the tire by giving it a few spins and checking for any wobbles or irregularities. With these steps completed, you should be ready to get back on the road.
Navigating the Aftermath: Steps to Take If You're Hit by a Bike
You may want to see also
Explore related products


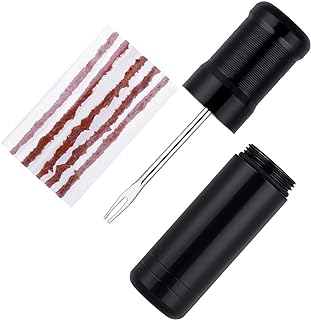
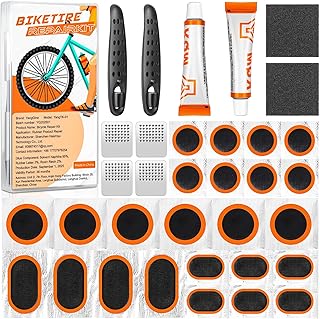


Fix or Replace the Tube: Patch the puncture or insert a new tube, inflate the tire to the recommended pressure, and test the bike before continuing
Once you've located the puncture, the next step is to fix or replace the tube. If the puncture is small and manageable, patching it can be a quick and effective solution. To do this, clean the area around the puncture thoroughly to ensure the patch adheres properly. Then, apply a suitable patch kit, following the manufacturer's instructions carefully. Make sure to press the patch firmly onto the tube and hold it in place for the recommended time.
If the puncture is too large to patch, or if you're unsure about your patching skills, replacing the tube is the safer option. To replace the tube, carefully remove the old tube from the tire, taking note of how it's positioned. Insert the new tube, making sure it's properly aligned with the tire's valve stem. Inflate the tire to the recommended pressure, which can usually be found on the tire's sidewall. It's important to use a pump with a gauge to ensure you reach the correct pressure.
Before continuing your ride, it's crucial to test the bike to ensure everything is working properly. Check that the tire is securely attached to the rim and that there are no leaks. Take the bike for a short spin to make sure the puncture is fully resolved and that the tire is holding air as it should. If you encounter any issues during the test ride, it's best to address them before continuing.
Remember, safety should always be your top priority when dealing with bike punctures. If you're unsure about any part of the process, it's better to seek professional help from a bike mechanic. They can provide expert advice and ensure your bike is safe to ride.
Choosing the Perfect Bike Chain: A Comprehensive Guide
You may want to see also
Frequently asked questions
Immediately after getting a bike puncture, you should find a safe place to stop riding, preferably away from traffic. Turn your bike upside down to access the wheels more easily.
To determine if the puncture is on the inner tube or the tire, remove the wheel from the bike. Inflate the inner tube separately to see if it holds air. If it doesn't, the puncture is likely in the inner tube. If it does hold air, then the puncture is probably in the tire.
To fix a bike puncture, you'll need a few essential tools: a hand pump or CO2 inflator, a set of tire levers, a patch kit or a spare inner tube, and a wrench or pliers to remove the wheel nuts.
To patch an inner tube, first locate the puncture. Clean the area around the puncture with a cloth or sandpaper. Apply a small amount of glue to the patch and place it over the puncture, pressing firmly. Allow the glue to dry completely before inflating the tube and reinstalling it in the tire.