Matthew Brooks
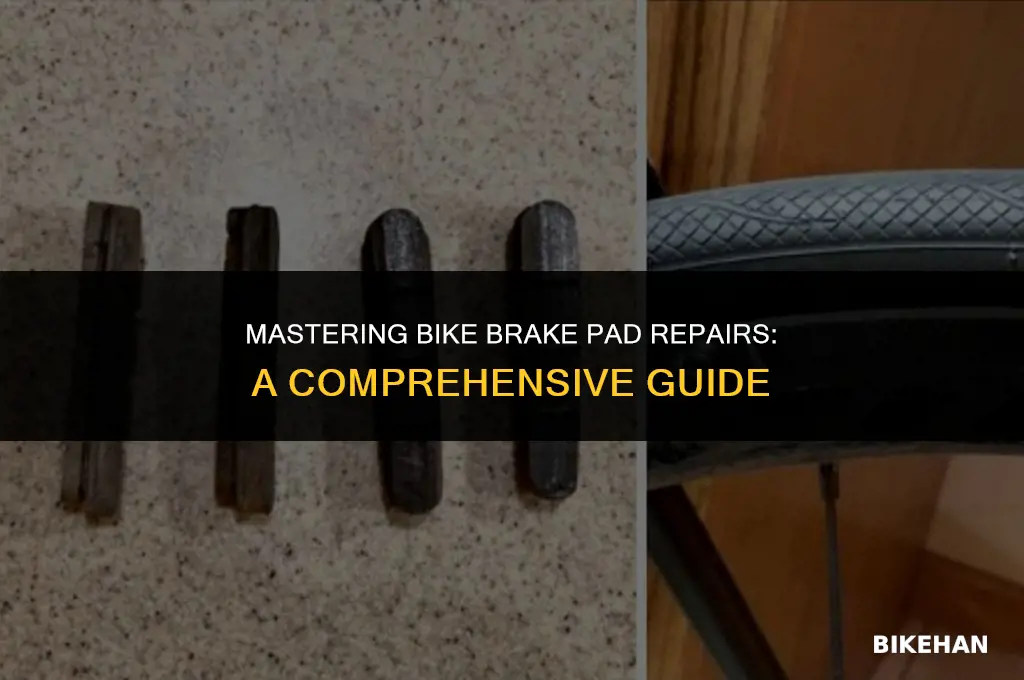
Repairing bike brake pads is an essential maintenance task for ensuring safe and efficient cycling. Over time, brake pads wear down due to friction and heat generated during braking, which can compromise their effectiveness. This guide will walk you through the process of replacing worn brake pads with new ones, covering the necessary tools, safety precautions, and step-by-step instructions. By following these guidelines, you can restore your bike's braking performance and enjoy a smoother, safer ride.
Explore related products


What You'll Learn
- Inspect brake pads: Check for wear, cracks, or damage. Replace if necessary
- Clean brake components: Remove dirt and debris from pads, rotors, and calipers
- Lubricate moving parts: Apply lubricant to caliper pins and other moving parts
- Adjust brake cable tension: Ensure proper tension for effective braking
- Test brakes: Check for proper function and adjust as needed

Inspect brake pads: Check for wear, cracks, or damage. Replace if necessary
Begin by removing the wheel from the bicycle to access the brake pads. This typically involves loosening the axle nuts or quick-release lever, carefully removing the wheel, and setting it aside. Ensure the bicycle is securely supported on a stand or against a stable surface to prevent it from falling during the inspection process.
Next, locate the brake pads on the brake caliper. The brake pads are usually positioned on either side of the rotor, within the caliper housing. Gently pry the brake pads out of the caliper using a flathead screwdriver or a specialized brake pad removal tool. Be cautious not to damage the caliper or the rotor during this process.
Once the brake pads are removed, inspect them closely for signs of wear, cracks, or damage. Brake pads should have a smooth, even surface without any significant grooves or indentations. Check for any cracks or breaks in the pad material, as well as any signs of rust or corrosion. If the brake pads are worn down to less than 1/8 inch (3 mm) of their original thickness, or if they exhibit any cracks or damage, they should be replaced.
When replacing brake pads, it's essential to use the correct type and size for your specific bicycle. Consult your bicycle's manual or a professional bike mechanic to ensure you're using the right brake pads. Install the new brake pads by carefully aligning them with the caliper housing and gently pressing them into place. Make sure the pads are securely seated and that there's no debris or dirt on the contact surfaces.
After installing new brake pads, it's crucial to test the brakes to ensure they're functioning properly. Spin the wheel and apply the brakes to check for any rubbing or squealing sounds. Adjust the brake caliper if necessary to ensure the pads are making proper contact with the rotor. Once you're satisfied that the brakes are working correctly, reassemble the wheel and test ride the bicycle to ensure safe and effective braking performance.
Mastering the Art of Removing Bike Wheels with Hydraulic Brakes
You may want to see also
Explore related products


Clean brake components: Remove dirt and debris from pads, rotors, and calipers
Begin by disassembling the brake system to access the individual components. This typically involves removing the wheel, loosening the brake caliper bolts, and carefully sliding the caliper off the rotor. Once the caliper is removed, you can take out the brake pads.
To clean the brake pads, use a soft-bristled brush to remove any loose dirt or debris. Then, use a clean cloth dampened with isopropyl alcohol to wipe down the pads, ensuring you remove any grease or grime. Allow the pads to dry completely before reinstalling them.
For the rotors, use a degreaser specifically designed for bike brakes to remove any oil or grease buildup. Apply the degreaser to a clean cloth and wipe the rotor surface thoroughly. After degreasing, use a soft-bristled brush to remove any remaining debris. Finish by wiping the rotor with a clean, dry cloth to remove any residue.
When cleaning the calipers, be cautious not to get any cleaning fluids inside the piston area, as this can cause damage. Use a clean cloth to wipe down the exterior of the caliper, and a soft-bristled brush to remove any dirt from the brake pad contact area. If necessary, use a small amount of degreaser on a cloth to clean the caliper's moving parts, but be sure to wipe away any excess fluid.
After cleaning all the components, reassemble the brake system, making sure to tighten the caliper bolts securely. Test the brakes to ensure they are functioning properly and make any necessary adjustments.
Revive Your Ride: Effective Rust Removal for Bike Disc Brakes
You may want to see also
Explore related products


Lubricate moving parts: Apply lubricant to caliper pins and other moving parts
To ensure smooth operation and prolong the life of your bike's braking system, it's crucial to lubricate the moving parts regularly. This includes the caliper pins, which are the small but vital components that allow the brake caliper to move freely and apply pressure to the brake pads. Over time, these pins can become dry and rusty, leading to reduced performance and potential brake failure.
Begin by removing the brake caliper from the bike frame. This typically involves loosening the bolts that secure the caliper to the frame and carefully pulling it away. Once the caliper is removed, locate the caliper pins. These are usually found on either side of the caliper, where the brake pads are housed.
Before applying lubricant, it's important to clean the caliper pins thoroughly. Use a degreaser or a solvent to remove any dirt, grime, or old lubricant. A clean cloth or a small brush can be used to scrub the pins, ensuring that all surfaces are free from debris. After cleaning, allow the pins to dry completely before proceeding.
Now, apply a small amount of lubricant to each caliper pin. It's essential to use a lubricant that is specifically designed for bike brakes, as these products are formulated to withstand the high temperatures and pressures generated during braking. Avoid using too much lubricant, as excess can attract dirt and lead to a buildup of grime.
Reassemble the brake caliper, ensuring that all bolts are tightened to the correct specification. Test the brakes to ensure that they are functioning properly and make any necessary adjustments. Regularly inspecting and maintaining the brake system, including lubricating the moving parts, is key to ensuring safe and reliable performance.
Efficiently Clean Your Bike Disc Brakes: A Step-by-Step Guide
You may want to see also
Explore related products


Adjust brake cable tension: Ensure proper tension for effective braking
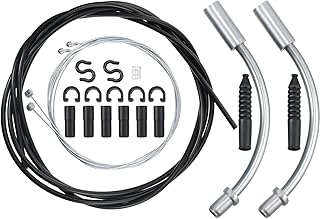
To adjust the brake cable tension on a bicycle, you'll need to locate the barrel adjuster, which is typically found where the brake cable enters the brake caliper. This small cylindrical component allows you to fine-tune the tension of the brake cable. Begin by loosening the barrel adjuster slightly, which will reduce the tension on the brake cable. This will make it easier to remove the old brake pads and install new ones.
Once the new brake pads are in place, you'll need to gradually increase the tension on the brake cable using the barrel adjuster. Turn the adjuster clockwise to tighten the cable, but be careful not to overtighten it. You want the brake pads to make contact with the rim of the wheel when you apply the brakes, but you don't want them to be so tight that they rub against the rim when the brakes are not applied.
A good way to test the tension is to apply the brakes and then spin the wheel. If the wheel spins freely, the tension is too loose. If the wheel doesn't spin at all, the tension is too tight. Adjust the barrel adjuster accordingly until you find the sweet spot where the brakes engage smoothly and the wheel spins freely when the brakes are not applied.
It's important to note that different types of brakes may require different methods for adjusting the cable tension. For example, some brakes may have a tension screw instead of a barrel adjuster. In these cases, you'll need to consult the manufacturer's instructions for the specific brake model you're working with.
Finally, after you've adjusted the brake cable tension, it's a good idea to test the brakes on a flat surface before taking the bike out for a ride. This will ensure that the brakes are working properly and that you've achieved the desired level of tension. Remember, proper brake cable tension is crucial for effective braking and for ensuring your safety while riding.
Effortless Wheel Removal: A Guide for Bikes with Rim Brakes
You may want to see also
Explore related products


Test brakes: Check for proper function and adjust as needed
After replacing or adjusting your bike's brake pads, it's crucial to test the brakes to ensure they're functioning correctly. Start by pumping the brake lever to build up pressure in the system. Then, while the bike is stationary, apply the brakes and check for any sponginess or softness in the lever. If the lever feels soft or doesn't engage the brake pads properly, you may need to bleed the brakes to remove any air from the system.
Next, take the bike for a test ride and apply the brakes in various conditions, such as when going uphill, downhill, or on different road surfaces. Pay attention to how the brakes respond and make any necessary adjustments to the brake cable tension or pad positioning. It's important to note that new brake pads may require a break-in period before they reach optimal performance.
During your test ride, also check for any unusual noises or vibrations when applying the brakes. If you notice any issues, inspect the brake pads and rotors for any signs of wear or damage. In some cases, you may need to replace the rotors if they're too worn or warped.
Finally, after testing and adjusting the brakes, it's a good idea to clean the brake pads and rotors to remove any debris or residue that may have accumulated during the repair process. This will help ensure smooth and consistent braking performance. Remember to always follow the manufacturer's guidelines for your specific bike model when testing and adjusting the brakes.
Effortlessly Remove Your Bike's Disc Brakes: A Step-by-Step Guide
You may want to see also
Frequently asked questions
To replace your bike's brake pads, you'll need a few basic tools. These typically include a set of hex keys (Allen wrenches), a flathead screwdriver, and possibly a cable housing cutter if you need to replace the brake cable as well. Additionally, having a good set of gloves and safety glasses is recommended for protection.
Brake pads should be replaced when they become too thin. Most brake pads have a wear indicator line on them; when the pad material wears down to this line, it's time to replace them. Additionally, if you notice a decrease in braking performance, such as longer stopping distances or a spongy feel when you apply the brakes, it may be an indication that your brake pads are worn out.
The type of brake pads you should buy depends on the type of brakes your bike has. There are two main types: rim brakes and disc brakes. Rim brakes use pads that press against the rim of the wheel, while disc brakes use pads that press against a rotor attached to the wheel hub. Make sure to buy pads that are compatible with your bike's brake system.
Installing new brake pads involves several steps. First, you'll need to remove the old pads. This usually involves loosening a bolt or screw that holds the pad in place. Once the old pads are removed, clean the brake caliper and rotor with a degreaser and a clean cloth. Then, install the new pads by aligning them with the caliper and securing them with the bolt or screw. Finally, test the brakes to make sure they're working properly.