Ryan Cole
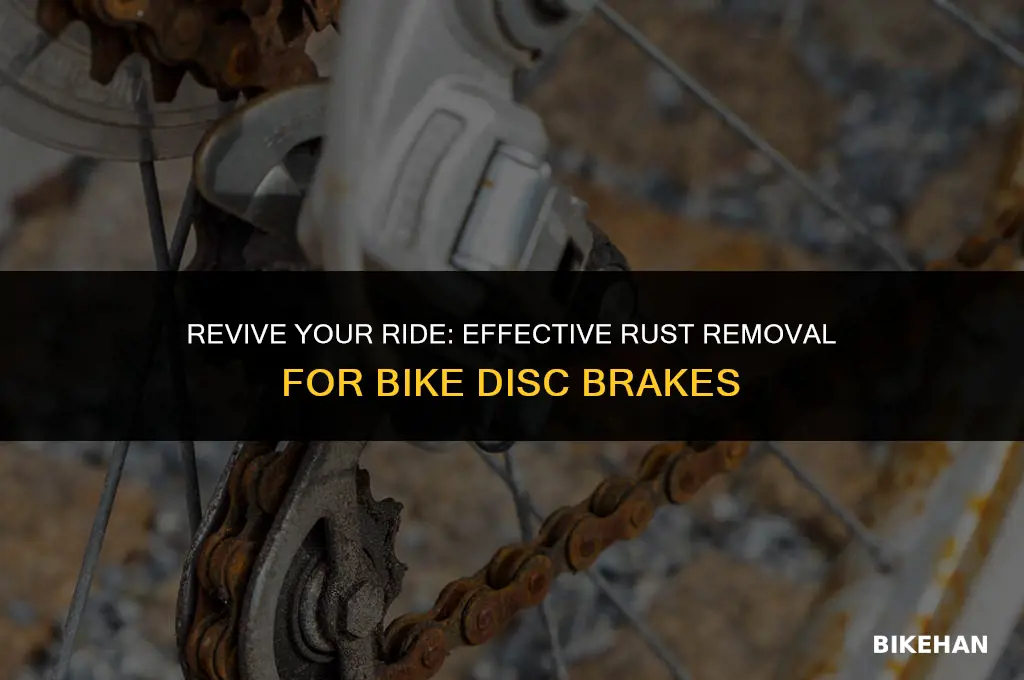
Removing rust from a bike disc brake is crucial for maintaining optimal performance and safety. Rust can compromise the braking system's effectiveness, leading to longer stopping distances and potential accidents. To tackle this issue, you'll need to disassemble the brake components and use a combination of mechanical and chemical methods to eliminate the rust. This process involves careful handling and attention to detail to ensure that all rust is removed without damaging the brake parts. By following the steps outlined in this guide, you can restore your bike's disc brake to its original condition, ensuring reliable and safe braking performance.
Explore related products


What You'll Learn
- Preparation: Gather necessary tools and materials, including gloves, goggles, and a well-ventilated workspace
- Cleaning: Thoroughly clean the brake disc with a degreaser and a soft brush to remove dirt and grime
- Rust Removal: Apply a rust remover or a mixture of baking soda and water to the affected areas, let it sit, then scrub gently
- Rinsing and Drying: Rinse the brake disc with clean water and dry it completely with a soft cloth to prevent further rusting
- Reassembly and Testing: Reattach the brake pads and caliper, then test the brake's performance to ensure it's functioning properly

Preparation: Gather necessary tools and materials, including gloves, goggles, and a well-ventilated workspace
Before embarking on the task of removing rust from a bike disc brake, it is crucial to prepare adequately to ensure both safety and effectiveness. The first step involves gathering the necessary tools and materials. Essential items include gloves to protect your hands from sharp edges and chemicals, goggles to shield your eyes from debris and rust particles, and a well-ventilated workspace to avoid inhaling harmful fumes.
In addition to personal protective equipment, you will need specific tools tailored for bike maintenance. A disc brake piston compressor tool is vital for safely compressing the pistons to access the brake pads and rotor. A set of hex keys and screwdrivers will be necessary for disassembling various components of the brake system. Lubricants, such as silicone spray or grease, are also important for reassembling parts and ensuring smooth operation post-cleaning.
When selecting a workspace, opt for an area with ample natural light and airflow. This will not only make it easier to see small parts and rust spots but also help dissipate any chemical vapors quickly. If working indoors, ensure that windows and doors are open to maintain good ventilation. Lay out all your tools and materials within easy reach to streamline the process and minimize the risk of misplacing or forgetting crucial items.
Before beginning the rust removal process, inspect your bike’s disc brake system thoroughly. Check for any signs of excessive wear, damage, or other issues that may require more extensive repairs or replacement of parts. This preliminary assessment will help you determine the scope of the task and identify any potential complications early on.
With your tools and workspace ready, you can proceed to the next steps of removing rust from your bike’s disc brake. Remember, proper preparation is key to a successful and safe rust removal process. By taking the time to gather the right tools and set up an appropriate workspace, you set yourself up for a more efficient and effective repair.
Effortless Maintenance: Swapping Out Bike Disk Brake Pads
You may want to see also
Explore related products


Cleaning: Thoroughly clean the brake disc with a degreaser and a soft brush to remove dirt and grime
Begin the cleaning process by selecting an appropriate degreaser designed for use on bicycle components. Avoid using harsh chemicals or abrasive cleaners, as these can damage the brake disc's surface. Apply the degreaser to a soft brush, such as a toothbrush or a specialized cleaning brush, and gently scrub the entire surface of the brake disc. Pay particular attention to any areas with stubborn dirt or grime buildup.
As you clean, be sure to rotate the brush in a circular motion to effectively remove all contaminants. It may be helpful to occasionally rinse the brush in clean water to prevent the buildup of dirt and degreaser. Continue scrubbing until the brake disc is completely clean and free of any residue.
Once the cleaning is complete, thoroughly rinse the brake disc with clean water to remove any remaining degreaser. It is important to ensure that no degreaser is left on the disc, as it can interfere with the brake pads' ability to grip the disc properly. After rinsing, use a clean, dry cloth to dry the brake disc, taking care to remove any excess moisture.
Before proceeding to the next step in the rust removal process, inspect the brake disc for any signs of damage or wear. If the disc appears to be in good condition, you can move on to addressing the rust. However, if the disc shows significant wear or damage, it may be necessary to replace it to ensure safe and effective braking performance.
Remember to always follow the manufacturer's instructions for any cleaning products or tools used in the rust removal process. Additionally, be sure to wear appropriate safety gear, such as gloves and eye protection, to prevent any injuries during the cleaning and rust removal process.
Mastering the Art of BMX Bike Brake Removal: A Step-by-Step Guide
You may want to see also
Explore related products


Rust Removal: Apply a rust remover or a mixture of baking soda and water to the affected areas, let it sit, then scrub gently
To effectively remove rust from a bike disc brake, it's essential to use the right cleaning agents and techniques. A rust remover or a homemade mixture of baking soda and water can be highly effective in tackling rust. When applying the solution, ensure that it covers the affected areas completely. Let the solution sit for a few minutes to allow it to penetrate and break down the rust.
After the solution has had time to work, gently scrub the area with a soft brush or cloth. Avoid using abrasive materials or harsh scrubbing motions, as these can damage the brake surface. For stubborn rust, you may need to reapply the solution and let it sit for a longer period before scrubbing again.
It's important to note that while baking soda and water can be effective for minor rust, more severe cases may require a commercial rust remover. These products often contain stronger acids or chelating agents that can more effectively dissolve rust. When using a commercial rust remover, always follow the manufacturer's instructions and take appropriate safety precautions, such as wearing gloves and working in a well-ventilated area.
Once the rust has been removed, it's crucial to dry the brake surface thoroughly to prevent any moisture from causing further rusting. You can use a clean, dry cloth or a hairdryer on a low setting to ensure that the area is completely dry. After drying, inspect the brake surface for any remaining rust or damage. If the rust has been successfully removed and the brake surface is in good condition, you can reassemble the brake components and test the brake to ensure it's functioning properly.
In summary, removing rust from a bike disc brake requires patience, the right cleaning agents, and gentle scrubbing techniques. By following these steps, you can effectively remove rust and restore your bike's braking performance.
Revive Your Ride: Effective Methods to Remove Rust from Bike Brakes
You may want to see also
Explore related products


Rinsing and Drying: Rinse the brake disc with clean water and dry it completely with a soft cloth to prevent further rusting
After successfully removing rust from your bike's disc brake using the appropriate tools and techniques, it's crucial to properly rinse and dry the brake disc to prevent any further rusting. This step is often overlooked but is essential in maintaining the longevity and performance of your brake system.
Begin by thoroughly rinsing the brake disc with clean water. This will help remove any remaining rust particles, debris, and cleaning solution from the surface of the disc. Be sure to use a gentle stream of water to avoid causing any additional damage to the brake disc.
Once the disc is rinsed, it's important to dry it completely using a soft, clean cloth. This will help prevent water spots and further rusting. Gently pat the disc dry, being careful not to apply too much pressure which could potentially scratch the surface.
For added protection against rust, you may want to consider applying a rust-inhibiting lubricant to the brake disc. This will help create a protective barrier against moisture and other corrosive elements. Be sure to follow the manufacturer's instructions for application and reapplication.
Regular maintenance, including proper rinsing and drying after each use, can help extend the life of your bike's disc brake system and ensure optimal performance. By taking the time to properly care for your brake system, you can avoid costly repairs and replacements down the line.
Effortless Brake Cable Removal: A Step-by-Step Guide for Bike Owners
You may want to see also
Explore related products


Reassembly and Testing: Reattach the brake pads and caliper, then test the brake's performance to ensure it's functioning properly
After carefully removing the rust from the bike's disc brake, the next crucial step is reassembling the brake components and testing their performance. Begin by reattaching the brake pads to the caliper, ensuring they are securely fastened and properly aligned. It's essential to check that the pads are not worn out and have sufficient thickness to provide adequate stopping power.
Once the brake pads are in place, reattach the caliper to the bike's frame, making sure it is firmly secured and correctly positioned over the rotor. Double-check all bolts and screws to ensure they are tightened to the manufacturer's specifications. Failure to do so could result in the caliper coming loose during use, which could lead to dangerous situations.
With the brake components reassembled, it's time to test the brakes' performance. Start by pumping the brake lever to ensure there is no air in the system and that the brakes are properly engaged. Then, perform a series of tests to evaluate the brakes' responsiveness and effectiveness. This can include gentle braking while riding at a slow speed, as well as more aggressive braking while riding at higher speeds.
During the testing process, pay close attention to any unusual noises, vibrations, or sensations. If you notice any issues, such as the brakes not engaging properly or making strange noises, it's important to address them immediately. This may involve readjusting the brake components, checking for any loose bolts or screws, or even replacing worn-out brake pads.
In conclusion, reassembling and testing the brakes is a critical step in the process of removing rust from a bike's disc brake. By carefully following these instructions and paying close attention to the brakes' performance, you can ensure that your bike is safe to ride and that its braking system is functioning properly.
Effortless Front Brake Removal on Public Bikes: A Step-by-Step Guide
You may want to see also
Frequently asked questions
Rust on bike disc brakes is commonly caused by exposure to moisture and salt, especially in coastal areas or regions with heavy road salt use. Infrequent use or storage in damp conditions can also contribute to rust formation.
To remove rust from a bike disc brake, you will need:
- A soft brush or cloth
- A rust remover solution or a mixture of baking soda and water
- A clean, dry cloth for wiping
- Protective gloves and eyewear
- Lubricant for re-application after rust removal
To prevent rust from forming on bike disc brakes:
- Regularly clean and dry the brakes after use, especially in wet or salty conditions.
- Apply a thin layer of lubricant to the brake components.
- Store the bike in a dry, sheltered location when not in use.
- Consider using rust-resistant brake pads and rotors for added protection.