Matthew Brooks
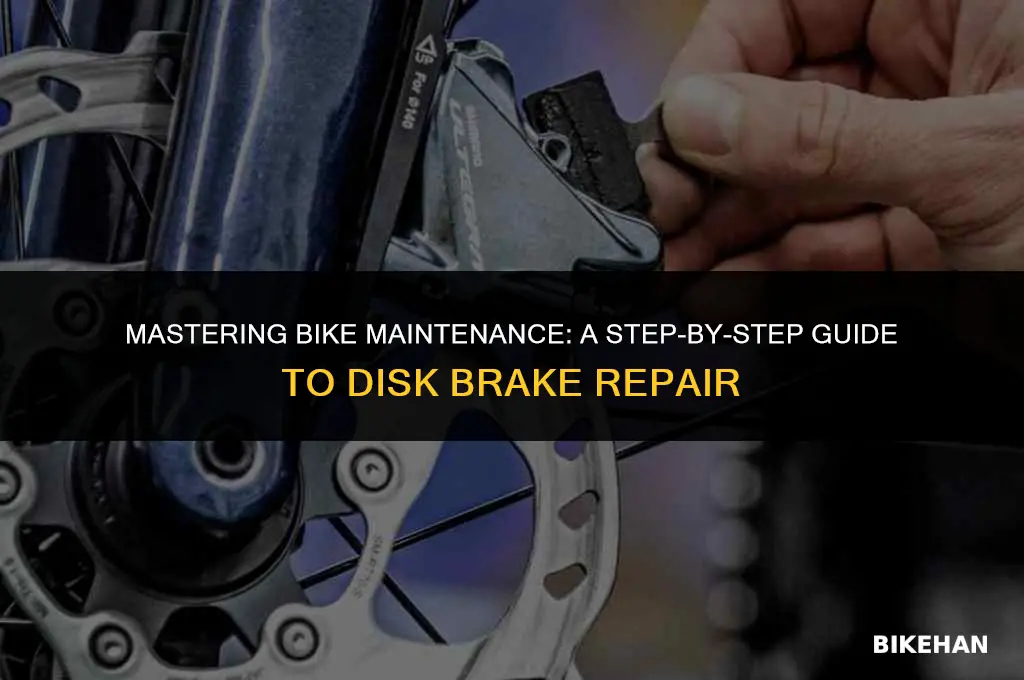
Repairing a disk brake on a bike can seem daunting, but with the right tools and knowledge, it's a task that many cyclists can tackle themselves. Disk brakes are known for their superior stopping power and reliability, especially in wet conditions, making them a popular choice for modern bicycles. However, like any mechanical system, they require regular maintenance and occasional repairs to ensure optimal performance. In this guide, we'll walk you through the process of diagnosing common issues, disassembling the brake system, and performing necessary repairs or replacements. Whether you're dealing with a noisy brake, a spongy lever, or a completely failed system, this step-by-step tutorial will help you get your bike's disk brakes back in top working condition.
| Characteristics | Values |
|---|---|
| Task Type | Maintenance |
| Difficulty Level | Intermediate |
| Required Tools | Allen wrenches, brake pads, brake caliper tool, lubricant, rag |
| Estimated Time | 30 minutes to 1 hour |
| Safety Precautions | Wear gloves, ensure bike is securely clamped, avoid touching brake rotor |
| Applicable Bike Types | Road bikes, mountain bikes, hybrid bikes |
| Brake Type | Disk brake |
| Common Issues Addressed | Squeaking, grinding, reduced braking power |
| Replacement Parts | Brake pads, brake rotor (if damaged) |
| Frequency of Maintenance | Every 500-1000 miles or as needed |
| Environmental Considerations | Dispose of old brake pads responsibly, use eco-friendly lubricant |
| Cost Estimate | $20-$50 (depending on parts needed) |
| Skill Level Required | Basic mechanical knowledge, ability to follow instructions |
| Potential Risks | Injury from sharp edges, improper brake function if not done correctly |
| Recommended Resources | Online tutorials, bike repair manuals, local bike shop assistance |
Explore related products


What You'll Learn
- Gathering Tools and Parts: Essential items needed for the repair, including wrenches, screwdrivers, and brake pads
- Removing the Wheel: Steps to safely detach the wheel from the bike frame to access the brake system
- Inspecting the Brake System: Checking for wear and damage on the brake pads, rotors, and calipers
- Replacing Brake Pads: Detailed process on how to swap out old brake pads for new ones
- Reassembling and Testing: Putting the wheel back on, reattaching the brake cable, and testing the brake's performance

Gathering Tools and Parts: Essential items needed for the repair, including wrenches, screwdrivers, and brake pads
Before diving into the intricacies of repairing a disc brake, it's crucial to ensure you have all the necessary tools and parts at hand. This not only saves time but also prevents potential mishaps that could occur if you're interrupted mid-repair. The essential items for this task include a set of wrenches, screwdrivers, and brake pads. Wrenches are vital for loosening and tightening bolts, while screwdrivers are necessary for adjusting various components. Brake pads, of course, are the primary parts you'll be replacing.
When selecting wrenches, it's important to have a range of sizes to accommodate different bolts. A set of combination wrenches is ideal, as they offer both open and closed ends, providing versatility and better grip. For screwdrivers, both flathead and Phillips head are necessary, and having a set with interchangeable bits can be highly beneficial. Ensure the screwdrivers are of good quality to prevent stripping screws.
Brake pads come in various types, including organic, semi-metallic, and metallic. Organic pads are quieter and produce less heat, making them suitable for casual riders. Semi-metallic pads offer a balance between performance and noise, while metallic pads provide superior stopping power but are louder and can wear out rotors faster. Choose the type that best suits your riding style and needs.
In addition to these primary tools and parts, it's also advisable to have a few other items on hand. A torque wrench can help ensure bolts are tightened to the correct specification, preventing damage to components. A set of hex keys is often required for adjusting brake calipers and other parts. Lubricant, specifically designed for bike brakes, can help maintain smooth operation and prevent squealing. Finally, a clean rag and some degreaser are essential for removing old grease and grime, ensuring a clean working environment.
Remember, safety should always be a priority when working on your bike. Wear gloves to protect your hands from sharp edges and chemicals, and ensure your bike is securely mounted on a stand or hung from a repair rack to prevent it from falling. With the right tools and parts, and a focus on safety, you'll be well-equipped to tackle the task of repairing a disc brake.
Effortless Brake Removal: A Step-by-Step Guide for Bike Enthusiasts
You may want to see also
Explore related products



Removing the Wheel: Steps to safely detach the wheel from the bike frame to access the brake system
To safely detach the wheel from the bike frame and access the brake system, begin by ensuring the bike is securely positioned on a stand or against a stable surface. This prevents any accidental movement that could lead to injury or damage. Next, locate the quick-release lever or thru-axle on the wheel hub. For quick-release levers, open the lever by pulling it outward, then lift the wheel off the frame. If your bike uses a thru-axle, you'll need to remove the thru-axle using the appropriate tool, typically a 5mm Allen wrench. Once the thru-axle is removed, carefully slide the wheel out of the frame.
Before proceeding, it's crucial to disconnect the brake caliper from the wheel. This involves removing the bolts that secure the caliper to the frame or fork. Use the correct size Allen wrench or socket to avoid stripping the bolts. After the bolts are removed, gently pull the caliper away from the rotor, ensuring not to damage the brake pads or rotor surface. With the wheel and caliper separated, you can now access the brake system components for inspection or replacement.
When reassembling, follow the reverse steps, ensuring each component is securely fastened. Double-check that the quick-release lever or thru-axle is tightened to the manufacturer's specifications to prevent the wheel from coming loose during a ride. Test the brakes by squeezing the brake levers and ensuring the pads make proper contact with the rotor. If you're unsure about any step in this process, it's always best to consult your bike's manual or seek assistance from a professional mechanic.
Effortless Maintenance: Swapping Out Bike Disk Brake Pads
You may want to see also
Explore related products


Inspecting the Brake System: Checking for wear and damage on the brake pads, rotors, and calipers
Begin by removing the wheel from the bike to access the brake system. This will allow you to inspect the brake pads, rotors, and calipers for any signs of wear or damage. The brake pads should be checked for uneven wear, which can indicate misalignment of the calipers or rotors. Look for any cracks or chips in the pads, as these can compromise their effectiveness.
Next, inspect the rotors for any warping or scoring. Warped rotors can cause the brake pads to wear unevenly and may also lead to a decrease in braking power. Scoring, or deep grooves in the rotor surface, can also reduce braking efficiency and should be addressed. If the rotors are damaged, they may need to be replaced or resurfaced.
The calipers should be checked for any signs of corrosion or damage. Corrosion can cause the calipers to seize, which will prevent them from opening and closing properly. Look for any leaks around the caliper pistons, as this can indicate a problem with the brake fluid system. If the calipers are damaged, they may need to be replaced.
After inspecting the brake system, it's important to clean and lubricate the components to ensure smooth operation. Use a degreaser to remove any dirt or grime from the brake pads, rotors, and calipers. Then, apply a lubricant specifically designed for bike brakes to the moving parts of the calipers and the rotor surface.
Finally, reassemble the brake system and test it to ensure proper function. Squeeze the brake lever and make sure the brake pads engage the rotor smoothly and evenly. If there are any issues with the brake system, such as spongy or weak braking, further inspection and repair may be necessary.
Efficiently Cleaning WD-40 Off Bike Brakes: A Simple Guide
You may want to see also
Explore related products


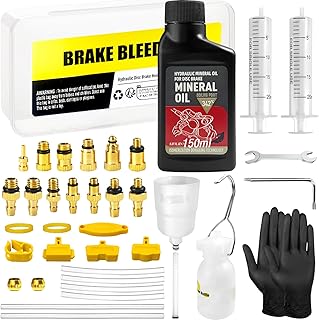
Replacing Brake Pads: Detailed process on how to swap out old brake pads for new ones
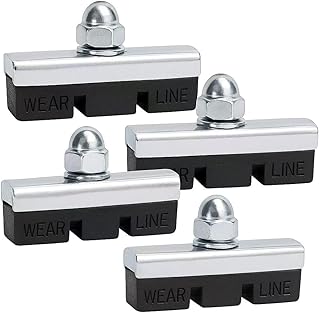
Begin by ensuring your bike is securely positioned on a flat surface, preferably using a bike stand to keep it stable. Remove the wheels and set them aside, taking care not to damage the rotors. Next, locate the brake calipers, which are typically mounted near the rotors. Depending on your bike's model, you may need to remove the calipers to access the brake pads. This usually involves unbolting the caliper from the frame or fork and carefully pulling it away from the rotor.
Once the calipers are removed, inspect the brake pads for wear and tear. If they are worn down to less than 1/8 inch, it's time to replace them. To remove the old pads, locate the retaining clips or pins that hold them in place. These can often be removed using a small Allen wrench or screwdriver. Gently pry the old pads out of the caliper, taking care not to damage the surrounding components.
Before installing the new brake pads, clean the caliper and rotor with a soft cloth and mild detergent to remove any dirt or debris. This will ensure a smooth surface for the new pads to make contact with the rotor. Apply a small amount of brake grease to the back of the new pads, being careful not to get any on the front surface that will contact the rotor.
Insert the new brake pads into the caliper, making sure they are properly aligned and seated. Replace the retaining clips or pins, ensuring they are securely fastened. Reattach the calipers to the frame or fork, making sure the bolts are tightened to the manufacturer's specifications.
Finally, reattach the wheels and test the brakes to ensure they are functioning properly. Squeeze the brake levers and check that the pads make solid contact with the rotors, stopping the bike effectively. If you notice any issues, such as squealing or uneven wear, you may need to adjust the calipers or pads.
Remember to always follow the manufacturer's instructions for your specific bike model, and consider consulting a professional mechanic if you are unsure about any part of the process.
Reviving Your Ride: A Step-by-Step Guide to Reopening Disc Brakes on Your Bike
You may want to see also
Explore related products


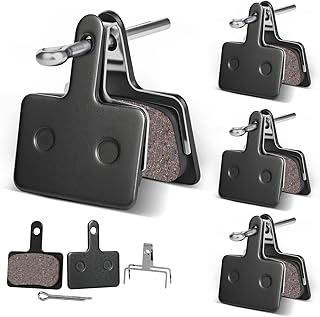


Reassembling and Testing: Putting the wheel back on, reattaching the brake cable, and testing the brake's performance
With the brake caliper and pads reinstalled, it's time to reassemble the wheel and test the brake's performance. Begin by carefully placing the wheel back onto the bike frame, ensuring that the axle is properly aligned with the fork. Tighten the axle nut by hand, then use a wrench to secure it firmly in place. Be cautious not to overtighten, as this can damage the axle or the fork.
Next, reattach the brake cable to the caliper. Start by threading the cable through the caliper's cable guide, then pull it taut and secure it with the cable clamp. Make sure the cable is properly tensioned, as a loose cable can result in poor braking performance. Once the cable is secured, adjust the brake lever's tension to ensure smooth and responsive braking.
Before taking the bike out for a test ride, perform a quick safety check. Spin the wheel to ensure it's properly aligned and that the brake pads are making even contact with the rotor. Check that the brake lever and caliper are functioning smoothly, and that there are no signs of leaks or damage.
When you're ready to test the brakes, find a safe, flat area to ride. Start at a slow speed and apply the brakes gently, gradually increasing the pressure to test their responsiveness and stopping power. Be sure to test both the front and rear brakes, as well as the overall balance and stability of the bike.
If you encounter any issues during the test ride, such as spongy or unresponsive brakes, take the bike back to your workspace and recheck your work. It's important to ensure that the brakes are functioning properly before riding the bike on the road or trail. With a little patience and attention to detail, you'll be able to enjoy a safe and smooth ride with your newly repaired disk brakes.
Fixing Your Ride: A Step-by-Step Guide to Repairing Bike Brake Cables
You may want to see also