Lauren Kennedy
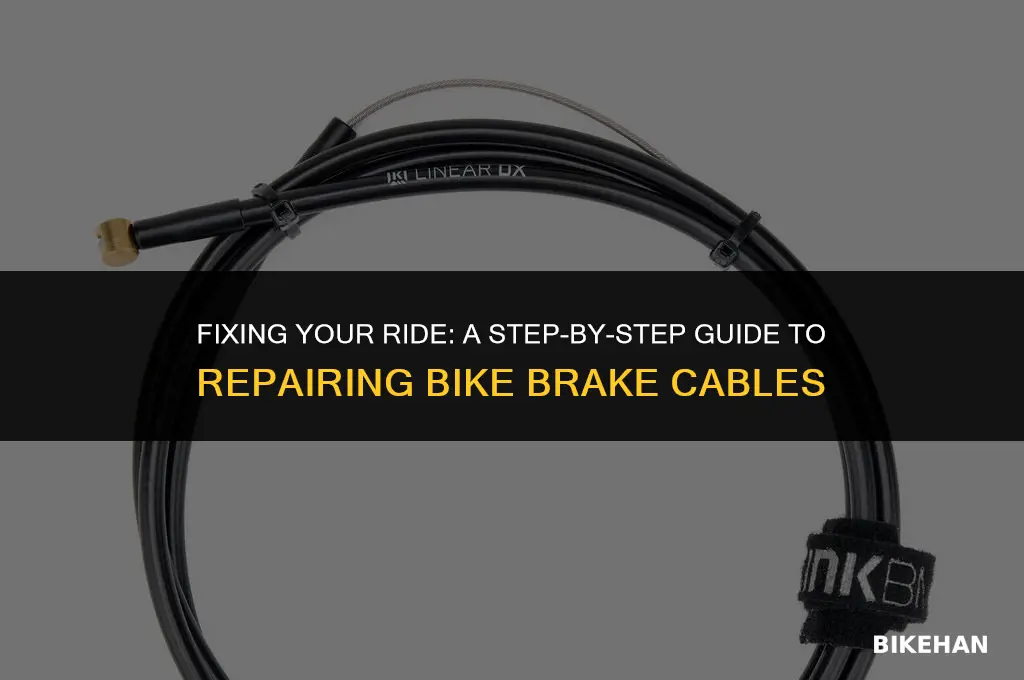
Repairing a bike brake cable is a crucial maintenance task that ensures your bicycle's braking system functions safely and effectively. Over time, brake cables can become worn, frayed, or stretched, compromising their ability to provide reliable stopping power. In this guide, we'll walk you through the step-by-step process of replacing a damaged brake cable on your bike. With just a few basic tools and some patience, you can restore your bicycle's brakes to like-new condition, ensuring a safer and more enjoyable riding experience.
Explore related products


What You'll Learn
- Gather Tools and Materials: Essential items for brake cable repair include new cable, housing, lubricant, wire cutters, and hand tools
- Remove Old Cable: Carefully detach the old brake cable from the housing and the brake lever, noting the routing path
- Prepare New Cable: Cut the new cable to the appropriate length, leaving extra for adjustments. Lubricate the cable for smooth operation
- Install New Cable: Thread the new cable through the housing, ensuring it's properly seated. Attach it securely to the brake lever
- Adjust and Test: Fine-tune the cable tension for optimal braking performance. Test the brakes to ensure they're functioning correctly and safely

Gather Tools and Materials: Essential items for brake cable repair include new cable, housing, lubricant, wire cutters, and hand tools
Before embarking on the task of repairing a bike brake cable, it's crucial to ensure you have all the necessary tools and materials at hand. This not only saves time but also ensures the repair process is smooth and efficient. Essential items include new brake cable, cable housing, lubricant, wire cutters, and various hand tools. Each of these components plays a vital role in the repair process.
The new brake cable is the primary replacement part. It's important to choose a cable that is compatible with your bike's braking system. Cable housing protects the cable from environmental factors and mechanical damage, ensuring longevity and optimal performance. Lubricant is used to reduce friction between the cable and housing, allowing for smoother operation of the brakes. Wire cutters are necessary for trimming the cable to the correct length, and hand tools, such as screwdrivers and wrenches, are used for disassembling and reassembling parts of the braking system.
When selecting tools and materials, consider the quality and durability of each item. High-quality components may cost more upfront but are likely to result in a more reliable and long-lasting repair. Additionally, ensure that the tools are appropriate for the specific type of brake system on your bike. For example, some bikes may require specialized tools for certain components.
Once you have gathered all the necessary items, it's a good idea to lay them out in an organized manner. This helps to visualize the repair process and ensures that you have everything you need before starting. Remember, safety should always be a priority when working on your bike. Wear appropriate protective gear, such as gloves and safety glasses, and work in a well-lit, stable environment.
In summary, gathering the right tools and materials is a critical first step in repairing a bike brake cable. By ensuring you have everything you need, you can avoid interruptions and complications during the repair process, leading to a more efficient and successful outcome.
Effortless Disc Brake Rotor Removal: A Step-by-Step Guide for Bike Enthusiasts
You may want to see also
Explore related products


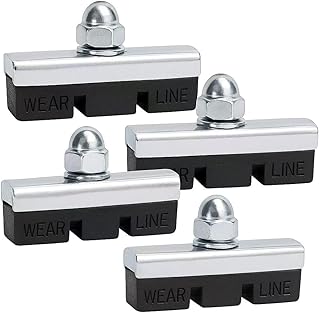

Remove Old Cable: Carefully detach the old brake cable from the housing and the brake lever, noting the routing path
Begin by locating the brake cable housing, which is typically found along the frame of the bicycle, running from the handlebars to the brakes. Identify the brake lever, which is the part you squeeze to activate the brakes. The old brake cable will be attached to both the housing and the lever.
Using a cable cutter or a sharp pair of scissors, carefully cut the old brake cable, leaving enough slack to easily remove it from the housing and lever. Be cautious not to damage the housing or the lever during this process. Once the cable is cut, gently pull it out of the housing, noting the path it takes. This will help you when installing the new cable.
Next, remove the old brake cable from the brake lever. This may require loosening a small bolt or screw that secures the cable to the lever. Again, be careful not to damage any parts during this process. After removing the old cable, inspect the housing and lever for any signs of wear or damage. If any issues are found, address them before proceeding with the installation of the new cable.
When removing the old cable, it's important to keep track of the routing path, as this will be crucial when installing the new cable. The routing path may include specific guides or clips that the cable must pass through. Make sure to note these details, as they will help ensure a smooth installation process.
Finally, dispose of the old brake cable properly, as it may be sharp and could cause injury if not handled carefully. With the old cable removed and the routing path noted, you are now ready to proceed with the installation of the new brake cable.
Mastering Brake Removal: A Step-by-Step Guide for Hydraulic Bike Brakes
You may want to see also
Explore related products
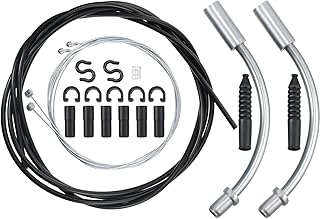


Prepare New Cable: Cut the new cable to the appropriate length, leaving extra for adjustments. Lubricate the cable for smooth operation
Begin by measuring the length of the existing brake cable on your bike. This will give you a baseline for how long the new cable needs to be. It's crucial to leave some extra length for adjustments, as brake cables can stretch slightly over time and you may need to tighten or loosen them. A good rule of thumb is to add about 10-15% extra length to your measurement.
Once you've determined the appropriate length, use a sharp pair of cable cutters to snip the new cable to size. Make sure the cut is clean and straight, as a frayed or angled cut can lead to fraying or difficulty in threading the cable through the bike's brake system. After cutting, use a cable end cap to prevent the cut end from fraying further.
Before installing the new cable, it's important to lubricate it for smooth operation. This will help reduce friction and wear on both the cable and the brake system. Use a lubricant specifically designed for bike cables, applying a thin layer along the entire length of the cable. Be sure to wipe off any excess lubricant, as too much can attract dirt and debris, leading to a buildup of grime that can impair brake function.
When threading the new cable through the bike's brake system, be patient and methodical. Start at the brake lever and work your way through the housing and around the brake caliper. Make sure the cable is properly seated in the housing and that there are no kinks or bends that could impede its movement. Once the cable is fully threaded, pull it taut and secure it with the cable clamp at the brake caliper.
Finally, test the brake system to ensure that the new cable is functioning properly. Squeeze the brake lever and make sure the brakes engage smoothly and consistently. If you notice any issues, such as sponginess or inconsistent braking, you may need to adjust the cable tension or check for any issues with the brake system itself. With proper preparation and installation, your new brake cable should provide reliable and efficient braking performance.
Mastering the Art of BMX Bike Brake Removal: A Step-by-Step Guide
You may want to see also
Explore related products


Install New Cable: Thread the new cable through the housing, ensuring it's properly seated. Attach it securely to the brake lever
Begin by preparing the new cable for installation. Cut the cable to the appropriate length, leaving enough slack to thread it through the housing and attach it to the brake lever. Strip the cable's outer sheath to expose the inner wire, and crimp a cable end cap onto the exposed wire to prevent fraying.
Next, locate the cable housing on your bike. This is typically a plastic or metal tube that runs from the brake lever to the brake caliper. Remove the old cable from the housing, and inspect the housing for any damage or debris. If the housing is damaged, replace it before proceeding.
Thread the new cable through the housing, starting from the brake lever end. Use a cable threading tool or a piece of wire to help guide the cable through the housing. Ensure that the cable is properly seated within the housing, and that there are no kinks or bends that could impede its movement.
Once the cable is threaded through the housing, attach it securely to the brake lever. This typically involves screwing a cable clamp onto the lever, making sure that the cable is taut but not over-tightened. Test the brake lever to ensure that it moves smoothly and that the cable is properly tensioned.
Finally, test the brakes to ensure that they are functioning properly. Squeeze the brake lever and make sure that the brake pads engage the rim of the wheel without any hesitation or squealing. If the brakes are not functioning properly, re-adjust the cable tension and test again.
Remember to always wear safety gear, such as gloves and eye protection, when working on your bike. And if you're not comfortable with any part of the process, it's always best to consult a professional mechanic.
Effortless Brake Removal: A Step-by-Step Guide for Bike Enthusiasts
You may want to see also
Explore related products



Adjust and Test: Fine-tune the cable tension for optimal braking performance. Test the brakes to ensure they're functioning correctly and safely
To fine-tune the cable tension for optimal braking performance, begin by locating the barrel adjuster where the cable enters the brake caliper. This small cylindrical component allows for precise adjustments to the cable's tension. Turn the barrel adjuster clockwise to increase tension or counterclockwise to decrease it. It's crucial to make these adjustments incrementally, testing the brake lever's feel after each turn.
Once the tension is adjusted, test the brakes to ensure they're functioning correctly and safely. Start by applying gentle pressure to the brake lever and gradually increase the force. The brake pads should make contact with the rim smoothly and without any hesitation. If the brakes squeal or feel spongy, further adjustments to the cable tension may be necessary. Additionally, check that the brake pads are not rubbing against the rim when the brakes are not engaged, as this can lead to premature wear and reduced braking efficiency.
During the testing phase, pay close attention to the brake lever's travel distance. The lever should move freely and return to its original position without any sticking or resistance. If the lever feels stiff or doesn't return fully, it may indicate a problem with the cable routing or a potential issue with the brake caliper itself. In such cases, it's advisable to inspect the cable for any kinks or damage and ensure that the caliper is properly aligned with the rim.
After fine-tuning the cable tension and testing the brakes, it's essential to perform a safety check. Engage the brakes firmly and hold the bike steady. If the brakes fail to hold the bike in place or if there's any noticeable slippage, it may be necessary to replace the brake pads or cables. Regular maintenance and periodic checks are crucial to ensure the longevity and safety of your bike's braking system.
Remember, when working on your bike's brakes, it's always better to err on the side of caution. If you're unsure about any aspect of the adjustment or testing process, consider consulting a professional mechanic or seeking guidance from a reliable online resource. Properly functioning brakes are essential for a safe and enjoyable cycling experience.
Fixing Your Ride: A Step-by-Step Guide to Repairing a Bike's Back Brake Line
You may want to see also