Megan Blake
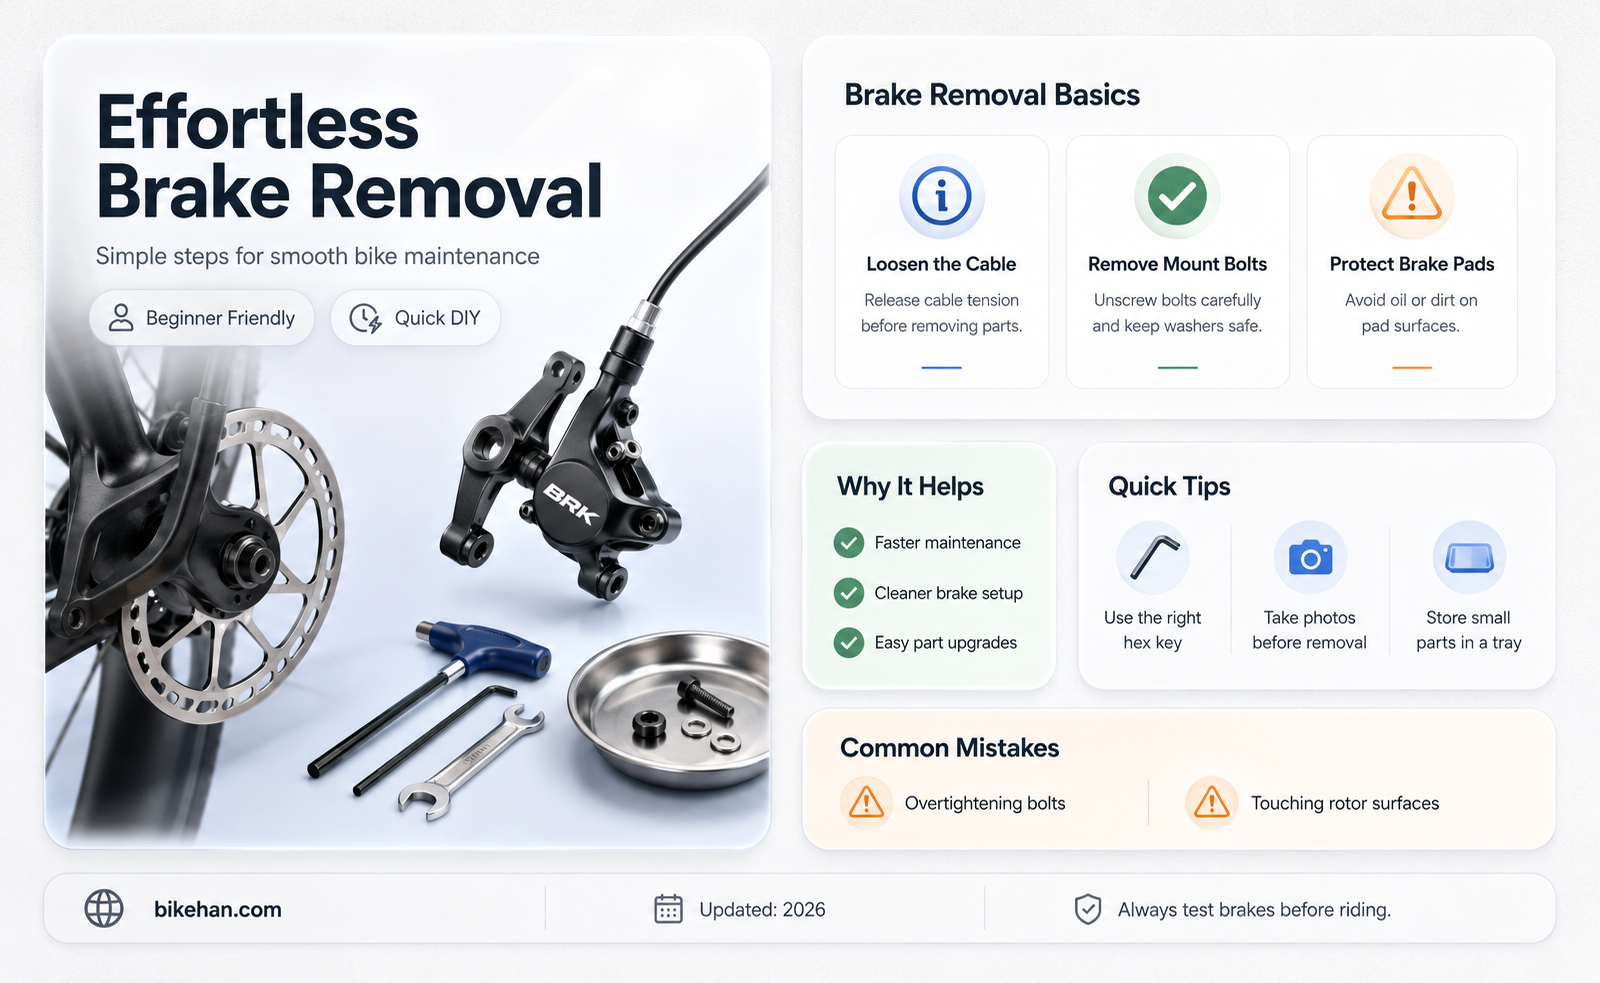
Removing the brakes from a bicycle can be a necessary task for maintenance, repair, or upgrading your bike's braking system. This process typically involves several steps, including disconnecting the brake cable, removing the brake calipers, and taking off the brake pads. It's important to ensure that you have the proper tools and knowledge before attempting to remove your bike's brakes, as improper removal can lead to safety issues. In this guide, we'll walk you through the process of safely and effectively removing the brakes from your bicycle.
Explore related products


What You'll Learn
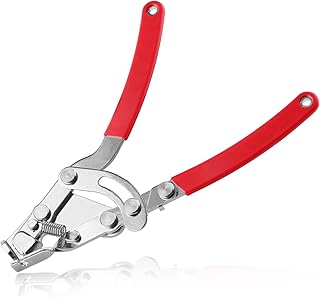
- Loosen Brake Cable: Use a cable clamp tool to loosen the brake cable tension
- Remove Brake Pads: Unscrew the brake pad mounting bolts and remove the pads
- Detach Brake Caliper: Loosen the caliper mounting bolts and lift the caliper off the rotor
- Disconnect Brake Lever: Remove the brake lever from the handlebar and disconnect the cable
- Reassemble Components: After cleaning or replacing parts, reassemble the brake system in reverse order

Loosen Brake Cable: Use a cable clamp tool to loosen the brake cable tension
To loosen the brake cable tension on a bicycle, you'll need a cable clamp tool. This tool is specifically designed to grip and adjust the tension of cables, making it an essential part of any bike maintenance kit. Begin by locating the cable clamp on your bike's brake system. It's typically found where the brake cable enters the brake mechanism. Once you've identified the clamp, position the cable clamp tool around it, ensuring that the tool's jaws are securely gripping the clamp.
Next, apply gentle pressure to the tool's handle to loosen the clamp. Be careful not to over-loosen, as this can cause the brake cable to become too slack and potentially dangerous. The ideal tension will allow the brake pads to make contact with the rim without excessive force. If you're unsure about the correct tension, consult your bike's manual or seek advice from a professional mechanic.
After loosening the clamp, carefully remove the brake cable from the brake mechanism. Take note of the cable's routing and any additional components it may be connected to, as you'll need to reattach these when installing the new brake cable. Once the old cable is removed, inspect it for any signs of wear or damage. If the cable is frayed or kinked, it's best to replace it with a new one to ensure safe and reliable braking performance.
When installing the new brake cable, follow the manufacturer's instructions for proper routing and tensioning. Use the cable clamp tool to secure the cable in place, making sure it's tight enough to maintain the desired tension but not so tight that it restricts the cable's movement. Finally, test the brakes to ensure they're functioning correctly and make any necessary adjustments to the cable tension or brake pad alignment.
Remember, proper brake maintenance is crucial for safe riding. Regularly inspecting and adjusting your bike's brakes can help prevent accidents and ensure a smooth, controlled ride. If you're ever unsure about how to perform brake maintenance or encounter any issues during the process, don't hesitate to seek help from a qualified mechanic.
Effortless Brake Caliper Removal: A Step-by-Step Guide for Bike Enthusiasts
You may want to see also
Explore related products


Remove Brake Pads: Unscrew the brake pad mounting bolts and remove the pads
To remove brake pads from a bicycle, you'll need to follow a precise sequence of steps to ensure safety and efficiency. Begin by positioning your bike on a stable surface, preferably a bike stand or a flat area where it won't tip over. Make sure the bike is stationary and secure before you start working on it.
Next, locate the brake pad mounting bolts. These are typically found near the top of the brake caliper, which is the component that houses the brake pads. The bolts are usually hexagonal or Torx-shaped, so you'll need an appropriate wrench or driver to unscrew them. Apply gentle but firm pressure to avoid stripping the bolts, and turn them counterclockwise to loosen them.
Once the bolts are sufficiently loosened, carefully remove them from the brake caliper. Be cautious not to drop them, as they are small and can be easily lost. With the bolts removed, gently pull the brake pads out of the caliper. They should come out smoothly if they are not overly worn or stuck.
After removing the brake pads, inspect them for wear and tear. If they are excessively worn, it's a good idea to replace them to ensure optimal braking performance and safety. Also, take this opportunity to clean the brake caliper and the surrounding area to remove any dirt or debris that may have accumulated.
Remember to reassemble the brake system properly after replacing the pads. Tighten the mounting bolts securely, but be careful not to overtighten them, as this can cause the brake pads to wear unevenly. Test the brakes after reassembly to ensure they are functioning correctly and provide adequate stopping power.
Effortlessly Remove Your Bike's Disc Brakes: A Step-by-Step Guide
You may want to see also
Explore related products


Detach Brake Caliper: Loosen the caliper mounting bolts and lift the caliper off the rotor
To detach the brake caliper, begin by loosening the caliper mounting bolts. These bolts are typically located on the front or rear of the caliper, securing it to the bike's frame or fork. Use an appropriately sized Allen wrench or socket wrench to turn the bolts counterclockwise, gradually loosening them until they can be removed completely. Be cautious not to overtighten or strip the bolts, as this can damage the caliper or the bike's frame.
Once the mounting bolts are loosened, carefully lift the caliper off the rotor. This may require some gentle prying or wiggling to release the caliper from its seated position. Be mindful of any brake pads or other components that may be attached to the caliper, ensuring they are not damaged during the removal process. It's also important to note the orientation of the caliper as you remove it, as this will help when reinstalling it later.
After lifting the caliper off the rotor, set it aside in a safe location where it won't be damaged or lost. Take a moment to inspect the rotor for any signs of wear or damage, such as rust, cracks, or excessive wear. If the rotor appears to be in good condition, you can proceed with the next steps of brake removal. However, if the rotor shows signs of damage, it may be necessary to replace it before continuing.
When detaching the brake caliper, it's crucial to work carefully and methodically to avoid damaging any components. Take your time and double-check each step to ensure you're following the correct procedure. If you're unsure about any part of the process, consult your bike's manual or seek assistance from a professional mechanic.
In summary, detaching the brake caliper involves loosening the mounting bolts and carefully lifting the caliper off the rotor. Be cautious not to damage any components during this process, and take the time to inspect the rotor for wear or damage before proceeding. Remember to work slowly and methodically, and don't hesitate to seek help if you're unsure about any part of the procedure.
Effortless Maintenance: Swapping Out Bike Disk Brake Pads
You may want to see also
Explore related products


Disconnect Brake Lever: Remove the brake lever from the handlebar and disconnect the cable
To disconnect the brake lever, begin by ensuring your bike is securely positioned, preferably on a bike stand or against a stable surface. This will prevent any accidental movement that could lead to injury or damage. Next, locate the brake lever on the handlebar. It's typically the lever closest to the center of the bike when viewed from the front.
Using a suitable tool, such as a hex key or screwdriver, loosen the bolt that attaches the brake lever to the handlebar. Be careful not to overtighten or strip the bolt. Once the bolt is sufficiently loosened, gently pull the brake lever away from the handlebar. You may need to wiggle it slightly to free it from any tight spots.
After removing the brake lever, you'll need to disconnect the brake cable. Locate the cable where it enters the brake lever housing. There's usually a small retaining clip or screw holding the cable in place. Carefully release this clip or unscrew the retaining screw to free the cable.
Gently pull the cable out of the housing, taking care not to damage it. If the cable is attached to the brake caliper with a quick-release mechanism, simply open the lever and pull the cable free. If it's secured with a bolt, you'll need to loosen it first before removing the cable.
Once the cable is disconnected, you can remove the brake lever completely. Be sure to keep track of all the small parts and hardware, as you'll need them when reassembling the brake system. With the brake lever and cable removed, you can now proceed to the next step in your brake removal process.
Reviving Your Ride: A Guide to Removing Rusted, Seized Brake Cables
You may want to see also
Explore related products


Reassemble Components: After cleaning or replacing parts, reassemble the brake system in reverse order
Begin the reassembly process by ensuring all components are thoroughly dry and free of any residual cleaning agents. This is crucial as any moisture or chemical residue can compromise the integrity of the brake system. Next, carefully align the brake pads with the caliper, ensuring they are positioned correctly to make optimal contact with the rotor. Secure the pads in place using the retaining clips or pins, taking care not to overtighten as this can lead to uneven wear.
Proceed to reattach the caliper to the frame or fork, making sure it is properly aligned with the rotor. Use the appropriate bolts and washers, and tighten them in a crisscross pattern to ensure even pressure distribution. Be cautious not to over-tighten, as this can cause the caliper to warp or the bolts to strip. Once the caliper is securely in place, reconnect the brake cable or hydraulic line, ensuring it is properly seated and secured.
If you have replaced the rotor, it is essential to bed in the new brake pads to ensure optimal performance. This process involves riding the bike and applying the brakes gently but firmly to heat up the pads and rotor, allowing them to form a smooth contact surface. Avoid sudden stops or excessive force during this process, as it can damage the new components.
Throughout the reassembly process, it is vital to refer to the manufacturer's instructions for your specific brake system. This will ensure you follow the correct procedures and avoid any potential issues. Additionally, take the opportunity to inspect all components for any signs of wear or damage, and replace them if necessary. By following these steps and paying close attention to detail, you can ensure a safe and effective brake system reassembly.
Effortless Brake Cable Removal: A Step-by-Step Guide for Bike Owners
You may want to see also
Frequently asked questions
To remove the brakes from your bike, you will typically need a set of Allen wrenches (also known as hex keys), a screwdriver, and possibly a cable cutter if you need to trim the brake cables.
To disconnect the brake cable from the brake lever, first, locate the barrel adjuster where the cable enters the brake lever housing. Loosen the adjuster to release tension on the cable. Then, find the quick-release lever or bolt that secures the cable to the brake lever and remove it. Gently pull the cable out of the housing.
To remove the brake caliper from the wheel, start by loosening the bolts that attach the caliper to the frame or fork. Carefully remove the caliper from the wheel, ensuring not to damage the rotor or the caliper itself. If necessary, use a screwdriver to remove any additional screws that may be holding the caliper in place.
After reinstalling the brakes, it's crucial to adjust them correctly for optimal performance and safety. Start by pulling the brake lever to see if it engages the brake pads with the rotor. If not, use the barrel adjuster to increase the tension on the cable until the pads make contact. Then, check that the brake pads are aligned with the rotor and that there is no rubbing. Finally, test the brakes while riding at a slow speed to ensure they are functioning correctly.