Samantha Lee
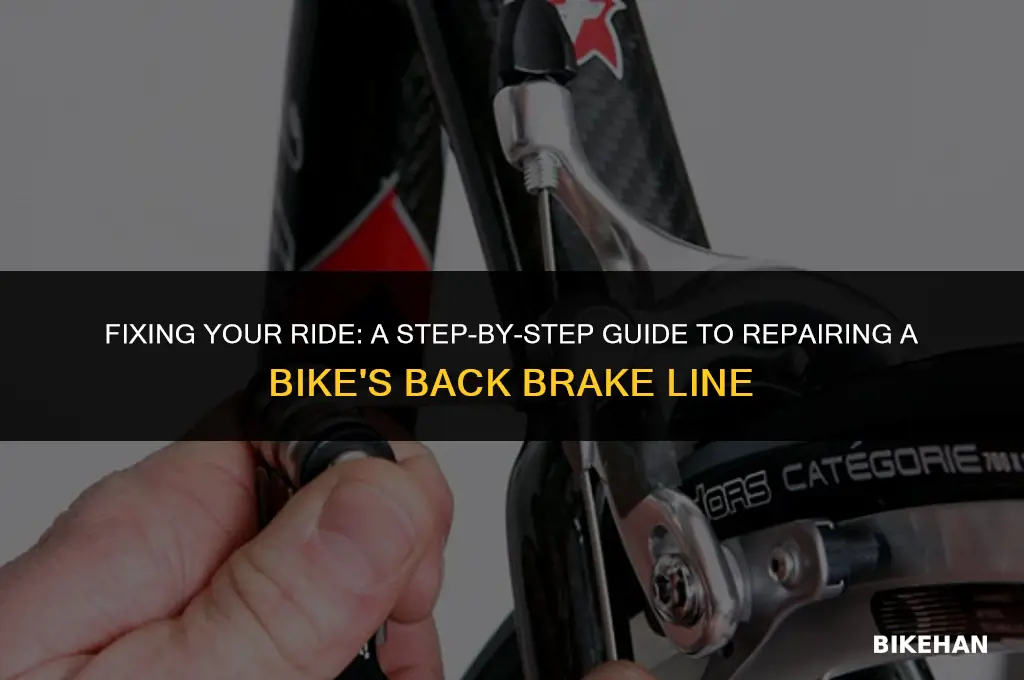
Repairing a bike's back brake line is a crucial maintenance task that ensures safe and efficient cycling. Over time, brake lines can become worn, frayed, or damaged, leading to reduced braking performance or even failure. This guide will walk you through the process of replacing or repairing your bike's back brake line, covering everything from identifying the issue to reattaching the brake pads. With the right tools and a bit of patience, you can restore your bike's braking system to optimal condition, ensuring a safer and more enjoyable ride.
Explore related products


What You'll Learn
- Gather Tools and Materials: Essential items for brake line repair, including wrenches, pliers, and replacement cables
- Remove Old Brake Line: Steps to safely detach the existing brake line from the bike's frame and components
- Inspect and Clean Components: Checking for wear and damage, and cleaning the brake caliper and other parts
- Install New Brake Line: Guidance on threading and securing the new brake line through the bike's frame
- Adjust and Test Brakes: Final steps to ensure the brakes are properly adjusted and functioning safely

Gather Tools and Materials: Essential items for brake line repair, including wrenches, pliers, and replacement cables
Before you begin the process of repairing your bike's back brake line, it's crucial to gather all the necessary tools and materials. This ensures that you have everything you need at hand, reducing the likelihood of interruptions and potential hazards during the repair. Essential items include various sizes of wrenches and pliers, which are necessary for loosening and tightening components, as well as for manipulating the brake line itself. You'll also need replacement brake cables, which should be specific to your bike's model and brake system type.
In addition to these basic tools, it's advisable to have a cable housing cutter, which will allow you to cleanly cut the brake cable housing to the correct length. A cable end cap tool can also be helpful for securing the ends of the brake cables, preventing fraying and ensuring a smooth operation. If you're planning to replace the entire brake line, you may also need a set of brake pads, as well as lubricant for the moving parts of the brake system.
When selecting tools and materials, it's important to consider the specific requirements of your bike's brake system. For example, some bikes may require specialized tools for removing and installing certain components. It's also a good idea to consult your bike's manual or a reputable online resource to ensure that you have all the necessary items before beginning the repair.
Once you've gathered all the necessary tools and materials, it's a good practice to lay them out in an organized manner. This will help you keep track of everything and make the repair process more efficient. Remember to work in a well-lit, stable environment, and always wear appropriate safety gear, such as gloves and eye protection, when performing bike repairs.
By taking the time to gather the essential items for brake line repair, you'll be better prepared to tackle the task at hand, ensuring a successful and safe repair process.
Reviving Your Ride: A Step-by-Step Guide to Reopening Disc Brakes on Your Bike
You may want to see also
Explore related products


Remove Old Brake Line: Steps to safely detach the existing brake line from the bike's frame and components
Begin by locating the brake line where it connects to the brake caliper at the rear wheel. Using a wrench, loosen the bolt that secures the brake line to the caliper. Be cautious not to overtighten, as this can damage the threads or the brake line itself. Once the bolt is sufficiently loosened, carefully remove the brake line from the caliper.
Next, trace the brake line along the bike's frame to identify any additional attachment points or guides. These may include cable ties or clips that secure the brake line to the frame. Gently remove these fasteners, taking care not to damage the frame or the brake line. As you work, keep the brake line taut to prevent it from tangling or kinking.
At the front of the bike, locate the brake lever and identify where the brake line connects to it. Using a wrench or pliers, carefully loosen the fitting that secures the brake line to the lever. Once the fitting is loose, remove the brake line from the lever. Be sure to support the brake lever as you do this to prevent it from moving unexpectedly.
With the brake line detached from both the caliper and the lever, you can now remove it from the bike's frame. Carefully pull the brake line through any guides or attachment points, taking care not to snag or damage the line. Once the old brake line is completely removed, inspect it for any signs of wear or damage. This will help you determine if a replacement is necessary or if the line can be reused.
When removing the old brake line, it's important to work methodically and patiently. Rushing the process can lead to mistakes, such as damaging the brake line or the bike's frame. Take your time to ensure that each step is completed correctly and safely. Additionally, be sure to have a replacement brake line on hand if necessary, as well as any required tools and safety equipment.
Efficiently Cleaning WD-40 Off Bike Brakes: A Simple Guide
You may want to see also
Explore related products


Inspect and Clean Components: Checking for wear and damage, and cleaning the brake caliper and other parts
Begin by thoroughly inspecting the brake caliper for any signs of wear or damage. Look for rust, cracks, or any deformities that could compromise its function. If the caliper appears to be in good condition, proceed to clean it using a soft brush and mild detergent. Be sure to remove any debris or grime that may have accumulated, as this can affect the brake's performance.
Next, inspect the brake pads for wear. If they are less than 1/8 inch thick, it's time to replace them. To clean the pads, use a soft brush to remove any debris. Avoid using harsh chemicals or abrasive materials, as these can damage the pads.
The brake line itself should also be inspected for any signs of wear or damage. Look for cracks, fraying, or any leaks. If the line appears to be damaged, it will need to be replaced. To clean the line, use a soft brush and mild detergent. Be sure to remove any debris or grime that may have accumulated.
Finally, inspect the brake lever for any signs of wear or damage. Look for rust, cracks, or any deformities that could compromise its function. If the lever appears to be in good condition, proceed to clean it using a soft brush and mild detergent. Be sure to remove any debris or grime that may have accumulated, as this can affect the brake's performance.
Remember to always refer to your bike's specific repair manual for detailed instructions on how to inspect and clean the components of your brake system. By following these steps, you can ensure that your bike's brake system is functioning properly and safely.
Effortless Brake Removal: A Step-by-Step Guide for Bike Pedals
You may want to see also
Explore related products


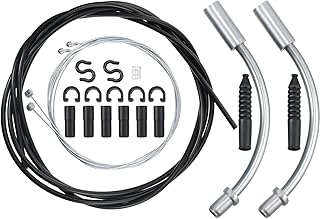


Install New Brake Line: Guidance on threading and securing the new brake line through the bike's frame
Begin by preparing the new brake line. Cut it to the appropriate length, leaving enough extra to thread through the frame and make adjustments. Remove any protective caps or coverings from the ends of the line. Next, locate the entry point for the brake line on your bike's frame. This is typically near the handlebars or the seat post, depending on your bike's design. Carefully thread the new brake line through the frame, following the path of the old line. Be sure to avoid any sharp edges or components that could damage the line.
Once the line is threaded through the frame, pull it taut and secure it in place using the appropriate hardware. This may include cable ties, ferrules, or other securing mechanisms specific to your bike. Make sure the line is properly tensioned and that there is no slack. Slack in the brake line can lead to poor braking performance and potential safety hazards. After securing the line, test the brakes to ensure they are functioning properly. Squeeze the brake lever and make sure the brake pads engage the rim of the wheel smoothly and evenly.
If you encounter any issues during the installation process, such as difficulty threading the line or problems with tensioning, consult your bike's manual or seek assistance from a professional bike mechanic. It's important to note that improper installation of a brake line can lead to serious safety issues, so it's crucial to follow these steps carefully and seek help if needed. With the new brake line properly installed and secured, your bike should be ready for safe and reliable use once again.
Effortless Brake Cable Removal: A Step-by-Step Guide for Bike Owners
You may want to see also
Explore related products


Adjust and Test Brakes: Final steps to ensure the brakes are properly adjusted and functioning safely
After replacing or repairing the brake line, the crucial final steps involve adjusting and testing the brakes to ensure they function correctly and safely. Begin by checking the brake pads for wear and replacing them if necessary. Next, adjust the brake caliper to ensure it is centered over the rotor and that the pads make even contact with the rotor surface. This can be done by loosening the caliper mounting bolts and gently tapping the caliper into position with a rubber mallet. Once the caliper is properly aligned, tighten the mounting bolts securely.
Proceed to adjust the brake lever tension to ensure it engages the brakes smoothly and without excessive slack. This typically involves tightening or loosening the barrel adjuster on the brake lever. Test the lever by squeezing it and ensuring that the brakes engage quickly and evenly. If the lever feels spongy or there is excessive slack, continue adjusting the tension until the desired feel is achieved.
With the adjustments complete, it's essential to test the brakes under various conditions to ensure their reliability. Start by testing the brakes on a flat surface, applying them gently and gradually increasing the pressure to ensure they engage smoothly and without any sudden jerks. Next, test the brakes while riding at a moderate speed, applying them firmly to bring the bike to a stop. Repeat this process several times to ensure consistent performance.
Finally, test the brakes on a downhill slope to simulate more demanding braking conditions. This will help identify any potential issues with brake fade or uneven wear. Throughout the testing process, pay close attention to any unusual noises, vibrations, or sensations that may indicate a problem with the brake system. If any issues are detected, re-inspect the brake components and make any necessary adjustments or repairs before continuing to use the bike.
Sunny Bike Brake Pads Removal: A Step-by-Step Guide
You may want to see also