Ryan Cole
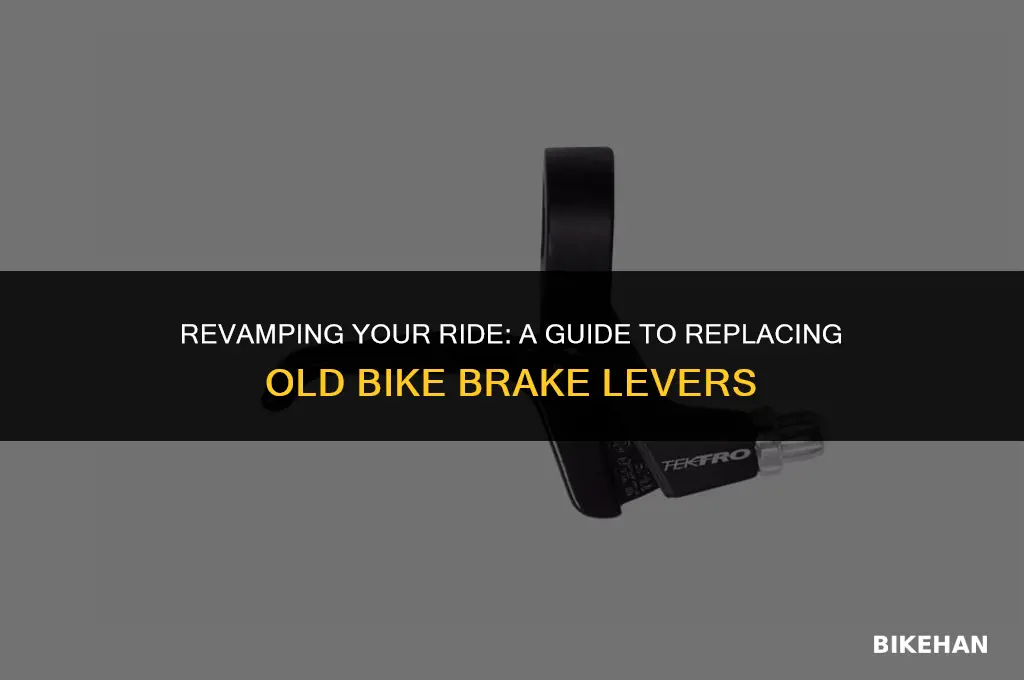
Removing old bike brake levers can be a straightforward process with the right tools and knowledge. First, ensure your bike is securely positioned and the wheels are removed to provide easy access to the brake system. Next, locate the brake lever assembly and identify the bolts or screws holding it in place. Using the appropriate Allen wrench or screwdriver, carefully loosen and remove these fasteners. Gently pull the brake lever away from the handlebar, taking care not to damage any cables or components. Once the old lever is removed, inspect the area for any wear or damage that may need addressing before installing a new lever.
Explore related products


What You'll Learn
- Gather necessary tools: Assemble tools like Allen wrenches, pliers, and screwdrivers for brake lever removal
- Disconnect brake cables: Carefully detach the brake cables from the levers to free them
- Remove mounting hardware: Unscrew the bolts or screws securing the brake levers to the handlebars
- Detach electrical components: If applicable, disconnect any electrical wires connected to the brake levers
- Clean and inspect: After removal, clean the area and inspect for wear or damage before installing new levers

Gather necessary tools: Assemble tools like Allen wrenches, pliers, and screwdrivers for brake lever removal
Before you begin the process of removing old bike brake levers, it's crucial to gather the necessary tools. This ensures that you have everything you need at hand, preventing unnecessary interruptions and potential damage to your bike. The essential tools for this task include Allen wrenches, pliers, and screwdrivers. Allen wrenches are particularly important as they are often required to loosen the bolts that secure the brake levers to the handlebars. Make sure to have a set of Allen wrenches in various sizes to accommodate different bolt heads. Pliers will come in handy for gripping and manipulating small parts, while screwdrivers may be needed for any screws that hold the brake levers in place.
When assembling your toolkit, consider the specific type of brake levers you are dealing with. Some brake levers may require additional tools, such as a cable cutter or housing cutter, if you need to disconnect the brake cables. It's also a good idea to have some lubricant, such as WD-40, on hand to help loosen any stubborn bolts or screws. Once you have all the necessary tools, lay them out in an organized manner to make the removal process as efficient as possible.
Before starting the removal process, it's important to familiarize yourself with the brake lever assembly. Take a close look at how the brake levers are attached to the handlebars and identify any specific components that may need to be removed first. This could include removing the handlebar tape or grips to access the bolts underneath. By understanding the assembly, you can plan your approach and avoid any potential mistakes that could damage your bike.
When removing the brake levers, it's essential to work carefully and methodically. Start by loosening the bolts that secure the brake levers to the handlebars, using the appropriate Allen wrench for each bolt. Be sure to apply even pressure to avoid stripping the bolt heads. Once the bolts are loosened, you can carefully remove the brake levers from the handlebars. If there are any screws holding the brake levers in place, use the appropriate screwdriver to remove them. Remember to keep track of all the small parts and fasteners as you remove them, as you will need to reassemble the brake levers later.
After removing the brake levers, it's a good idea to clean and inspect them for any signs of wear or damage. This is also an opportunity to replace any worn-out components, such as the brake pads or cables, to ensure optimal performance when you reinstall the brake levers. By taking the time to gather the necessary tools and work carefully, you can successfully remove old bike brake levers and prepare them for replacement or maintenance.
Reviving Your Ride: A Guide to Removing Rusted, Seized Brake Cables
You may want to see also
Explore related products


Disconnect brake cables: Carefully detach the brake cables from the levers to free them
Begin by identifying the brake cables connected to the levers. Typically, there are two cables: one for the front brake and one for the rear. Locate the cable clamps that secure these cables to the brake levers. These clamps are usually small, metallic, and tightened with a screw or bolt.
Using the appropriate tool, such as a hex key or screwdriver, carefully loosen the cable clamps. Be cautious not to overtighten or strip the screws, as this can damage the brake lever or the cable clamp. Once the clamps are sufficiently loosened, gently pull the brake cables away from the levers. You may need to wiggle the cables slightly to free them from any tight spots or cable guides.
After detaching the cables, it's essential to prevent them from fraying or kinking. You can use electrical tape or cable ties to keep the cable ends neat and tidy. This will make reinstallation easier and ensure the cables function correctly when reassembled.
Remember to keep track of the cable routing and any additional components, such as cable guides or housing, that may need to be removed or replaced during the process. Taking photos or notes can be helpful in ensuring a smooth reassembly later on.
Finally, inspect the brake levers and cables for any signs of wear or damage. If you notice any issues, such as frayed cables or worn-out brake pads, it may be necessary to replace these components to ensure safe and effective braking performance.
Effortless Brake Caliper Removal: A Step-by-Step Guide for Bike Enthusiasts
You may want to see also
Explore related products


Remove mounting hardware: Unscrew the bolts or screws securing the brake levers to the handlebars
Begin by identifying the type of mounting hardware used to secure the brake levers to the handlebars. Most commonly, you'll find either bolts or screws. Bolts typically require a nut to be loosened from the opposite side, while screws can be unscrewed directly. Ensure you have the appropriate tools for the job—a set of Allen wrenches or a Phillips/flathead screwdriver should suffice for most bikes.
For bolts, start by loosening the nut on the opposite side of the handlebar. This may require some force, especially if the bolt has been tightened securely. Once the nut is loose, you can remove it and then unscrew the bolt from the brake lever. Be careful not to strip the threads on the bolt or the handlebar, as this could make reassembly difficult.
If you're dealing with screws, simply locate the head of the screw and begin unscrewing it. Again, be mindful of the torque you apply to avoid stripping the threads. Some brake levers may have a cover or cap that needs to be removed before accessing the screw head.
As you remove the mounting hardware, keep track of the components and their orientation. This will make reassembly much easier later on. Once all the hardware is removed, gently pull the brake levers away from the handlebars. Be cautious of any cables or wires that may still be attached—you'll need to disconnect these before fully removing the levers.
Mastering the Art of BMX Bike Brake Removal: A Step-by-Step Guide
You may want to see also
Explore related products


Detach electrical components: If applicable, disconnect any electrical wires connected to the brake levers
Before you begin the process of detaching electrical components from your bike's brake levers, it's crucial to ensure that the bike is properly prepared. This means that the bike should be on a stable surface, such as a bike stand or a flat, level area where it won't tip over. Additionally, you should have all the necessary tools and equipment at hand, including a set of Allen wrenches, a Phillips head screwdriver, and a pair of needle-nose pliers.
Once you've prepared your bike and gathered your tools, you can begin the process of detaching the electrical components. Start by locating the electrical wires connected to the brake levers. These wires are typically found near the handlebars and may be secured with zip ties or other fasteners. Carefully remove any fasteners and gently pull the wires away from the brake levers. Be sure to take note of the routing of the wires so that you can properly reconnect them later.
Next, you'll need to disconnect the electrical connectors from the brake levers. This may require the use of a small screwdriver or a specialized tool, depending on the type of connector used. Once the connectors are disconnected, you can remove the brake levers from the bike. Be sure to support the bike's weight as you remove the levers to prevent any damage to the bike or injury to yourself.
After you've removed the brake levers, you can proceed with the installation of the new levers. This process will involve reversing the steps you've just completed, starting with the installation of the new levers and then reconnecting the electrical components. Be sure to double-check all connections and test the brakes before riding the bike to ensure that everything is working properly.
Throughout this process, it's important to exercise caution and patience. Electrical components can be delicate, and improper handling can lead to damage or malfunction. If you're unsure about any step of the process, it's always a good idea to consult a professional mechanic or refer to the manufacturer's instructions for your specific bike model.
Effortless Brake Cushion Removal: A Step-by-Step Guide for Bike Owners
You may want to see also
Explore related products


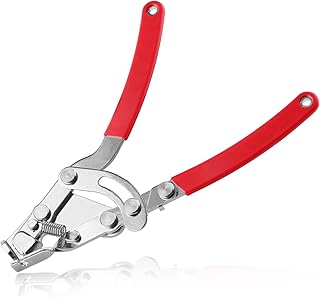


Clean and inspect: After removal, clean the area and inspect for wear or damage before installing new levers
After removing the old brake levers from your bike, it's crucial to thoroughly clean the area to ensure a smooth installation of the new levers. Start by using a soft-bristled brush to remove any dirt, grime, or debris that may have accumulated around the lever mounts and cable routing areas. Pay close attention to the small crevices and hard-to-reach spots, as any leftover dirt can interfere with the proper functioning of the new levers.
Once the area is clean, inspect the lever mounts and surrounding frame for any signs of wear or damage. Look for scratches, dents, or cracks that could compromise the integrity of the new lever installation. If you notice any damage, it's essential to address it before proceeding. Depending on the severity of the damage, you may need to replace the affected parts or consult a professional bike mechanic for further guidance.
When inspecting the cable routing areas, check for any fraying or kinking of the brake cables. If the cables are damaged, they will need to be replaced to ensure safe and reliable braking performance. Additionally, examine the brake calipers and pads for wear and replace them if necessary.
Before installing the new levers, it's a good idea to apply a small amount of lubricant to the lever pivots and cable routing areas. This will help ensure smooth operation and reduce the risk of future wear and tear. When installing the new levers, make sure to follow the manufacturer's instructions carefully and double-check that all connections are secure and properly adjusted.
In summary, the "clean and inspect" step is a critical part of the brake lever replacement process. By taking the time to thoroughly clean the area and inspect for wear or damage, you can help ensure a successful installation and maintain the safety and performance of your bike.
DIY Guide: Replacing Brake Pads on Your Caliper Bike
You may want to see also
Frequently asked questions
To remove old bike brake levers, you'll typically need a set of Allen wrenches (also known as hex keys), a flathead screwdriver, and possibly a cable housing cutter if you need to shorten the brake cable.
First, locate the barrel adjuster where the brake cable enters the lever. Loosen the adjuster to release tension on the cable. Then, carefully pull the cable out of the lever's housing.
After removing the brake cable, you'll need to unscrew the bolts holding the brake lever to the handlebar. Use the appropriate Allen wrench for this task. Once the bolts are removed, gently pull the lever off the handlebar.
When installing the new brake lever, make sure it's securely fastened to the handlebar with the provided bolts. Reconnect the brake cable, ensuring it's properly seated in the housing. Tighten the barrel adjuster to maintain the correct tension on the cable. Finally, test the brakes to ensure they're functioning smoothly and safely.