Eric Johnson
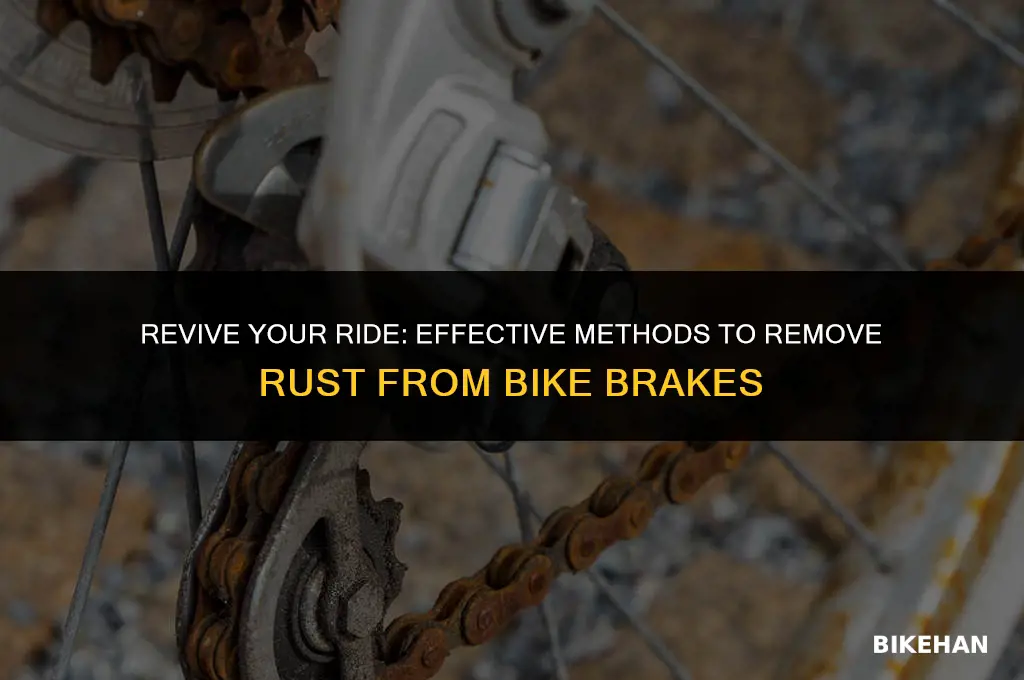
Rust on bike brakes can compromise both the performance and safety of your bicycle. Exposure to moisture and road salt can lead to oxidation, resulting in rusty brake components. This not only affects the braking efficiency but can also lead to a spongy brake feel and increased stopping distances. Regular maintenance is crucial to prevent rust buildup and ensure your brakes function optimally. In this guide, we'll walk you through effective methods to remove rust from your bike brakes, helping you restore their performance and prolong their lifespan.
Explore related products


What You'll Learn
- Preparation: Gather necessary tools and materials, including gloves, goggles, and a well-ventilated workspace
- Cleaning: Use a wire brush or sandpaper to gently scrub away surface rust from the brake components
- Chemical Treatment: Apply a rust remover or vinegar solution to stubborn rust spots and let it sit for 10-15 minutes
- Rinsing and Drying: Thoroughly rinse the treated areas with water and dry them completely with a clean cloth
- Lubrication and Reassembly: Apply a suitable lubricant to the brake components and reassemble them, ensuring proper function and safety

Preparation: Gather necessary tools and materials, including gloves, goggles, and a well-ventilated workspace
Before diving into the rust removal process, it's crucial to prepare your workspace and gather the necessary tools and materials. This preparation phase ensures your safety and the effectiveness of the rust removal process. Start by selecting a well-ventilated area to work in, as some rust removal methods can produce fumes that are harmful if inhaled. Open windows or work outdoors if possible to ensure proper airflow.
Next, gather your safety gear. Gloves are essential to protect your hands from harsh chemicals and abrasive materials. Choose gloves that are resistant to the specific chemicals you'll be using. Safety goggles are also a must to shield your eyes from any splashes or debris. If you're working with particularly strong chemicals, consider wearing a face mask as well to protect your respiratory system.
In terms of tools, you'll need a few basic items. A wire brush or steel wool is effective for scrubbing away surface rust. For more stubborn rust, you might need a rust remover solution or a mixture of baking soda and water. A small container or bowl can be useful for mixing solutions, and a clean cloth or rag will come in handy for wiping away residue.
When preparing your workspace, it's also important to lay down a protective covering to prevent any damage to the surface you're working on. A drop cloth or old newspapers can serve this purpose. Additionally, make sure your bike is securely positioned and won't move around during the rust removal process. This could involve placing it on a bike stand or leaning it against a stable object.
Finally, before you begin, inspect your bike brakes to determine the extent of the rust. This will help you decide which rust removal method is most appropriate and give you a better idea of how long the process will take. Remember, safety should always be your top priority when working with chemicals and performing maintenance on your bike.
Effortless Front Brake Removal on Public Bikes: A Step-by-Step Guide
You may want to see also
Explore related products


Cleaning: Use a wire brush or sandpaper to gently scrub away surface rust from the brake components
To effectively remove surface rust from bike brake components, a wire brush or fine-grit sandpaper can be employed. Begin by ensuring the bike is securely positioned, either by using a bike stand or flipping it upside down so the wheels spin freely. This will provide better access to the brake components and prevent any accidental movement during the cleaning process.
When using a wire brush, apply gentle, circular motions to the rusted areas, taking care not to scrub too aggressively, which could damage the underlying metal. For more stubborn rust, a fine-grit sandpaper (around 400-600 grit) can be used in a similar manner. Be sure to wipe away any rust particles with a clean cloth as you work to prevent them from reattaching to the metal.
It's important to note that while this method is effective for removing surface rust, it may not penetrate deeper rust that has compromised the structural integrity of the brake components. In such cases, it may be necessary to replace the affected parts entirely to ensure safe and reliable braking performance.
After cleaning, inspect the brake components for any remaining rust or damage. If the rust has been successfully removed, apply a rust-inhibiting lubricant to protect the metal from future corrosion. Regular maintenance, including cleaning and lubrication, can help extend the life of your bike's brake components and ensure optimal performance.
Effortless Brake Hood Removal: A Step-by-Step Guide for Bike Enthusiasts
You may want to see also
Explore related products


Chemical Treatment: Apply a rust remover or vinegar solution to stubborn rust spots and let it sit for 10-15 minutes
For stubborn rust spots on bike brakes that resist mechanical scrubbing, chemical treatment can be a highly effective method. One option is to use a commercial rust remover, which typically contains acids or chelating agents that break down the rust. These products are designed to be applied directly to the rusted area and left to sit for a specified period, usually around 10-15 minutes, to allow the chemicals to penetrate and react with the rust.
Another common household remedy is to use a vinegar solution, which can also be effective in removing rust. Vinegar contains acetic acid, which helps to dissolve the rust. To use this method, mix equal parts white vinegar and water in a spray bottle, apply the solution to the rusted area, and let it sit for 10-15 minutes. The acidity of the vinegar will help to break down the rust, making it easier to remove.
When using chemical treatments, it's important to follow the manufacturer's instructions carefully and take appropriate safety precautions. Wear gloves and protective eyewear to avoid skin and eye irritation, and work in a well-ventilated area to avoid inhaling fumes. After the treatment period, use a soft brush or cloth to gently scrub away the rust, and then rinse the area thoroughly with water to remove any remaining chemicals.
One advantage of chemical treatments is that they can be more effective than mechanical methods alone, especially for deep or stubborn rust. However, they may also pose some risks, such as damaging the brake components if left on for too long or if the chemicals are too harsh. It's important to test the treatment on a small, inconspicuous area first to ensure that it doesn't cause any damage.
In summary, chemical treatments can be a useful tool in the fight against rust on bike brakes, but they should be used with caution and according to the manufacturer's instructions. By following the proper procedures and taking necessary safety precautions, you can effectively remove stubborn rust spots and restore your bike brakes to good working condition.
Effortless Wheel Removal: A Guide for Bikes with Rim Brakes
You may want to see also
Explore related products


Rinsing and Drying: Thoroughly rinse the treated areas with water and dry them completely with a clean cloth
After applying a rust remover or lubricant to your bike brakes, it's crucial to thoroughly rinse the treated areas with water. This step helps to remove any remaining rust particles, debris, and chemicals from the surface, preventing further corrosion and ensuring the effectiveness of the treatment. When rinsing, use a gentle stream of water to avoid dislodging any components or causing damage to the brake system.
Once the treated areas have been rinsed, it's essential to dry them completely with a clean cloth. This step is often overlooked, but it's vital for preventing the formation of new rust. Water can act as a catalyst for rust, so leaving the brakes damp can actually accelerate the corrosion process. Use a soft, absorbent cloth to gently pat the brakes dry, paying close attention to any crevices or hard-to-reach areas where moisture might accumulate.
In addition to preventing rust, drying the brakes thoroughly also helps to maintain their performance. Wet brakes can be less effective, leading to longer stopping distances and reduced control. By ensuring that the brakes are completely dry, you can help to maintain their efficiency and responsiveness, which is critical for safe riding.
When drying the brakes, it's important to avoid using any harsh chemicals or abrasive materials that could damage the brake pads or rotors. Stick to a clean, soft cloth and allow the brakes to air dry if necessary. If you're unsure about the best way to dry your brakes, consult your bike's owner's manual or seek advice from a professional mechanic.
In summary, rinsing and drying are essential steps in the process of removing rust from bike brakes. By thoroughly rinsing the treated areas and drying them completely with a clean cloth, you can help to prevent further corrosion, maintain brake performance, and ensure safe riding.
Mastering the Art of BMX Bike Brake Removal: A Step-by-Step Guide
You may want to see also
Explore related products


Lubrication and Reassembly: Apply a suitable lubricant to the brake components and reassemble them, ensuring proper function and safety
After successfully removing rust from your bike brakes, the next crucial step is lubrication and reassembly. This process ensures that your brakes function smoothly and safely. Begin by selecting a suitable lubricant designed for bike brakes. Look for products specifically formulated to withstand the high temperatures and pressures exerted during braking. Avoid using general-purpose lubricants, as they may not provide adequate protection or could even degrade brake performance.
Once you've chosen the right lubricant, apply it sparingly to the brake components. Focus on the pivot points, springs, and any moving parts that may have been affected by rust. Use a clean cloth or brush to ensure precise application and avoid excess lubricant, which can attract dirt and debris, potentially leading to further rusting or reduced braking efficiency.
Before reassembling the brakes, inspect each component for any remaining rust or damage. If you find any issues, address them promptly to prevent future problems. Once all components are clean and lubricated, carefully reassemble the brakes according to the manufacturer's instructions. Pay close attention to the proper alignment and tension of the brake cables and pads.
After reassembly, test the brakes thoroughly to ensure they are functioning correctly. Check for any unusual noises, vibrations, or reduced stopping power. If you encounter any issues, disassemble the brakes again and reinspect the components for proper lubrication and alignment. Repeat the testing process until you are confident that your brakes are safe and reliable.
Remember, regular maintenance is key to preventing rust and ensuring optimal brake performance. Make it a habit to clean and lubricate your bike brakes periodically, especially after riding in wet or salty conditions. By following these steps, you can extend the life of your brake components and enjoy a safer, more enjoyable cycling experience.
Effortless Disc Brake Rotor Removal: A Step-by-Step Guide for Bike Enthusiasts
You may want to see also
Frequently asked questions
Rust on bike brakes is typically caused by exposure to moisture and oxygen over time. This can happen due to riding in wet conditions, storing the bike in a humid environment, or simply from regular use and exposure to the elements.
To prevent rust on your bike brakes, it's important to keep them dry and clean. After riding in wet conditions, wipe down the brakes with a dry cloth and apply a light coating of lubricant. Store your bike in a dry, covered area to protect it from the elements.
There are several effective methods for removing rust from bike brakes. One common method is to use a mixture of baking soda and water to create a paste, which can then be applied to the rusted areas. Another option is to use a commercial rust remover or a solution of equal parts vinegar and water.
It depends on the severity of the rust. If the rust is superficial and only affects the surface of the brakes, it may be possible to remove it without compromising the functionality of the brakes. However, if the rust has penetrated deeply into the brake components, it may be necessary to replace the brakes to ensure safe and reliable performance.
It's a good idea to inspect your bike brakes for rust regularly, especially if you ride in wet conditions or store your bike outdoors. A monthly inspection can help catch rust early and prevent it from causing more serious damage to your brakes.