Matthew Brooks
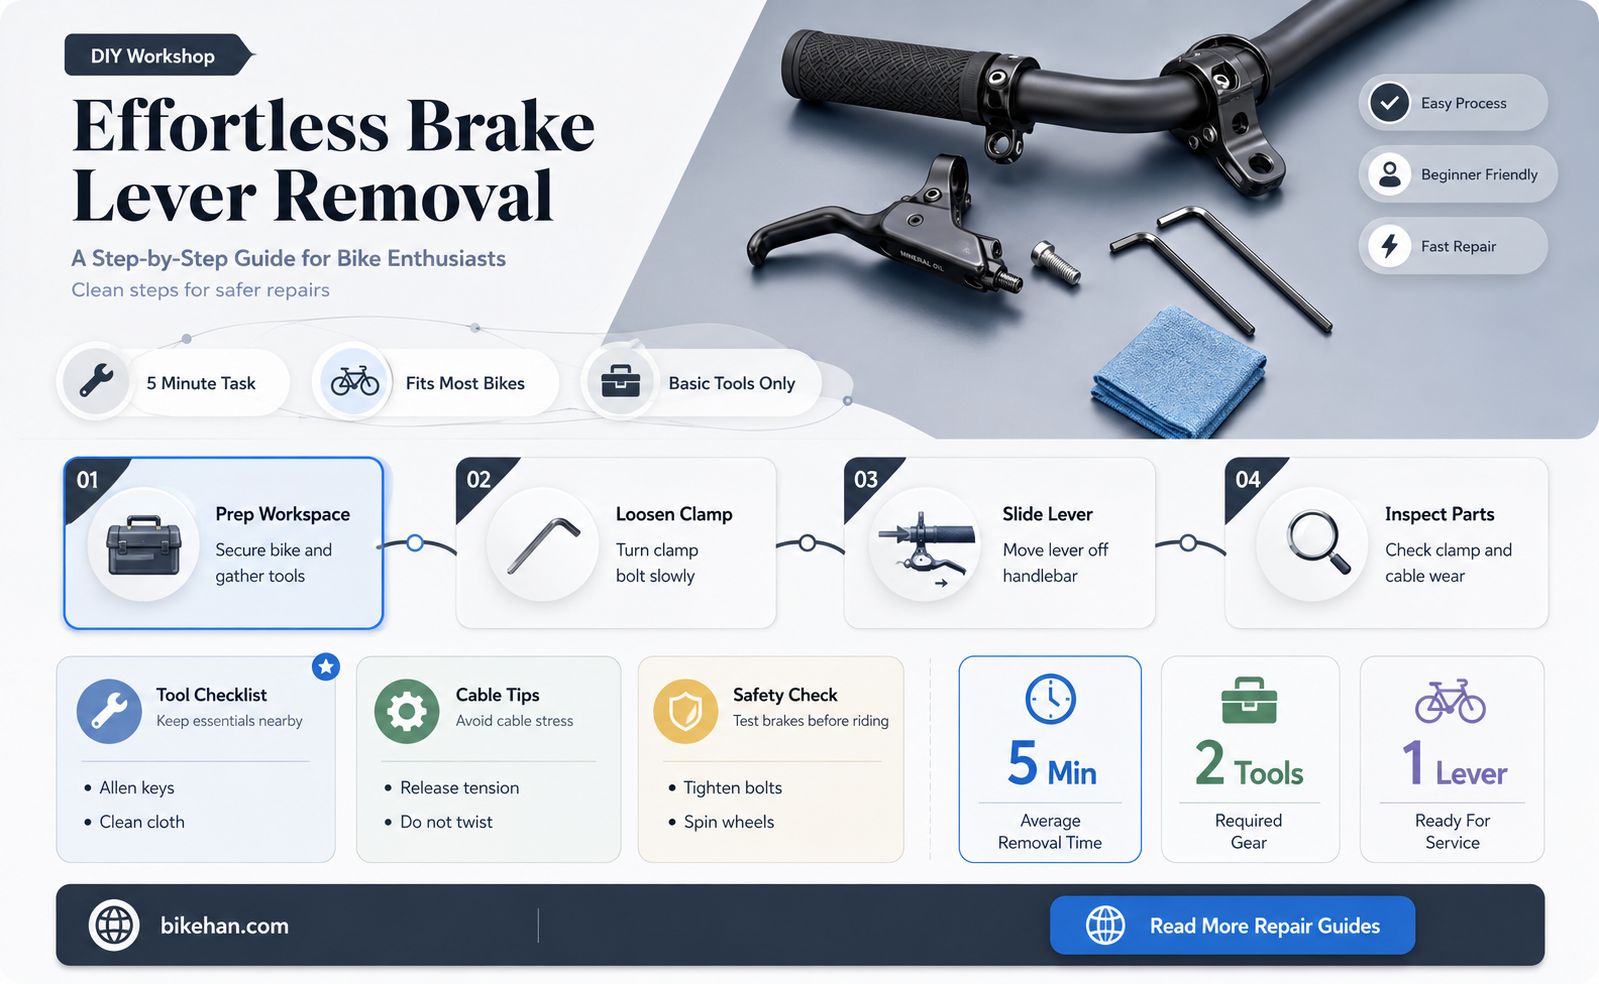
Removing the brake lever on a bike is a task that requires some knowledge of bicycle mechanics and the right tools. The brake lever is an essential component of the braking system, and its proper functioning is crucial for the safety of the rider. There are several reasons why one might need to remove the brake lever, such as replacing it due to wear and tear, upgrading to a new model, or performing maintenance on the brake system. The process of removing the brake lever can vary depending on the type of bike and the specific brake system installed. However, it generally involves disconnecting the brake cable, removing the mounting bolts, and carefully pulling the lever off the handlebar. It is important to follow the manufacturer's instructions and take necessary safety precautions when performing this task to avoid damaging the bike or injuring oneself.
Explore related products


What You'll Learn
- Gather necessary tools: Assemble required tools like Allen wrenches, pliers, and lubricants for brake lever removal
- Disconnect brake cable: Carefully detach the brake cable from the lever to free it for removal
- Loosen mounting bolts: Use Allen wrenches to loosen the bolts securing the brake lever to the handlebars
- Remove brake lever: Gently pull the brake lever off the handlebars, ensuring all bolts are sufficiently loosened
- Clean and inspect: After removal, clean the brake lever and inspect it for any damage or wear that may require replacement

Gather necessary tools: Assemble required tools like Allen wrenches, pliers, and lubricants for brake lever removal
Before you begin the process of removing a brake lever from your bike, it's crucial to gather all the necessary tools. This ensures that you have everything you need at hand, reducing the risk of damaging your bike or injuring yourself. The essential tools for this task typically include Allen wrenches, pliers, and lubricants. Allen wrenches are used to loosen and tighten the bolts that secure the brake lever to the handlebar, while pliers can be helpful for gripping and manipulating small parts. Lubricants are necessary to keep the moving parts of your bike functioning smoothly and to prevent rust and corrosion.
When selecting your tools, it's important to choose high-quality items that are appropriate for the specific make and model of your bike. Cheap or ill-fitting tools can slip or break, leading to accidents or damage. Additionally, make sure that your tools are clean and well-maintained to avoid introducing dirt or debris into the brake system.
Once you have assembled your tools, it's a good idea to familiarize yourself with the brake lever removal process by consulting your bike's user manual or watching a tutorial video. This will help you understand the specific steps involved and any potential challenges you may encounter. Remember to always work in a well-lit, stable environment and to wear appropriate safety gear, such as gloves and eye protection, to minimize the risk of injury.
In summary, gathering the necessary tools is a critical first step in the brake lever removal process. By ensuring that you have the right equipment and are familiar with the procedure, you can safely and effectively remove the brake lever from your bike.
Mastering the Art of Removing Bike Wheels with Hydraulic Brakes
You may want to see also
Explore related products




Disconnect brake cable: Carefully detach the brake cable from the lever to free it for removal
To disconnect the brake cable, you'll need to locate the cable clamp that secures the cable to the brake lever. This clamp is typically found where the cable enters the lever housing. Once located, use a small flathead screwdriver or a cable clamp tool to loosen the clamp. Be careful not to overtighten or damage the clamp, as it's a crucial component for maintaining proper brake function.
After loosening the clamp, gently pull the brake cable out of the lever housing. You may need to wiggle the cable slightly to free it from any internal guides or clips. As you remove the cable, be mindful of any slack or tension in the cable, as this can affect the overall brake performance. It's a good idea to have a helper hold the cable taut while you work to prevent any accidental slack or kinking.
Once the cable is free from the lever, you can remove it completely by pulling it through the cable clamp. Be sure to keep track of the cable's routing and any additional components, such as cable ties or guides, that may need to be reinstalled when reassembling the brake system.
Before proceeding to the next step, inspect the brake cable for any signs of wear, fraying, or damage. If the cable appears compromised, it's best to replace it to ensure safe and reliable braking performance. Also, take this opportunity to clean and lubricate the cable clamp and any other moving parts within the brake lever assembly.
Remember, when reassembling the brake system, it's crucial to properly tension the brake cable and ensure that all components are securely fastened. Failure to do so can result in poor braking performance or even brake failure, which can be dangerous while riding.
Effortless Brake Removal: A Step-by-Step Guide for Bike Enthusiasts
You may want to see also
Explore related products


Loosen mounting bolts: Use Allen wrenches to loosen the bolts securing the brake lever to the handlebars
To begin the process of removing a brake lever from a bike, it's essential to first loosen the mounting bolts. This task requires precision and the right tools. Allen wrenches, also known as hex keys, are the go-to tools for this job due to their ability to fit into the hexagonal sockets of the bolts. Start by identifying the bolts that secure the brake lever to the handlebars. These are typically located at the base of the lever, where it attaches to the handlebar clamp.
Once you've located the bolts, select the appropriate Allen wrench size that matches the bolt's socket. It's crucial to use the correct size to avoid stripping the bolt head. Insert the Allen wrench into the socket and turn it counterclockwise to loosen the bolt. Apply steady pressure and rotate the wrench in a controlled manner to gradually release the tension. Be cautious not to overtighten or over-loosen the bolt, as this can cause damage to the brake lever or the handlebars.
After loosening the first bolt, move on to the second bolt, following the same process. Ensure that both bolts are sufficiently loosened before attempting to remove the brake lever. It's important to note that some brake levers may have additional screws or clips that need to be removed as well. Refer to your bike's manual or a reliable online resource for specific instructions on your model.
With the mounting bolts loosened, you should now be able to gently pull the brake lever away from the handlebars. Be careful not to yank or force the lever, as this can cause damage to the cables or the lever itself. Once the lever is removed, you can proceed with the next steps of your repair or maintenance process.
Remember, when working on your bike, it's always a good idea to have a clean, organized workspace and to keep track of the parts you've removed. This will make reassembly much easier and help prevent any mishaps. Additionally, if you're unsure about any part of the process, don't hesitate to seek guidance from a professional mechanic or a knowledgeable friend.
Effortless Brake Cable Removal: A Step-by-Step Guide for Bike Owners
You may want to see also
Explore related products


Remove brake lever: Gently pull the brake lever off the handlebars, ensuring all bolts are sufficiently loosened
To remove the brake lever from a bicycle, begin by ensuring that the bike is securely positioned and stable. This can be achieved by placing it on a bike stand or leaning it against a solid surface. Next, locate the bolts that attach the brake lever to the handlebars. These bolts are typically found on the underside of the handlebars, near where the brake lever is mounted.
Using an appropriately sized Allen wrench or hex key, loosen the bolts by turning them counterclockwise. It is important to loosen them gradually and evenly to avoid stripping the threads. Once the bolts are sufficiently loosened, gently pull the brake lever away from the handlebars. Be careful not to yank or force it, as this could damage the lever or the handlebars.
If the brake lever does not come off easily, check to ensure that all bolts are fully loosened. Sometimes, a bit of grime or rust can make it difficult for the lever to slide off smoothly. In such cases, a light application of lubricant or penetrating oil can help to loosen the components.
After removing the brake lever, inspect it for any signs of wear or damage. If the lever appears to be in good condition, you can proceed with the next steps of your maintenance or repair process. If it is damaged, it may need to be replaced.
Remember to always follow the manufacturer's instructions for your specific bike model, as the process for removing the brake lever can vary slightly depending on the type of bicycle and brake system. Additionally, if you are unsure about any part of the process, it is recommended to consult with a professional mechanic to avoid any potential issues or injuries.
Effortlessly Remove Your Bike's Disc Brakes: A Step-by-Step Guide
You may want to see also
Explore related products


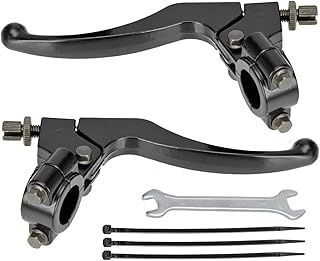
Clean and inspect: After removal, clean the brake lever and inspect it for any damage or wear that may require replacement
After removing the brake lever from your bike, it's crucial to thoroughly clean it to ensure optimal performance and longevity. Use a soft-bristled brush or a lint-free cloth to gently remove any dirt, grime, or debris that may have accumulated on the lever. Pay special attention to the pivot points and the area where the brake cable attaches, as these are common spots for dirt to build up.
Once the lever is clean, inspect it carefully for any signs of damage or wear. Look for cracks, bends, or any other structural issues that could compromise the lever's integrity. Additionally, check the brake lever's pivot points for smooth rotation and ensure that the brake cable attachment point is secure and free of fraying.
If you notice any damage or excessive wear during your inspection, it may be necessary to replace the brake lever. While some minor issues can be addressed with repairs, it's generally safer to replace a damaged brake lever to avoid any potential failures while riding.
When replacing a brake lever, it's essential to choose one that is compatible with your bike's specifications. Consult your bike's manual or a professional bike mechanic to ensure you select the correct replacement part. Proper installation is also crucial, so follow the manufacturer's instructions carefully or seek assistance from a qualified technician.
Regular cleaning and inspection of your bike's brake lever can help prevent unexpected failures and ensure a safer riding experience. By maintaining this critical component, you can enjoy peace of mind knowing that your brakes will perform reliably when you need them most.
Reviving Your Ride: A Guide to Removing Rusted, Seized Brake Cables
You may want to see also
Frequently asked questions
To remove the brake lever on your bike, you will typically need a set of Allen wrenches (also known as hex keys), a flathead screwdriver, and possibly a cable housing tool if you need to disconnect the brake cable.
To disconnect the brake cable from the lever, first, locate the cable housing where it enters the lever. Use a cable housing tool or a flathead screwdriver to pry open the housing and release the cable. Once the cable is free, carefully pull it out of the lever.
After removing the brake lever, the next step is usually to remove the brake caliper from the bike frame or fork. This involves loosening the bolts that secure the caliper in place and then lifting it off. Make sure to support the bike and keep it stable while you work on the brakes.
To reassemble the brake lever after maintenance, first, ensure that the brake cable is properly lubricated and threaded through the housing. Insert the cable back into the lever, making sure it is seated correctly. Then, tighten the cable clamp to secure the cable in place. Finally, reattach the lever to the handlebar using the appropriate bolts and Allen wrenches, ensuring that it is aligned correctly and tightened securely.