Matthew Brooks
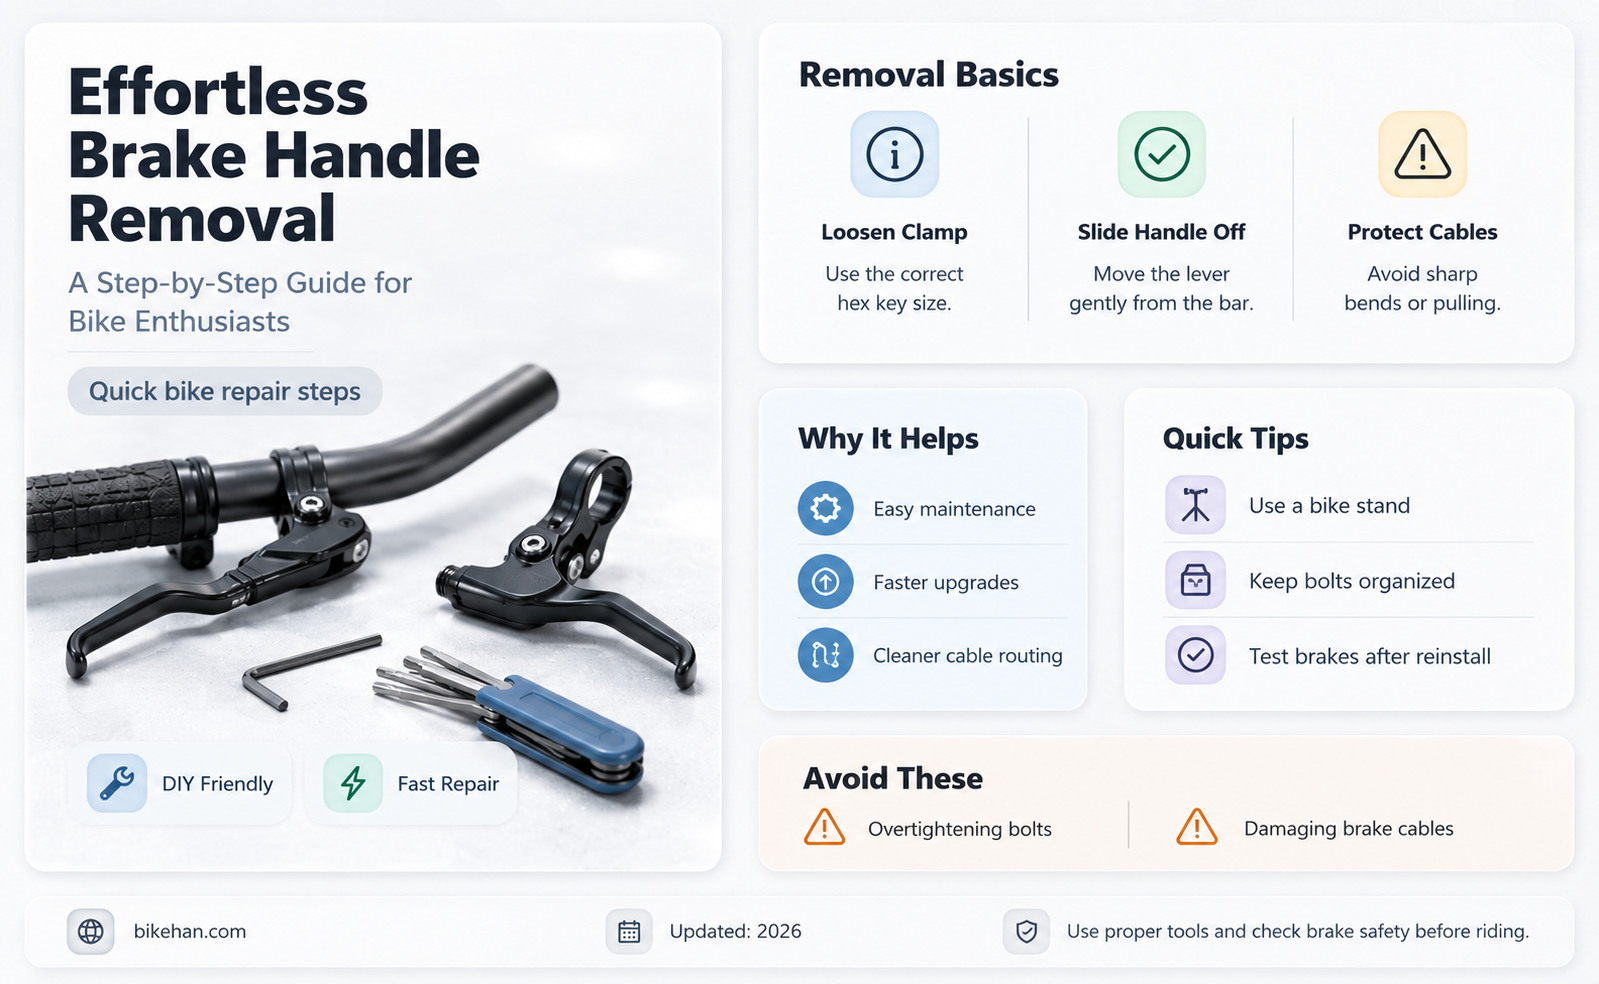
Removing brake handles from bike handlebars is a common maintenance task that can be performed with a few basic tools and some mechanical know-how. The process typically involves loosening the brake handlebar clamp, sliding the handle off the bar, and then disconnecting the brake cable from the handle. It's important to ensure that the bike is properly supported and that the brakes are not engaged during this process to avoid any accidents or damage to the bike. With the right tools and a bit of patience, removing brake handles can be a straightforward and rewarding DIY project for any bike enthusiast.
Explore related products



What You'll Learn
- Tools Required: Essential tools for removing brake handles, including Allen wrenches, screwdrivers, and pliers
- Safety Precautions: Steps to ensure safety while working on bike brakes, such as wearing gloves and using a bike stand
- Removing Brake Levers: Detailed process for detaching the brake levers from the handlebars, including loosening screws and bolts
- Disconnecting Brake Cables: Instructions on how to carefully disconnect the brake cables from the levers and handlebars
- Reinstalling Brake Handles: Guidance on reattaching the brake handles, ensuring proper alignment and tightening of all components

Tools Required: Essential tools for removing brake handles, including Allen wrenches, screwdrivers, and pliers
To remove brake handles from bike handlebars, you'll need a few essential tools. Allen wrenches are a must-have, as they're commonly used to loosen the bolts that secure the brake handles to the handlebars. Make sure you have a set of Allen wrenches in various sizes to accommodate different bolt heads. Screwdrivers are another crucial tool, particularly flathead and Phillips head screwdrivers, which may be needed to remove additional screws or adjust components during the process. Needle-nose pliers can also come in handy for gripping small parts or bending wires, especially if you encounter any stubborn components.
When selecting your tools, it's important to choose high-quality options that will provide the necessary leverage and precision. Cheap tools may strip or break, leading to frustration and potential damage to your bike. Additionally, consider investing in a torque wrench to ensure you're applying the correct amount of force when loosening or tightening bolts. This can help prevent overtightening, which can damage threads or components.
Before you begin the removal process, make sure your bike is properly supported and stable. You may want to use a bike stand or clamp the handlebars to a workbench to prevent the bike from moving around. It's also a good idea to clean the area around the brake handles and bolts to remove any dirt or debris that could interfere with the removal process.
When using your tools, be patient and work carefully. It's easy to strip a bolt or damage a component if you're not paying attention. If you encounter any resistance, try applying a small amount of lubricant to the bolt or screw to help loosen it. And remember, when in doubt, it's always better to consult a professional mechanic or refer to your bike's user manual for specific instructions.
Effortless Brake Cable Removal: A Step-by-Step Guide for Bike Owners
You may want to see also
Explore related products




Safety Precautions: Steps to ensure safety while working on bike brakes, such as wearing gloves and using a bike stand
Before diving into the intricacies of removing brake handles, it's crucial to prioritize safety. Working on bike brakes can be a delicate process, and taking the necessary precautions can prevent injuries and ensure a successful repair. One of the most important safety measures is to wear gloves. This not only protects your hands from grease and grime but also provides a better grip on tools and components, reducing the risk of slippage and accidents.
Another key safety step is to use a bike stand. This elevates the bike to a comfortable working height, allowing you to access the brake components more easily and reducing strain on your back and arms. A bike stand also keeps the bike stable, preventing it from tipping over and causing potential harm. When selecting a bike stand, ensure it's compatible with your bike's frame and can support its weight securely.
In addition to wearing gloves and using a bike stand, it's essential to have the right tools for the job. Using the correct tools not only makes the process more efficient but also reduces the risk of damaging components or injuring yourself. For brake handle removal, you'll typically need a set of Allen wrenches, a Phillips screwdriver, and possibly a cable housing cutter. Always inspect your tools before use to ensure they're in good condition and free from wear or damage.
Before beginning any work on your bike's brakes, it's important to familiarize yourself with the specific components and their functions. This knowledge will help you understand the steps involved in removing the brake handles and ensure you don't inadvertently cause any issues. Take the time to consult your bike's manual or watch instructional videos to gain a clear understanding of the brake system and the removal process.
Finally, always work in a well-lit, clean, and organized space. Good lighting helps you see small components and potential hazards more clearly, while a clean workspace reduces the risk of contamination and makes it easier to keep track of parts. Keep your workspace free from clutter and ensure all tools and components are within easy reach to minimize unnecessary movement and potential accidents.
Effortlessly Remove Your Bike's Disc Brakes: A Step-by-Step Guide
You may want to see also
Explore related products


Removing Brake Levers: Detailed process for detaching the brake levers from the handlebars, including loosening screws and bolts
To remove brake levers from bike handlebars, begin by ensuring the bike is securely positioned and the wheels are removed to prevent any accidental rolling. Next, locate the screws or bolts that attach the brake levers to the handlebars. These are typically found on the top or side of the lever assembly. Using the appropriate tool, such as a Phillips screwdriver or Allen wrench, loosen the screws or bolts until they are just free enough to allow the levers to move.
Once the screws or bolts are loosened, gently pull the brake levers away from the handlebars. Be careful not to damage any of the components or wiring during this process. If the levers are stuck, you may need to apply a bit more force or use a lubricant to help them come loose. After the levers are detached, carefully remove the screws or bolts completely and set them aside in a safe place.
Before proceeding, inspect the brake levers and handlebars for any signs of wear or damage. If any components appear to be in poor condition, it may be necessary to replace them before reinstalling the levers. Additionally, check the brake cables and housing for any fraying or kinks that could affect the bike's braking performance.
When reinstalling the brake levers, ensure that they are properly aligned with the handlebars and that the screws or bolts are tightened securely. It's important to tighten them evenly to avoid any imbalance or misalignment. Once the levers are securely in place, test the brakes to ensure they are functioning correctly. If the brakes feel spongy or unresponsive, it may be necessary to adjust the cable tension or bleed the brakes.
In summary, removing brake levers from bike handlebars involves loosening the screws or bolts, gently pulling the levers away, inspecting the components, and then reinstalling the levers securely. By following these steps carefully, you can ensure that your bike's brakes are functioning properly and safely.
Reviving Your Ride: A Guide to Removing Rusted, Seized Brake Cables
You may want to see also
Explore related products


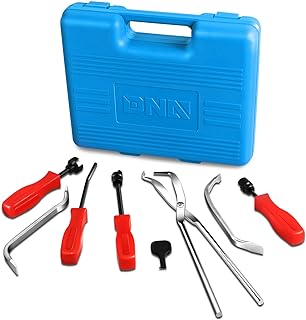


Disconnecting Brake Cables: Instructions on how to carefully disconnect the brake cables from the levers and handlebars
Begin by ensuring your bike is securely positioned, preferably on a bike stand or against a stable surface, to prevent it from falling over during the process. Next, locate the brake cable where it connects to the brake lever. This is typically done by following the cable from the handlebar down to where it meets the lever mechanism. Once located, you'll need to loosen the cable clamp that holds the cable in place. This clamp is usually a small, adjustable piece that can be turned with a screwdriver or an Allen wrench.
After loosening the clamp, gently pull the cable away from the lever. Be careful not to damage the cable or the lever during this process. It's important to note that some brake systems may have additional components, such as a barrel adjuster, that need to be accounted for when disconnecting the cable. If your bike has such a component, you may need to adjust it to release the cable properly.
With the cable disconnected from the lever, you can now move on to removing it from the handlebar. This typically involves pulling the cable through the handlebar's cable routing system. Depending on your bike's design, this may require removing a cover or plate to access the routing system. Once the cable is free from the handlebar, you can remove the brake handle itself by loosening any screws or clamps that hold it in place.
Throughout this process, it's crucial to be patient and methodical. Rushing or using excessive force can lead to damage to your bike's components. Additionally, if you're unsure about any step of the process, it's always a good idea to consult your bike's manual or seek assistance from a professional mechanic.
Finally, after the brake handle has been removed, inspect the cable and lever for any signs of wear or damage. If any issues are found, it's advisable to replace the affected components to ensure safe and reliable braking performance when reassembling your bike.
Effortless Brake Caliper Removal: A Step-by-Step Guide for Bike Enthusiasts
You may want to see also
Explore related products


Reinstalling Brake Handles: Guidance on reattaching the brake handles, ensuring proper alignment and tightening of all components
Begin by ensuring that the brake cables are properly routed through the handlebars and that the brake levers are aligned with the handlebar grips. This alignment is crucial for optimal braking performance and safety. Next, insert the brake lever into the handlebar grip, making sure that it is seated securely and that the cable is not pinched or damaged during this process.
Tighten the brake lever clamp bolt, ensuring that it is snug but not over-tightened, as this can cause damage to the handlebar or the brake lever. Test the brake lever to ensure that it moves smoothly and that the brake cable is properly tensioned. If necessary, adjust the cable tension using the barrel adjuster located near the brake caliper.
When reinstalling the brake handles, it is important to ensure that the brake pads are properly aligned with the rim of the wheel. This can be done by adjusting the brake caliper mounting bolts, which will move the caliper and pads closer to or further from the rim. Once the brake pads are properly aligned, test the brakes by squeezing the lever and ensuring that the pads make contact with the rim and slow the wheel down effectively.
Finally, check all bolts and components for tightness and make any necessary adjustments. It is also a good idea to lubricate the brake lever pivot points and the cable housing to ensure smooth operation and prevent rust or corrosion. With these steps completed, your brake handles should be securely reinstalled and ready for use.
Mastering the Art of Removing Bike Wheels with Hydraulic Brakes
You may want to see also
Frequently asked questions
Typically, you'll need a set of Allen wrenches or hex keys, as most brake handles are secured with hexagonal bolts. Additionally, having a good grip on the handlebars and some lubricant can be helpful.
Check the size of the bolts securing the brake handles to the handlebars. The size is usually printed on the bolt head or can be measured using a ruler or caliper. Match this size to the corresponding Allen wrench.
Yes, applying a lubricant such as WD-40 or a bike-specific lubricant to the bolts can help loosen them, making it easier to remove the brake handles.
If the bolts are too tight, you can use a larger Allen wrench for more leverage, or consider using a torque wrench to avoid over-tightening. If you're still having trouble, it may be best to consult a professional bike mechanic.
Once the brake handles are removed, you'll need to disconnect the brake cables from the handles. This usually involves loosening a cable clamp or using a cable housing cutter. After that, you can proceed with replacing or servicing the brake handles as needed.