Lauren Kennedy
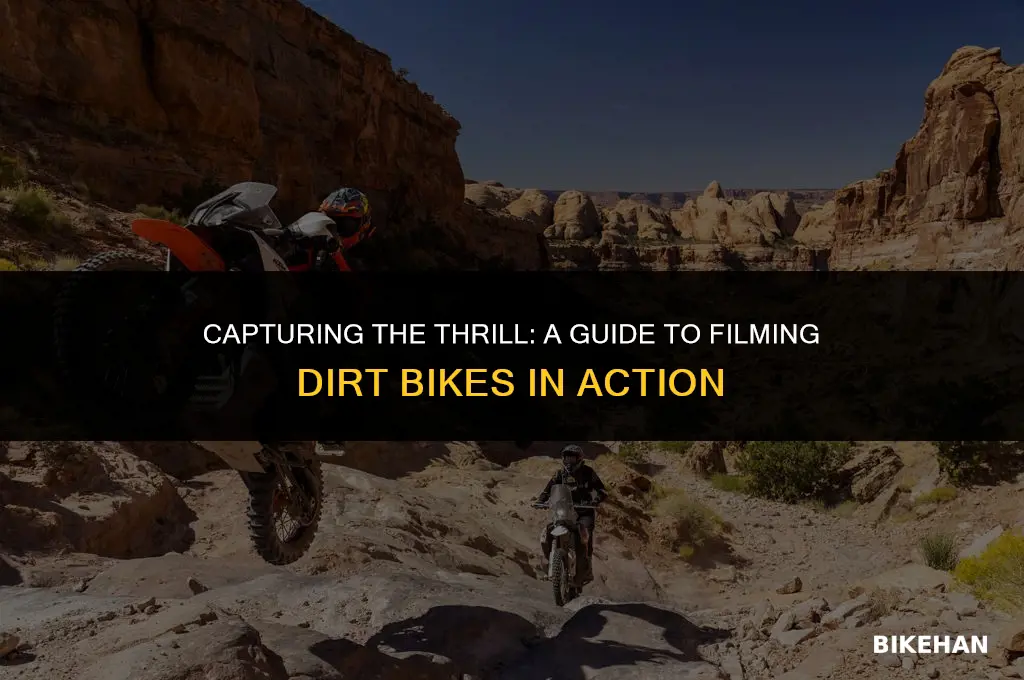
Filming dirt bikes can be an exhilarating and rewarding experience, capturing the thrill and intensity of off-road motorcycling. To effectively film dirt bikes, it's essential to understand the dynamics of the sport and the techniques involved. This includes selecting the right camera equipment, such as action cameras or drones, and using appropriate mounting gear to ensure stability and safety. Additionally, it's crucial to choose the right location, considering factors like terrain, lighting, and accessibility. When filming, focus on capturing the rider's technique, the bike's movement, and the surrounding environment to create a visually engaging and informative video. Post-production editing can further enhance the footage, adding music, effects, and narration to create a polished final product.
Explore related products


What You'll Learn
- Camera Equipment: Essential gear for capturing high-quality footage of dirt bikes in action
- Camera Angles: Unique perspectives to make your dirt bike videos visually appealing and dynamic
- Lighting: Tips on natural and artificial lighting to enhance the visual appeal of your footage
- Sound Recording: Techniques for capturing the thrilling sounds of dirt bikes, enhancing the viewer's experience
- Editing: Basic editing tips to refine your footage, including color correction and adding effects

Camera Equipment: Essential gear for capturing high-quality footage of dirt bikes in action
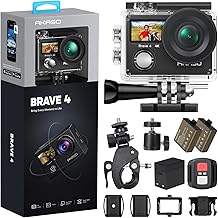
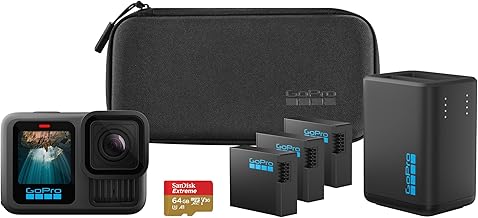
To capture high-quality footage of dirt bikes in action, you'll need the right camera equipment. A good starting point is a high-resolution camera with a fast shutter speed to freeze the motion of the bikes. Look for a camera that can shoot at least 1080p at 60fps, and ideally 4K at 30fps or higher for the best results. A wide-angle lens is also essential for capturing the expansive views of the track and the bikes as they navigate turns and jumps.
In addition to the camera itself, you'll need a sturdy tripod or mounting system to keep the camera stable during filming. A gimbal can also be helpful for smoothing out any shaky footage, especially when filming from a moving vehicle or while running alongside the track.
Lighting is another crucial factor to consider. When filming outdoors, you'll want to use a polarizing filter to reduce glare and reflections from the sun. If you're filming in low-light conditions, a high-quality LED light panel can help illuminate the scene without creating harsh shadows.
Finally, don't forget about audio. A good quality microphone can capture the sounds of the bikes and the environment, adding an extra layer of realism to your footage. Consider using a shotgun microphone or a lavalier mic attached to the rider's helmet for the best results.
When it comes to storage, make sure you have plenty of high-speed memory cards and an external hard drive to back up your footage. It's also a good idea to invest in a portable battery pack to keep your equipment charged throughout the day.
By investing in the right camera equipment, you'll be able to capture stunning footage of dirt bikes in action that will impress your audience and showcase the excitement of the sport.
Foam Filling 101: A Dirt Bike Tire Transformation Guide
You may want to see also
Explore related products


Camera Angles: Unique perspectives to make your dirt bike videos visually appealing and dynamic
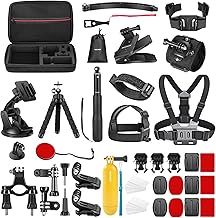
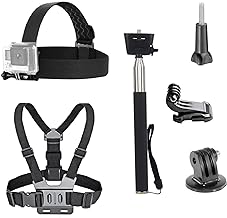
To capture the thrill and excitement of dirt biking, it's essential to experiment with various camera angles that offer unique perspectives. One such angle is the "rider's eye view," which involves mounting a camera on the rider's helmet or goggles. This angle provides an immersive experience for the viewer, allowing them to see the track and obstacles as the rider does. To achieve this, use a compact and lightweight action camera with a wide-angle lens, such as a GoPro or DJI Osmo Action. Ensure the camera is securely fastened to the helmet or goggles using a compatible mount, and adjust the angle to minimize the view of the rider's body and maximize the track's visibility.
Another dynamic angle is the "low and wide" shot, which involves positioning the camera close to the ground and at a wide angle to capture the dirt bike's movement and the surrounding environment. This angle emphasizes the speed and agility of the bike, as well as the rugged terrain. To execute this shot, use a tripod or a stable surface to keep the camera steady, and experiment with different lens focal lengths to achieve the desired width and depth of field. Additionally, consider using a polarizing filter to reduce glare and enhance the colors of the scene.
For a more dramatic effect, try the "high and tight" angle, which involves positioning the camera above the dirt bike and zooming in on the rider and the bike's movement. This angle creates a sense of intensity and focus, highlighting the rider's skill and the bike's performance. To achieve this shot, use a drone or a tall tripod, and adjust the camera's zoom and aperture settings to isolate the subject from the background. Be mindful of the lighting conditions, as harsh sunlight can create unflattering shadows and highlights.
When filming dirt bikes, it's crucial to consider the safety of both the rider and the camera operator. Always ensure that the rider is wearing appropriate protective gear, and that the camera is securely mounted and positioned to avoid any potential hazards. Additionally, be aware of the local laws and regulations regarding filming in public spaces, and obtain any necessary permits or permissions before capturing footage.
In conclusion, by experimenting with unique camera angles such as the rider's eye view, low and wide shot, and high and tight angle, you can create visually appealing and dynamic dirt bike videos that capture the excitement and intensity of the sport. Remember to prioritize safety and follow local regulations when filming, and don't be afraid to get creative and try new techniques to make your videos stand out.
Mastering Fork Maintenance: A Guide to Oiling Your Dirt Bike's Suspension
You may want to see also
Explore related products


Lighting: Tips on natural and artificial lighting to enhance the visual appeal of your footage
To capture the dynamic action of dirt biking, proper lighting is crucial. Natural light can be your best ally, but it's essential to understand how to harness it effectively. When filming outdoors, position your camera to take advantage of the golden hour—shortly after sunrise or before sunset—when the sunlight is softer and warmer, reducing harsh shadows and glare. If you're filming during the middle of the day, use a polarizing filter to minimize reflections and enhance the colors of the dirt and surroundings.
Artificial lighting can also play a significant role in enhancing your footage, especially when filming in low-light conditions or at night. LED lights are a popular choice due to their portability and energy efficiency. Position lights strategically to create depth and dimension, avoiding flat lighting that can make the scene appear dull. Experiment with different color temperatures to achieve the desired mood, whether it's a cool, blue tone for a nighttime ride or a warm, yellowish hue for an indoor setting.
When using artificial lights, be mindful of the inverse square law, which states that the intensity of light decreases with the square of the distance from the source. This means you'll need to adjust the light's position and intensity based on the distance from your subject. Additionally, consider using gels or colored filters to correct or enhance the color of the light, ensuring it complements the natural lighting in the scene.
One common mistake is over-reliance on a single light source, which can create unflattering shadows and a lack of depth. Instead, use multiple light sources to create a more balanced and visually appealing image. This can include a key light to illuminate the main subject, fill lights to soften shadows, and backlights to separate the subject from the background.
In post-production, color grading can further enhance the visual appeal of your footage. Adjust the white balance to ensure the colors are accurate, and use curves or color wheels to fine-tune the overall look. Pay attention to the skin tones of any riders in the shot, ensuring they appear natural and healthy.
By mastering the art of lighting, you can elevate your dirt bike footage from amateur to professional, capturing the excitement and intensity of the sport in a visually stunning way.
Dirt Bike Dreams: Monetizing Your Passion for Off-Road Adventures
You may want to see also
Explore related products


Sound Recording: Techniques for capturing the thrilling sounds of dirt bikes, enhancing the viewer's experience
Capturing the exhilarating sounds of dirt bikes is crucial for creating an immersive viewing experience. To achieve this, it's essential to employ specific sound recording techniques that focus on the unique audio characteristics of dirt bikes. One effective method is to use a combination of on-board and off-board microphones. On-board mics, such as lavalier or clip-on microphones, can be attached directly to the rider's gear or the bike itself to capture the raw, unfiltered sounds of the engine and exhaust. Off-board mics, like shotgun or boom microphones, can be positioned strategically around the track to pick up the ambient sounds of the environment, including the roar of the crowd and the crunch of dirt under the tires.
When recording sound for dirt bike footage, it's important to consider the placement and movement of the microphones. For dynamic shots, using a boom mic on a moving vehicle or a drone can help capture the full range of sounds as the bike moves through different terrains. Additionally, experimenting with different microphone polar patterns can help isolate the desired sounds and reduce unwanted noise. For instance, using a cardioid microphone can help focus on the sound source in front of it, while a parabolic microphone can capture distant sounds with high precision.
Post-production is also a critical aspect of enhancing the audio experience. Techniques such as equalization, compression, and reverb can be used to fine-tune the sound and create a more engaging audio track. Equalization can help balance the different frequencies, making the engine sounds more prominent and the background noise less distracting. Compression can be used to even out the volume levels, ensuring that the audio is consistent throughout the video. Reverb can be applied to create a sense of space and depth, making the viewer feel like they are right there on the track.
Another important consideration is the synchronization of audio and video. Ensuring that the sound is perfectly aligned with the visual elements of the footage is essential for creating a seamless and immersive experience. This can be achieved through careful editing and the use of timecode synchronization tools. By paying close attention to the timing of the sound effects, such as the revving of the engine or the skidding of the tires, the viewer can be fully engaged in the action.
In conclusion, capturing the thrilling sounds of dirt bikes requires a combination of strategic microphone placement, dynamic recording techniques, and meticulous post-production work. By focusing on these specific audio elements and using the right tools and techniques, filmmakers can create a viewing experience that is both visually stunning and audibly captivating.
Mastering the Art of Whoops on Your Dirt Bike: A Step-by-Step Guide
You may want to see also
Explore related products




Editing: Basic editing tips to refine your footage, including color correction and adding effects
To elevate your dirt bike footage, basic editing techniques are essential. Start by organizing your clips in a logical sequence that tells a story. This could be chronological, thematic, or based on the intensity of the action. Once your sequence is structured, apply color correction to ensure visual consistency. This is particularly important when filming outdoors, as lighting conditions can vary drastically. Use editing software to adjust white balance, contrast, and saturation, aiming for a look that is both vibrant and natural.
Next, consider adding effects to enhance the visual appeal of your footage. Effects can range from simple transitions between clips to more complex visual elements like motion graphics or particle effects. When using effects, it's crucial to strike a balance between creativity and subtlety. Overuse of effects can be distracting and detract from the raw excitement of the dirt bike action.
In addition to visual editing, don't overlook the importance of audio. Clean up any background noise and consider adding music or sound effects that complement the on-screen action. When mixing audio, ensure that the music doesn't overpower the sound of the dirt bikes, as this is a key element of the viewing experience.
Finally, pay attention to the pacing of your edited footage. Dirt bike videos should be dynamic and engaging, so avoid lingering too long on any single shot. Use quick cuts to capture the fast-paced nature of the sport, but also include some longer shots to provide context and allow the viewer to appreciate the skill of the riders. By following these basic editing tips, you can transform your raw footage into a polished, professional-looking video that showcases the thrill of dirt biking.
Mastering the Clutch: A Beginner's Guide to Dirt Bike Driving
You may want to see also
Frequently asked questions
To film dirt bikes effectively, you'll need a sturdy camera capable of high frame rates to capture fast motion, a wide-angle lens to get expansive shots of the track, and a gimbal or stabilizer to keep your footage smooth. Additionally, consider using a drone for aerial shots and a GoPro or similar action camera for rider POV footage.
Safety is paramount when filming dirt bikes. Ensure all riders wear appropriate protective gear, including helmets, gloves, and body armor. The camera crew should also wear safety gear and stay clear of the track when filming. Use barriers or designated areas to separate the crew from the action, and always be aware of your surroundings.
To capture the best angles and shots, position yourself at various points around the track to get a mix of wide, medium, and close-up shots. Use a low angle to emphasize the speed and power of the bikes, and a high angle for a broader view of the track. Experiment with panning shots to follow the bikes' movement and create a sense of speed.
Filming in outdoor environments presents unique challenges. To handle changing weather conditions, be prepared with weather-resistant gear and have a backup plan in case of rain or extreme conditions. For uneven terrain, use a tripod with adjustable legs or a handheld stabilizer to keep your shots steady. Scout the location beforehand to identify potential issues and plan your shots accordingly.