Lauren Kennedy
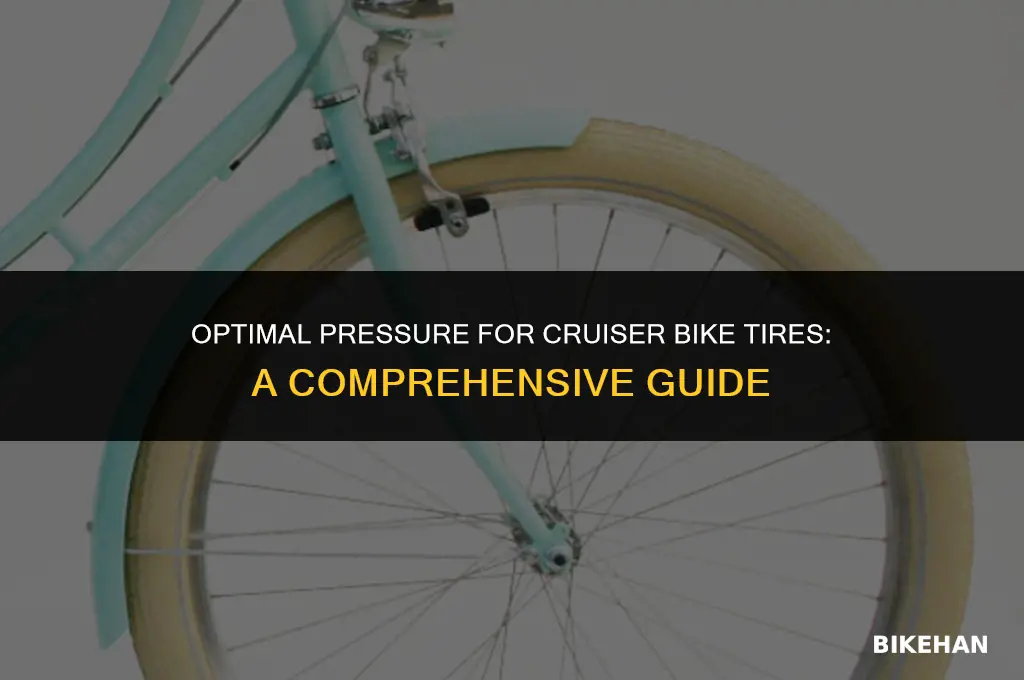
When it comes to choosing the right cruiser bike, one of the key factors to consider is the tire pressure. The ideal pressure for cruiser bike tires can vary depending on several factors, including the rider's weight, the type of terrain, and personal riding preferences. Generally, cruiser bikes are designed for comfort and stability, so the recommended tire pressure is often lower than that of road bikes. This lower pressure helps to absorb shocks from uneven surfaces, providing a smoother ride. However, it's important to note that too low of a pressure can lead to decreased efficiency and increased risk of punctures. In this guide, we'll explore the optimal tire pressure range for cruiser bikes and offer tips on how to find the perfect balance for your riding needs.
Explore related products




What You'll Learn
- Tire Pressure: Optimal tire pressure for cruiser bikes varies based on rider weight and riding conditions
- Brake Adjustment: Properly adjusted brakes ensure safety and smooth rides on cruiser bikes
- Seat Height: Adjusting seat height for comfort and efficiency on cruiser bikes is crucial
- Handlebar Alignment: Correct handlebar alignment reduces strain and improves control on cruiser bikes
- Suspension Settings: Fine-tuning suspension settings can enhance the ride quality of cruiser bikes

Tire Pressure: Optimal tire pressure for cruiser bikes varies based on rider weight and riding conditions
Determining the optimal tire pressure for cruiser bikes is a nuanced process that takes into account several factors, including rider weight and riding conditions. Cruiser bikes, known for their wide tires and comfortable ride, require specific tire pressure to ensure safety, performance, and comfort.
For riders of average weight (around 150-200 pounds), a tire pressure of 30-40 PSI (pounds per square inch) is generally recommended. However, heavier riders may need to increase the pressure to 40-50 PSI to prevent tire blowouts and ensure adequate support. Conversely, lighter riders might find a lower pressure of 25-35 PSI more comfortable, allowing for a smoother ride over uneven surfaces.
Riding conditions also play a crucial role in determining tire pressure. For smooth, paved roads, a higher tire pressure can provide better speed and efficiency. However, for rough or off-road conditions, a lower tire pressure can offer improved traction and shock absorption. It's essential to adjust tire pressure accordingly to match the terrain and ensure a safe and enjoyable ride.
To find the optimal tire pressure, riders should consult their bike's manual or the tire manufacturer's recommendations. Additionally, experimenting with different pressures and observing the bike's performance and handling can help riders pinpoint the ideal setting for their specific needs and preferences.
Regularly checking and maintaining tire pressure is crucial for cruiser bike owners. Properly inflated tires not only enhance ride quality but also extend the lifespan of the tires and improve overall bike performance. By understanding the relationship between tire pressure, rider weight, and riding conditions, cruiser bike enthusiasts can optimize their riding experience and ensure a safe and comfortable journey.
Exploring the Strength: How Powerful is a 500W Bike Motor?
You may want to see also
Explore related products





Brake Adjustment: Properly adjusted brakes ensure safety and smooth rides on cruiser bikes
Proper brake adjustment is crucial for cruiser bikes to ensure both safety and a smooth riding experience. The process involves checking and adjusting the brake pads, cables, and levers to achieve the optimal balance between stopping power and ease of use. Here's a step-by-step guide to help you adjust the brakes on your cruiser bike:
- Inspect the Brake Pads: Start by examining the brake pads for wear and tear. If they are worn down to less than 1/8 inch, it's time to replace them. Otherwise, proceed to the next step.
- Adjust the Brake Cables: Locate the barrel adjuster where the brake cable enters the brake lever. Turn the adjuster clockwise to increase tension on the cable, which will make the brakes more responsive. Test the brakes by squeezing the lever and observing if the pads make proper contact with the rim.
- Fine-Tune the Brake Levers: If the brakes are too tight or too loose, you can adjust the brake levers. Loosen the bolt that secures the lever to the handlebar, then move the lever closer to or further from the bar to achieve the desired tension. Retighten the bolt and test the brakes again.
- Check for Proper Alignment: Ensure that the brake pads are aligned correctly with the rim. Misaligned pads can cause uneven wear and reduced braking efficiency. Adjust the pads as needed and retest the brakes.
- Test Ride: Once you've made all the necessary adjustments, take your cruiser bike for a test ride. Pay attention to how the brakes feel and perform under different conditions, such as uphill, downhill, and on various road surfaces. Make any final adjustments as needed.
By following these steps, you can ensure that your cruiser bike's brakes are properly adjusted, providing you with a safe and enjoyable riding experience. Remember to regularly inspect and maintain your brakes to prevent any potential issues down the road.
Exploring the Hidden Fuel: How Much Petrol Does Your Bike's Reserve Tank Hold?
You may want to see also
Explore related products


Seat Height: Adjusting seat height for comfort and efficiency on cruiser bikes is crucial
Adjusting the seat height on a cruiser bike is a critical aspect of ensuring both comfort and efficiency. The ideal seat height allows the rider to maintain a slight bend in the knees when the feet are on the pedals, which helps in absorbing shocks from the road and reducing strain on the lower back. To adjust the seat height, start by loosening the seat post clamp, typically located under the seat or on the frame near the seat post. Once loosened, raise or lower the seat post to the desired height, ensuring that it is aligned with the bike's frame for stability. Tighten the clamp securely to prevent any movement during the ride.
For riders of different heights, the seat height adjustment is even more crucial. Taller riders may need to raise the seat significantly to avoid overextending their legs, while shorter riders may need to lower it to reach the pedals comfortably. It's also important to consider the rider's inseam length, as this directly affects the optimal seat height. A general rule of thumb is that the seat height should be approximately equal to the rider's inseam length, but this can vary based on personal preference and the specific design of the cruiser bike.
In addition to comfort, adjusting the seat height can also impact the efficiency of the ride. A seat that is too high can lead to a loss of power and control, as the rider may struggle to maintain a consistent cadence. Conversely, a seat that is too low can cause the rider to strain their knees and lower back, leading to discomfort and potential injury over time. By finding the optimal seat height, riders can maximize their power output and maintain a comfortable riding position, which is essential for long-distance cruiser bike rides.
When making seat height adjustments, it's important to consider the overall geometry of the bike. The seat height should be in harmony with the handlebar height and reach, as well as the pedal position. If the seat is too high relative to the handlebars, the rider may be forced into an awkward, upright position, which can lead to neck and shoulder strain. Similarly, if the seat is too low, the rider may be hunched over, putting excessive pressure on the lower back. By adjusting the seat height in conjunction with other bike components, riders can achieve a balanced and ergonomic riding position.
Finally, it's worth noting that seat height adjustments may need to be made periodically, as the rider's body and preferences can change over time. Factors such as weight loss or gain, changes in flexibility, and even the type of riding can all impact the optimal seat height. By regularly reassessing and adjusting the seat height, riders can ensure that their cruiser bike remains comfortable and efficient, providing an enjoyable riding experience for years to come.
Understanding Bike Chain Slack: A Comprehensive Guide
You may want to see also
Explore related products




Handlebar Alignment: Correct handlebar alignment reduces strain and improves control on cruiser bikes
Proper handlebar alignment is crucial for cruiser bike riders as it directly impacts their comfort and control while riding. Misaligned handlebars can lead to unnecessary strain on the rider's wrists, arms, and shoulders, which can be particularly problematic during long rides. Additionally, incorrect alignment can affect the bike's handling, making it more difficult to maneuver and increasing the risk of accidents.
To ensure correct handlebar alignment, riders should first check that the handlebars are level with the ground when the bike is stationary. This can be done using a spirit level or by visually inspecting the alignment from the front and sides of the bike. If the handlebars are not level, adjustments can be made by loosening the handlebar clamp and repositioning the handlebars until they are aligned.
Another important aspect of handlebar alignment is the angle at which the handlebars are set. For cruiser bikes, a slightly upward angle is generally recommended as it provides a more relaxed riding position and reduces strain on the rider's back and shoulders. However, the optimal angle will vary depending on the rider's height, riding style, and personal preferences.
In addition to improving comfort, correct handlebar alignment can also enhance the bike's handling and control. Properly aligned handlebars ensure that the rider's weight is distributed evenly across the bike, which can improve stability and make it easier to steer. This is particularly important for cruiser bikes, which are often used for leisurely rides and may be ridden at slower speeds.
Regularly checking and adjusting handlebar alignment is an essential part of bike maintenance for cruiser bike riders. By ensuring that their handlebars are properly aligned, riders can reduce strain, improve control, and enjoy a more comfortable and safe riding experience.
Revamping Your Ride: A Guide to Spray Painting Your Bike Frame
You may want to see also
Explore related products


Suspension Settings: Fine-tuning suspension settings can enhance the ride quality of cruiser bikes
Fine-tuning the suspension settings on a cruiser bike can significantly enhance the ride quality, providing a smoother and more comfortable experience. The suspension system on a cruiser bike is designed to absorb shocks and vibrations from the road, reducing the impact on the rider. By adjusting the suspension settings, riders can customize the level of damping to suit their preferences and riding conditions.
To fine-tune the suspension settings, riders should first understand the different components of the system. Most cruiser bikes have a front fork suspension and a rear shock absorber. The front fork suspension can be adjusted by turning the preload adjusters, which control the amount of spring tension. The rear shock absorber can be adjusted by turning the rebound adjusters, which control the speed at which the shock returns to its original position after being compressed.
Riders should start by setting the preload on the front fork to their body weight. This will ensure that the suspension is properly balanced and provides adequate support. Next, they should adjust the rebound on the rear shock absorber to control the amount of bounce. A slower rebound setting will provide a smoother ride, while a faster rebound setting will make the bike more responsive.
It's also important to consider the type of riding conditions when adjusting the suspension settings. For example, if the rider will be riding on rough roads or trails, they may want to increase the preload and rebound settings to provide more cushioning. Conversely, if the rider will be riding on smooth roads, they may want to decrease the preload and rebound settings to make the bike more responsive.
In addition to improving ride quality, fine-tuning the suspension settings can also help to reduce fatigue and improve control. By customizing the suspension to their specific needs and preferences, riders can enjoy a more comfortable and enjoyable ride.
Pedal Power: Unveiling the Energy Potential of Bike Dynamos
You may want to see also
Frequently asked questions
The recommended tire pressure for a cruiser bike typically ranges from 30 to 40 PSI (pounds per square inch). However, it's essential to check the specific recommendations on the tire sidewall or consult the bike manufacturer's guidelines, as the optimal pressure can vary depending on the tire size, bike weight, and riding conditions.
Tire pressure plays a crucial role in the ride quality of a cruiser bike. Lower tire pressure (within the recommended range) can provide a smoother and more comfortable ride by absorbing road vibrations and imperfections. Higher tire pressure can result in a harsher ride but may improve rolling efficiency and reduce the risk of punctures. Finding the right balance between comfort and efficiency is key to optimizing the ride quality of your cruiser bike.
Overinflating the tires on a cruiser bike can lead to a harsher ride, reduced traction, and an increased risk of punctures or blowouts. Underinflating the tires can result in decreased rolling efficiency, increased tire wear, and a higher risk of pinch punctures. It's important to regularly check and maintain the proper tire pressure to ensure a safe and enjoyable riding experience.