Samantha Lee
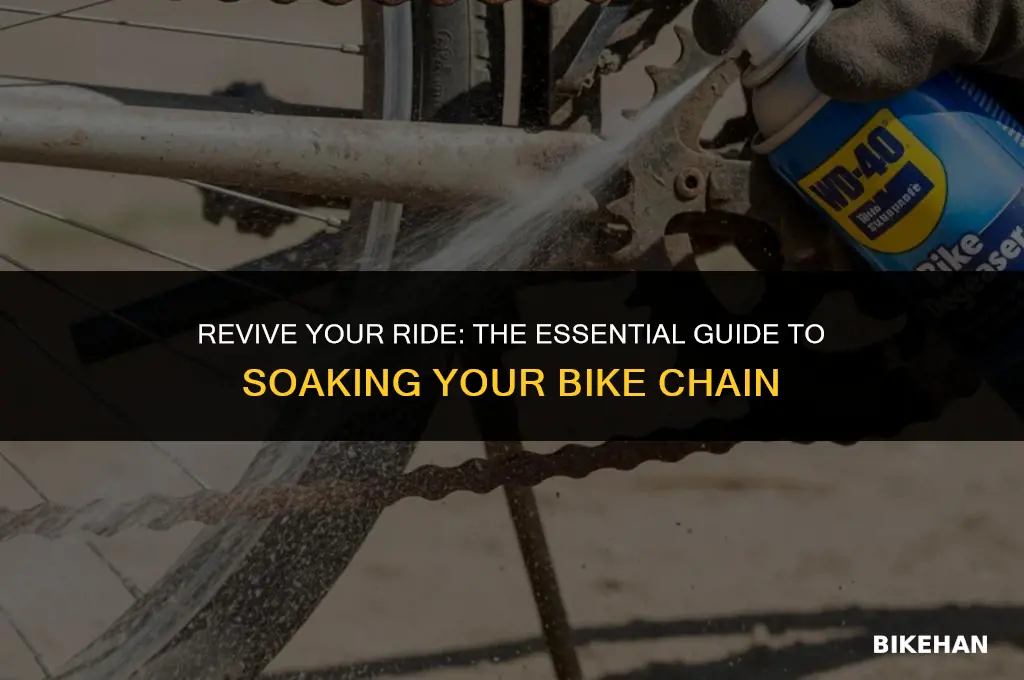
Soaking a bike chain is an essential maintenance task that helps to remove dirt, grime, and old lubricant, ensuring smooth and efficient operation of your bicycle. To begin the process, you'll need to gather a few supplies, including a suitable container, a solvent or degreaser specifically designed for bike chains, and a clean rag or brush. Start by placing the chain in the container and covering it with the solvent, allowing it to soak for the recommended time as per the manufacturer's instructions. This will help to break down any stubborn dirt and grime. After soaking, use the rag or brush to gently scrub the chain, working your way through each link to ensure thorough cleaning. Once the chain is clean, rinse it with water and dry it completely before applying a new layer of lubricant. Regularly soaking and cleaning your bike chain will not only improve its performance but also extend its lifespan, making it an important part of your bicycle maintenance routine.
Explore related products


What You'll Learn
- Gathering Supplies: Collect necessary items like degreaser, gloves, rag, and chain lubricant
- Removing the Chain: Safely detach the bike chain from the gears and pedals
- Cleaning the Chain: Thoroughly clean the chain using degreaser and a rag to remove dirt and grime
- Inspecting for Damage: Check the chain for any signs of wear or damage that may require replacement
- Lubricating the Chain: Apply a suitable lubricant to the chain to ensure smooth operation and prevent rust

Gathering Supplies: Collect necessary items like degreaser, gloves, rag, and chain lubricant
Before you begin the process of soaking your bike chain, it's crucial to gather all the necessary supplies. This ensures that you have everything you need at hand, making the task more efficient and less frustrating. Start by collecting a high-quality degreaser, specifically designed for bike chains. Look for a product that is both effective and environmentally friendly. You'll also need a pair of gloves to protect your hands from the degreaser and any grime you might encounter.
Next, find a clean rag or cloth that you can use to wipe down the chain after soaking. It's important to have this ready before you start, as you'll want to clean the chain thoroughly once it's been degreased. Additionally, you should gather a suitable container for soaking the chain. This could be a plastic tub or a dedicated chain cleaning device. Make sure the container is large enough to fully submerge the chain.
Finally, you'll need to have chain lubricant on hand for after the cleaning process. Choose a lubricant that is appropriate for your riding conditions, whether it's wet, dry, or somewhere in between. Having all these supplies ready before you begin will make the process of soaking and cleaning your bike chain much smoother and more effective.
Effortless Cycling: Mastering the Art of Replacing Your 10-Speed Bike Chain
You may want to see also
Explore related products


Removing the Chain: Safely detach the bike chain from the gears and pedals
To safely detach a bike chain from the gears and pedals, begin by ensuring the bike is securely positioned on a stand or against a stable surface. This prevents any accidental movement that could lead to injury or damage. Next, locate the chainring, which is the gear attached to the pedal crank. Identify the chainring's retaining bolt and use a wrench to loosen it slightly. Do not remove the bolt completely; just loosen it enough to allow the chainring to move freely.
Once the chainring is loose, carefully slide the chain off the chainring and onto the smaller rear sprocket. This may require some maneuvering, but be patient and gentle to avoid damaging the chain or gears. After the chain is on the rear sprocket, locate the derailleur, which is the mechanism that shifts the chain between gears. Find the derailleur's limit screws and adjust them to prevent the chain from derailing off the cassette.
With the chain now safely detached from the chainring, you can proceed to remove it from the bike. To do this, locate the master link, which is a special link in the chain that can be easily opened and closed. Use a chain tool to push out the master link's pin, and then remove the chain from the bike. Be cautious when handling the chain, as it can be sharp and may have burrs from wear.
Before proceeding to soak the chain, inspect it for any signs of damage or wear. If the chain is excessively worn or damaged, it may be necessary to replace it. Also, check the chainring and rear sprocket for any damage or wear that may have been caused by the chain. If everything appears to be in good condition, you can proceed to soak the chain in a degreaser solution to remove any dirt, grime, or old lubricant.
Remember to always follow the manufacturer's instructions for any cleaning or maintenance products you use. After soaking the chain, be sure to rinse it thoroughly with clean water and dry it completely before reinstalling it on the bike. When reinstalling the chain, make sure to properly align it on the chainring and rear sprocket, and then tighten the chainring's retaining bolt to secure it in place. Finally, adjust the derailleur's limit screws to ensure proper shifting and test the bike to make sure everything is working smoothly.
Revive Your Ride: The Ultimate Guide to Restoring Your Bike Chain
You may want to see also
Explore related products


Cleaning the Chain: Thoroughly clean the chain using degreaser and a rag to remove dirt and grime
Begin the cleaning process by laying out a clean rag on a flat surface. Apply a generous amount of degreaser to the rag, ensuring it's saturated but not dripping excessively. Wrap the rag around a section of the bike chain, and gently scrub back and forth to loosen the dirt and grime. Pay special attention to the rollers and pins of the chain links, as these areas tend to accumulate the most debris.
As you clean, periodically rinse the rag with clean water to remove the loosened dirt and reapply degreaser as needed. Avoid using too much water, as it can lead to rusting if not properly dried. For stubborn grime, you may need to use a soft-bristled brush to get into the harder-to-reach areas of the chain.
Once the entire chain has been cleaned, allow it to air dry completely before proceeding to the next step. It's crucial to ensure that the chain is thoroughly dry to prevent rust and maintain its lubrication. Depending on the environmental conditions, this may take several hours.
After the chain has dried, inspect it closely for any remaining dirt or grime. If necessary, repeat the cleaning process to ensure the chain is spotless. A clean chain not only improves the performance of your bike but also extends the life of the chain and other drivetrain components.
Remember to always wear gloves when handling degreasers and other chemicals to protect your skin. Additionally, be mindful of the environment and dispose of any used rags and cleaning solutions responsibly. By following these steps, you'll be able to effectively clean your bike chain and maintain its optimal performance.
Fix Your Ride: A Step-by-Step Guide to Replacing a Broken Bike Chain
You may want to see also
Explore related products


Inspecting for Damage: Check the chain for any signs of wear or damage that may require replacement
Before soaking your bike chain, it's crucial to inspect it for damage. This step is often overlooked, but it's essential for ensuring the longevity and safety of your bike. Start by visually examining the chain for any obvious signs of wear, such as rust, discoloration, or bent links. If you notice any of these issues, it may be time to replace the chain.
Next, check for more subtle signs of wear by running your fingers along the chain. Feel for any rough or uneven surfaces, which could indicate that the chain is stretched out or has damaged rollers. If you find any irregularities, it's best to replace the chain before it causes further damage to your bike's drivetrain.
Another important aspect of chain inspection is checking the lubrication. A well-lubricated chain will have a slight sheen to it, while a dry chain will appear dull and may make noise when pedaling. If your chain is dry or noisy, it's a good idea to clean and lubricate it before soaking.
Finally, consider the age of your chain. Even if it doesn't show any obvious signs of wear, chains can stretch out over time, which can lead to premature wear on your bike's gears and sprockets. As a general rule of thumb, it's recommended to replace your bike chain every 500-750 miles, depending on your riding conditions and maintenance habits.
By taking the time to inspect your chain for damage before soaking it, you can ensure that your bike stays in good working condition and avoid costly repairs down the line. Remember, a well-maintained chain is essential for a smooth and safe ride.
Mastering the Art of Chain Routing on Your Bicycle
You may want to see also
Explore related products




Lubricating the Chain: Apply a suitable lubricant to the chain to ensure smooth operation and prevent rust
After thoroughly cleaning and soaking your bike chain, the next crucial step is lubricating it to ensure optimal performance and longevity. Choosing the right lubricant is key; look for a high-quality, bike-specific lubricant that is suitable for the conditions you typically ride in. For wet or muddy environments, a thicker, more water-resistant lubricant is recommended, while a lighter oil may be preferable for dry conditions.
To apply the lubricant, begin by slowly rotating the pedals backward while gently squeezing the lubricant onto the chain. Aim to coat the inner plates and rollers evenly, avoiding excess buildup on the outer surfaces. A little goes a long way, so be cautious not to over-lubricate, as this can attract dirt and grime, leading to a buildup of harmful debris.
Once the lubricant has been applied, allow it to penetrate the chain for a few minutes before wiping off any excess with a clean rag. This will help to remove any surplus oil and prevent it from dripping onto the ground or your clothes. It's also a good idea to let the chain dry completely before riding, as this will allow the lubricant to fully bond with the metal surfaces.
Regular maintenance is essential to keep your chain in top condition. Aim to lubricate your chain every 100-200 miles, or more frequently if you ride in harsh conditions. By following these steps and keeping a consistent maintenance schedule, you can ensure that your bike chain operates smoothly and efficiently, while also preventing rust and premature wear.
Mastering Bike Maintenance: A Guide to Replacing Your Shimano Chain
You may want to see also
Frequently asked questions
Soaking a bike chain helps to remove dirt, grime, and old lubricant, ensuring that the chain operates smoothly and efficiently. It's an essential part of regular bike maintenance.
You'll need a container large enough to hold the chain, a solvent such as degreaser or kerosene, and a clean rag or paper towels for drying the chain afterward.
Typically, you should soak the bike chain for about 15-30 minutes. This allows the solvent to penetrate and loosen the dirt and grime.
After soaking, remove the chain from the solvent and wipe it clean with a rag or paper towels. Then, allow the chain to dry completely before applying a new layer of lubricant.