Samantha Lee
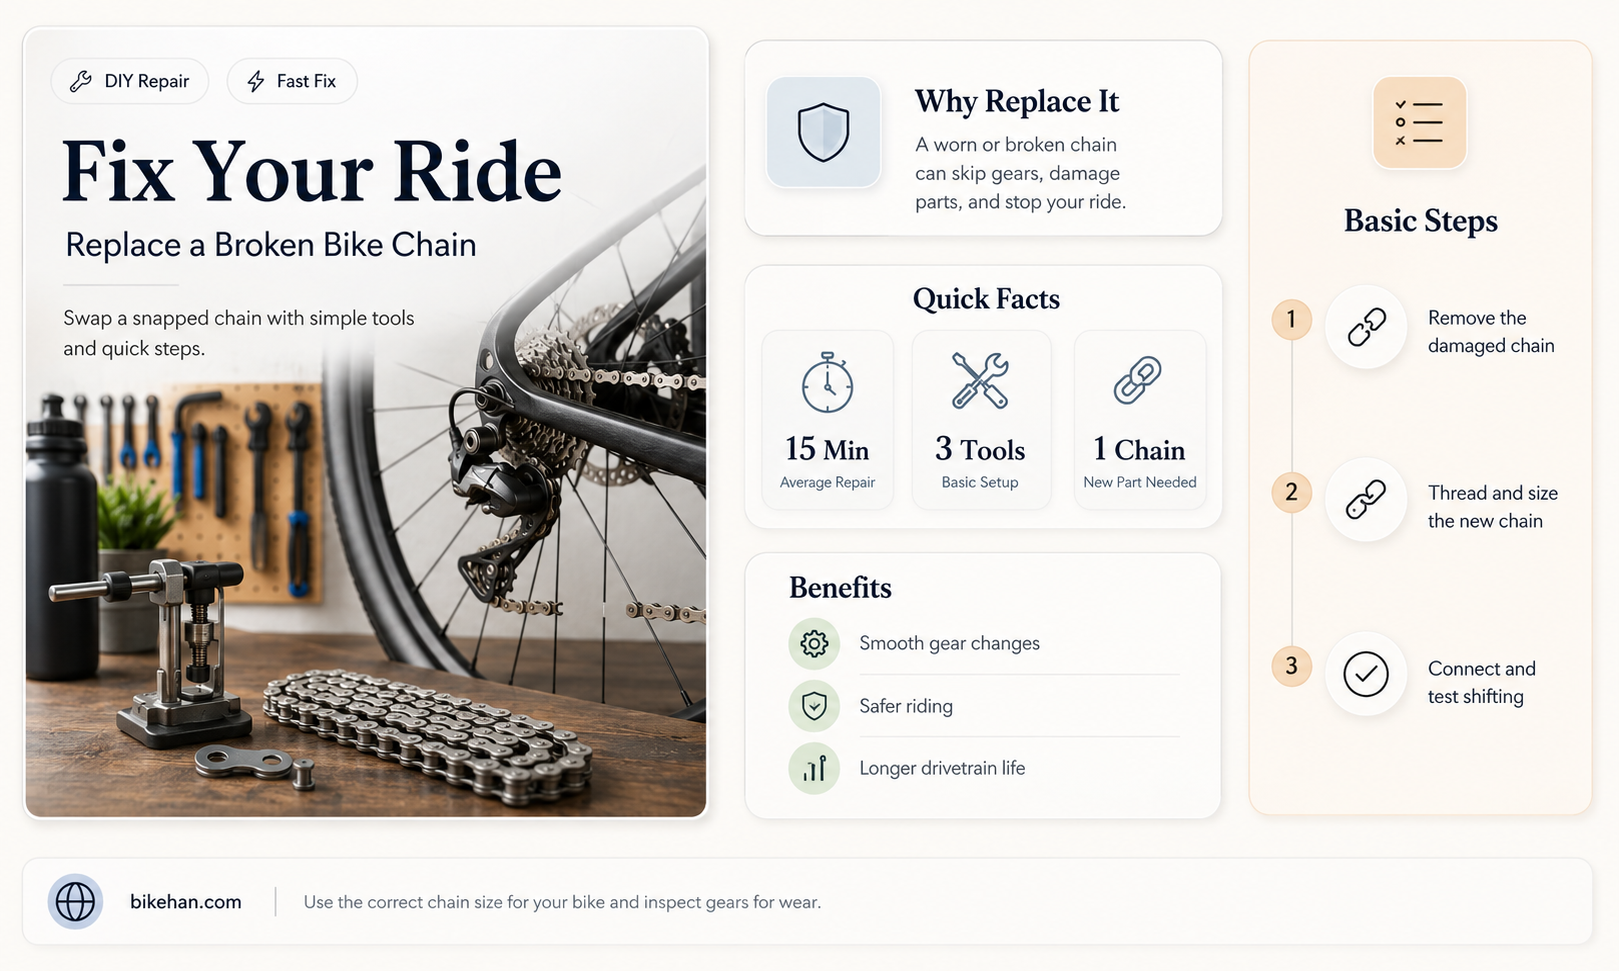
Replacing a broken bike chain is a common maintenance task that every cyclist should know how to perform. A broken chain can occur due to various reasons such as wear and tear, improper shifting, or an accident. In this guide, we will walk you through the step-by-step process of replacing a broken bike chain, ensuring that you can get back on the road safely and efficiently. From identifying the right tools and parts to removing the old chain and installing the new one, we've got you covered. So, let's dive in and learn how to tackle this essential bike repair.
Explore related products



What You'll Learn
- Gather necessary tools: Chain tool, new chain, lube, rag, gloves
- Remove old chain: Use chain tool to push out pins, carefully separate chain links
- Measure new chain: Ensure correct length, typically 50-60 inches for most bikes
- Install new chain: Thread chain through derailleurs and cassette, connect ends with chain tool
- Lubricate and adjust: Apply lube to rollers, adjust derailleur for smooth shifting

Gather necessary tools: Chain tool, new chain, lube, rag, gloves
Before embarking on the task of replacing a broken bike chain, it's crucial to gather all the necessary tools to ensure a smooth and efficient process. The essential items you'll need include a chain tool, a new chain, lubricant, a rag, and gloves. The chain tool is specifically designed to remove and install bicycle chains, making it an indispensable part of this repair. A new chain, obviously, is required to replace the broken one, and it's important to select a chain that is compatible with your bike's specifications. Lubricant is necessary to keep the chain running smoothly and to prevent premature wear. A rag will come in handy for cleaning the chain and other bike parts, and gloves will protect your hands from grease and potential injuries.
When selecting a new chain, it's important to consider the type of riding you'll be doing. For example, if you're an avid mountain biker, you'll want a chain that is durable and can withstand the rigors of off-road terrain. On the other hand, if you're a road cyclist, you'll want a chain that is lightweight and designed for speed. It's also important to choose a chain that is the correct length for your bike. If you're unsure about the correct length, consult your bike's manual or take it to a professional bike shop.
Once you've gathered all the necessary tools, it's time to begin the process of removing the broken chain. Start by positioning the chain tool around the chain, making sure that the pin is aligned with the tool's opening. Then, turn the handle of the tool clockwise to push the pin out of the chain. Be careful not to push the pin all the way out, as you'll need to reuse it when installing the new chain. Repeat this process for each pin in the chain until the chain is completely removed.
Before installing the new chain, it's important to clean and lubricate it properly. Use the rag to wipe off any excess grease or dirt from the chain, and then apply a small amount of lubricant to each link. Be sure to wipe off any excess lubricant, as too much can attract dirt and cause the chain to wear out more quickly. Once the chain is clean and lubricated, it's time to install it onto the bike.
To install the new chain, start by threading it through the rear derailleur and then onto the cassette. Make sure that the chain is properly aligned with the teeth of the cassette and the chainrings. Then, use the chain tool to push the pin back into place, securing the chain. Once the chain is installed, give it a few test rotations to make sure it's running smoothly. If you encounter any problems, such as the chain slipping or making noise, consult your bike's manual or take it to a professional bike shop for assistance.
BMX Bike Chain Replacement: A Step-by-Step Guide
You may want to see also
Explore related products





Remove old chain: Use chain tool to push out pins, carefully separate chain links
Begin by ensuring your bike is securely positioned, either by using a bike stand or flipping it upside down so the wheels spin freely. This will provide stability and ease of access to the chain. Next, locate the chain tool, which is a small, specialized device designed to push out the pins that hold the chain links together. Position the chain tool on one of the pins, making sure it is aligned correctly with the pin and the surrounding links.
Apply gentle, consistent pressure to the chain tool, using a thumb or a small hammer if necessary, to push the pin out of the link. Be careful not to apply too much force, as this can cause the pin to snap or the chain to become damaged. As the pin begins to move, use your fingers or a pair of pliers to carefully separate the chain links. Repeat this process for each pin, working your way along the chain until it is fully removed from the bike.
When removing the old chain, it's important to keep track of the direction in which the links are being separated. This will help you when installing the new chain, as bike chains are typically directional and must be installed in a specific way to function properly. Additionally, be mindful of the chain's tension and alignment as you remove it, as this can affect the ease of installation for the new chain.
Once the old chain is completely removed, inspect it for any signs of wear or damage. This can help you determine the cause of the chain's failure and prevent similar issues with the new chain. Look for stretched or bent links, worn teeth, or any other irregularities that may have contributed to the chain's breakage.
Finally, before installing the new chain, take a moment to clean the chainrings and sprockets on your bike. This will help ensure a smooth, efficient ride and prolong the life of your new chain. Use a degreaser and a clean rag to remove any dirt, grime, or old lubricant from the drivetrain components. Once clean, apply a small amount of lubricant to the chainrings and sprockets to reduce friction and wear.
Mastering Bike Maintenance: The Easy Guide to Replacing a Chain Pin
You may want to see also
Explore related products


Measure new chain: Ensure correct length, typically 50-60 inches for most bikes
Before installing a new bike chain, it's crucial to ensure it's the correct length. A chain that's too long or too short can cause significant issues with your bike's performance and safety. Typically, a new chain should measure between 50 to 60 inches in length, but this can vary depending on the specific bike model and drivetrain setup. To measure the chain accurately, you'll need a tape measure or a ruler. Start by laying the chain out flat on a clean surface, then measure from one end of the chain to the other, making sure to include the length of both pins.
If the chain is too long, you'll need to remove some links. This process can be done using a chain tool, which is specifically designed to push out the pins and remove links. Be cautious not to remove too many links, as this can lead to a chain that's too short. If the chain is too short, you may need to add some links or consider purchasing a longer chain. Adding links is a more complex process and may require professional assistance if you're not experienced with bike maintenance.
Once you've ensured the chain is the correct length, you can proceed with installation. Start by threading the chain through the front chainring, then pull it up and over the rear cassette. Make sure the chain is properly seated on both the chainring and cassette, then pedal the bike backwards to ensure smooth operation. If the chain skips or jumps, you may need to adjust the derailleur or check for any bent or damaged links.
After installation, it's important to lubricate the chain to reduce friction and wear. Use a high-quality bike lubricant and apply it sparingly, making sure to cover all the rollers and pins. Wipe off any excess lubricant with a clean rag, as too much can attract dirt and debris, leading to a buildup of grime that can damage the chain and other drivetrain components.
Regular maintenance of your bike chain is essential to ensure longevity and optimal performance. In addition to measuring and lubricating the chain, be sure to check for any signs of wear or damage, such as rust, kinks, or stretched links. Replacing a worn or damaged chain promptly can help prevent more serious issues down the road, such as a broken chain or damage to the drivetrain. By following these steps and maintaining your bike chain properly, you can enjoy a smooth and safe ride for miles to come.
Mastering Bike Maintenance: The Easy Guide to Replacing a Chain Link
You may want to see also
Explore related products


Install new chain: Thread chain through derailleurs and cassette, connect ends with chain tool
Begin by ensuring your bike is securely positioned, either by using a bike stand or flipping it upside down so the wheels are in the air. This will provide stability and make it easier to access the chain and derailleurs. Next, locate the derailleurs and cassette on your bike. The derailleurs are the mechanisms that shift the chain between gears, and the cassette is the cluster of gears attached to the rear wheel.
Thread the new chain through the derailleurs and cassette, starting from the front derailleur and moving towards the rear. Make sure the chain is properly aligned with the gears and that it moves smoothly through the derailleurs. Once the chain is threaded through the cassette, pull it taut to remove any slack.
Using a chain tool, connect the ends of the chain together. This tool will help you push out the pin that holds the chain links together, allowing you to separate and reconnect them. Make sure the chain is properly connected and that the pin is securely in place.
Before finishing, check the chain tension and make any necessary adjustments. The chain should be taut but not overly tight, and it should move smoothly through the derailleurs and cassette. Once you're satisfied with the tension, you're ready to ride.
Remember to always wear safety gear, including a helmet and gloves, when working on your bike. And if you're unsure about any part of the process, it's always a good idea to consult a professional mechanic.
Chain Reaction: A Step-by-Step Guide to Reattaching Your Bike Chain
You may want to see also
Explore related products


Lubricate and adjust: Apply lube to rollers, adjust derailleur for smooth shifting
After replacing a broken bike chain, it's crucial to ensure that the new chain operates smoothly and efficiently. One key step in this process is to lubricate the rollers and adjust the derailleur for optimal performance. This not only helps to reduce friction and wear on the chain but also ensures that shifting between gears is seamless and precise.
To begin, apply a small amount of lubricant to each roller on the new chain. Be careful not to overdo it, as excess lube can attract dirt and debris, leading to a buildup of grime that can negatively impact the chain's performance. A good rule of thumb is to use a lubricant specifically designed for bike chains, as these products are formulated to provide the right balance of lubrication and protection.
Once the rollers are lubricated, it's time to adjust the derailleur. This component is responsible for guiding the chain across the different gears on the cassette, and proper adjustment is essential for smooth shifting. Start by checking the derailleur's alignment with the gears, ensuring that it's properly positioned and not bent or misaligned. If necessary, use a derailleur hanger alignment tool to make any needed adjustments.
Next, check the derailleur's limit screws, which control how far the derailleur moves inwards and outwards. These screws should be adjusted so that the chain aligns perfectly with the gears, without rubbing against the derailleur cage or the frame. It's also important to check the derailleur's tension, which can be adjusted using the barrel adjuster where the cable enters the derailleur. Proper tension ensures that the chain doesn't slack or bind when shifting between gears.
Finally, test the shifting performance by pedaling the bike and shifting through the gears. If the shifting is smooth and precise, you're done. If not, you may need to make further adjustments to the derailleur or the cable tension. Remember, regular maintenance, including lubrication and adjustment, is key to keeping your bike's drivetrain in top condition and ensuring a safe and enjoyable ride.
Easy Bike Maintenance: Replacing Your Chain Without a Chain Tool
You may want to see also
Frequently asked questions
To replace a broken bike chain, you will need a chain tool, a new chain, and possibly a chain lube. The chain tool is used to remove the old chain and install the new one.
A bike chain is considered broken if it is visibly damaged, such as having a missing or bent link, or if it frequently slips off the gears. If you notice any of these signs, it's time to replace the chain.
To remove a broken bike chain, first, you need to shift the chain onto the smallest front chainring and the largest rear cog. Then, use the chain tool to push out the pin of the link that is broken or damaged. Once the pin is removed, the chain can be separated.
To install a new bike chain, thread it through the rear derailleur, then over the largest rear cog and the smallest front chainring. Use the chain tool to connect the two ends of the chain by inserting a pin through the links. Make sure the chain is properly lubricated before riding.
The frequency of replacing a bike chain depends on usage and maintenance. On average, a well-maintained chain can last for about 2,000 to 3,000 miles. However, if you ride frequently or in harsh conditions, you may need to replace it more often. Regularly checking the chain for wear and stretch can help determine when it's time for a replacement.