Ryan Cole
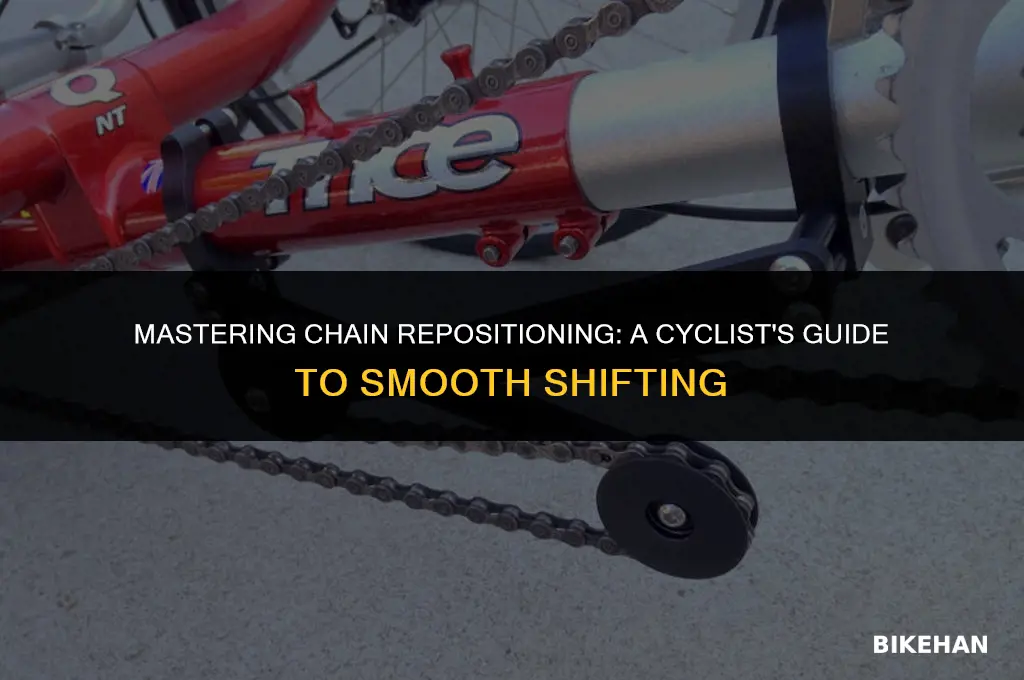
Repositioning a bike chain is a common maintenance task that ensures smooth and efficient operation of your bicycle. Over time, a bike chain can become misaligned, leading to poor shifting, increased wear, and potential damage to the drivetrain components. To address this issue, it's essential to know how to properly reposition the chain. This process involves identifying the cause of the misalignment, adjusting the derailleur hanger if necessary, and fine-tuning the derailleur's limit screws to ensure the chain stays on the correct path. By following these steps, you can restore your bike's performance and prolong the life of your drivetrain.
Explore related products


What You'll Learn
- Identify Chain Position: Determine if the chain is on the correct sprockets for optimal performance
- Shift to Correct Gear: Use the derailleur to shift the chain to the desired front and rear sprockets
- Check Chain Tension: Ensure the chain is properly tensioned to prevent slippage or excessive wear
- Lubricate the Chain: Apply lubricant to the chain to reduce friction and prolong its lifespan
- Test Ride: Take a short ride to confirm the chain is functioning smoothly and efficiently

Identify Chain Position: Determine if the chain is on the correct sprockets for optimal performance
To identify the correct chain position on a bicycle, start by visually inspecting the chain's alignment with the sprockets. The chain should sit squarely on the teeth of both the front chainring and the rear cassette without hanging off the sides. Misalignment can lead to inefficient pedaling, increased wear, and potential chain derailment.
Next, check the chain tension. A properly tensioned chain will have a slight give when pressed, but should not sag excessively. If the chain is too loose, it may slip off the sprockets; if it's too tight, it can cause undue stress on the drivetrain components. Adjust the chain tension as needed using the barrel adjuster or derailleur limit screws.
Another important aspect is the chain's lateral movement. When shifting gears, the chain should move smoothly and directly between sprockets without excessive side-to-side motion. If the chain is jumping or skipping gears, it may be necessary to adjust the derailleur's lateral limit or the cable tension.
In addition to these visual and tactile checks, it's beneficial to perform a test ride to ensure the chain is functioning optimally under real-world conditions. Pay attention to any unusual noises, vibrations, or shifting difficulties that may indicate a problem with the chain position.
Regular maintenance, such as cleaning and lubricating the chain and sprockets, can help prevent issues with chain position and prolong the life of the drivetrain components. By keeping the chain clean and well-lubricated, you can reduce friction and wear, which can lead to better performance and fewer problems with chain alignment.
In summary, identifying the correct chain position involves a combination of visual inspection, tactile checks, and test riding. By ensuring the chain is properly aligned, tensioned, and moving smoothly, you can optimize the performance of your bicycle's drivetrain and prevent potential issues.
Revamping Your Ride: A Step-by-Step Guide to Replacing a Bike Chainring
You may want to see also
Explore related products


Shift to Correct Gear: Use the derailleur to shift the chain to the desired front and rear sprockets
To shift the chain to the correct gear, you'll need to use the derailleur, which is the mechanism responsible for moving the chain between different sprockets on the cassette. Start by identifying the desired gear ratio, which will depend on factors such as the terrain, your speed, and your personal riding style. Once you've determined the ideal gear, use the shifters on your handlebars to activate the derailleur and guide the chain to the corresponding front and rear sprockets.
When shifting gears, it's important to do so smoothly and gradually to avoid putting unnecessary stress on the chain and derailleur. Try to anticipate changes in terrain and shift gears accordingly to maintain a consistent cadence and avoid sudden jolts or drops in speed. Additionally, be mindful of the chain's position on the cassette and avoid shifting to gears that are too far apart, as this can cause the chain to slip or become misaligned.
One common mistake riders make when shifting gears is to apply too much force to the pedals while the chain is moving between sprockets. This can cause the chain to skip or become damaged, so it's important to ease off the pedals slightly while shifting. Another tip is to keep your weight centered over the bike and avoid leaning too far forward or backward, as this can also affect the chain's alignment and make shifting more difficult.
In terms of maintenance, it's a good idea to regularly clean and lubricate your derailleur and chain to ensure smooth shifting and prolong the life of your bike's components. Additionally, periodically check the derailleur's alignment and adjust the limit screws if necessary to prevent the chain from falling off the cassette.
By following these tips and practicing proper gear shifting techniques, you can improve your riding efficiency, reduce wear and tear on your bike, and enjoy a more comfortable and enjoyable cycling experience.
Fix Your Ride: A Step-by-Step Guide to Replacing a Broken Bike Chain
You may want to see also
Explore related products


Check Chain Tension: Ensure the chain is properly tensioned to prevent slippage or excessive wear
To maintain optimal performance and longevity of your bicycle, it's crucial to regularly check and adjust the chain tension. A properly tensioned chain ensures smooth gear shifting, prevents slippage, and minimizes excessive wear on both the chain and the cassette. Here's a step-by-step guide on how to check and adjust your bike's chain tension:
- Prepare Your Bike: Start by placing your bike on a stand or flipping it upside down so that the wheels are in the air. This will give you easy access to the chain and derailleur. Make sure the bike is stable and secure before proceeding.
- Inspect the Chain: Visually inspect the chain for any signs of wear, such as rust, fraying, or stretched links. If you notice any damage, it's best to replace the chain to avoid further issues.
- Check Chain Slack: With the bike in gear, gently pull on the chain to check for slack. There should be a small amount of slack, but not enough to cause the chain to slip off the cassette. If there's too much slack, the chain may be too long and could skip gears or fall off entirely.
- Adjust the Derailleur: If the chain tension is too loose, you'll need to adjust the derailleur. Locate the barrel adjuster on the derailleur, which is typically a small screw that controls the tension of the derailleur cable. Turn the barrel adjuster clockwise to increase tension and counterclockwise to decrease it. Make small adjustments and test the chain tension after each turn.
- Test the Chain Tension: After adjusting the derailleur, test the chain tension by pedaling the bike while in gear. The chain should move smoothly without slipping or making noise. If the tension is still off, continue adjusting the barrel adjuster until you achieve the desired tension.
- Lubricate the Chain: Once the chain tension is correct, apply a small amount of chain lube to keep the chain running smoothly and to prevent wear. Be sure to wipe off any excess lube to avoid attracting dirt and debris.
By regularly checking and adjusting your bike's chain tension, you can ensure a smooth and efficient ride while also extending the life of your chain and cassette.
Revitalize Your Ride: A Step-by-Step Guide to Replacing Your Bike Chain
You may want to see also
Explore related products



Lubricate the Chain: Apply lubricant to the chain to reduce friction and prolong its lifespan
To effectively lubricate a bike chain, it's essential to choose the right type of lubricant. There are various options available, including wet lubricants, dry lubricants, and wax-based lubricants. Wet lubricants are best suited for wet and muddy conditions, as they provide a protective film that repels water and dirt. Dry lubricants, on the other hand, are ideal for dry and dusty environments, as they create a dry film that doesn't attract dirt. Wax-based lubricants offer a balance between the two, providing good protection in both wet and dry conditions.
Once you've selected the appropriate lubricant, it's time to apply it to the chain. Start by cleaning the chain thoroughly to remove any dirt, grime, or old lubricant. This can be done using a chain cleaning device or by wiping the chain with a clean rag. After cleaning, allow the chain to dry completely before applying the lubricant.
To apply the lubricant, hold the bottle close to the chain and squeeze it gently to release a small amount of lubricant onto the rollers of the chain. As you do this, slowly rotate the pedals backward to ensure that the lubricant is evenly distributed along the entire length of the chain. Be careful not to over-lubricate, as this can lead to a buildup of dirt and grime.
After lubricating the chain, it's important to let it sit for a few minutes to allow the lubricant to penetrate the rollers and pins. During this time, avoid pedaling or riding the bike, as this can cause the lubricant to be pushed out of the chain. Once the lubricant has had time to set, wipe off any excess with a clean rag.
Regular chain lubrication is crucial for maintaining the performance and longevity of your bike. It's recommended to lubricate the chain every 100-200 miles, or more frequently if you ride in wet or dirty conditions. By following these steps, you can ensure that your bike chain remains well-lubricated and in good working condition.
Effortless Chain Replacement: A Schwinn Bike Owner's Guide
You may want to see also
Explore related products


Test Ride: Take a short ride to confirm the chain is functioning smoothly and efficiently
After repositioning your bike chain, it's crucial to ensure that it functions smoothly and efficiently. The best way to do this is by taking a short test ride. Start by pedaling slowly and gradually increase your speed to check for any irregularities in the chain's movement. Listen carefully for any unusual noises, such as clicking or grinding, which could indicate that the chain is not properly aligned or lubricated.
During the test ride, pay close attention to how the chain shifts between gears. It should transition smoothly without any hesitation or slipping. If you notice any issues with gear shifting, it may be necessary to adjust the derailleur or the cable tension. Additionally, observe the chain's position on the cassette and chainrings; it should be centered and not rubbing against the edges.
Another important aspect to check during the test ride is the chain's lubrication. A well-lubricated chain will reduce friction and wear, improving the overall efficiency of your bike. If you notice any dry or rusty spots on the chain, it's a good idea to clean and re-lubricate it before continuing your ride.
Finally, after completing your test ride, inspect the chain for any signs of wear or damage. Look for stretched links, bent pins, or any other irregularities that could compromise the chain's performance or safety. If you find any issues, it's best to replace the chain to avoid potential problems during your actual ride.
Remember, a properly functioning chain is essential for a safe and enjoyable cycling experience. By taking the time to test ride and inspect your chain after repositioning it, you can ensure that it's in optimal condition and ready for your next adventure.
Spin Bike Maintenance: A Step-by-Step Guide to Replacing Your Chain
You may want to see also
Frequently asked questions
If your bike chain is making noise, slipping off the gears, or causing difficulty in shifting, it may need repositioning. Regularly checking the chain's alignment and tension can help prevent these issues.
To reposition a bike chain, you'll typically need a chain tool to remove and reattach the chain, a wrench or socket set to adjust the derailleurs, and lubricant to keep the chain running smoothly.
To remove the bike chain, use a chain tool to push out the pins in the chain links. Carefully remove the chain from the gears and pedals, taking note of its routing.
To align the bike chain on the gears, ensure the derailleurs are properly adjusted. Shift the chain onto the smallest chainring and the largest cog, then pull the chain taut. Adjust the derailleur limit screws if necessary to keep the chain from falling off.
After repositioning the bike chain, check the tension and alignment again. Lubricate the chain to reduce friction and wear. Test the bike by pedaling and shifting through the gears to ensure smooth operation.