Eric Johnson
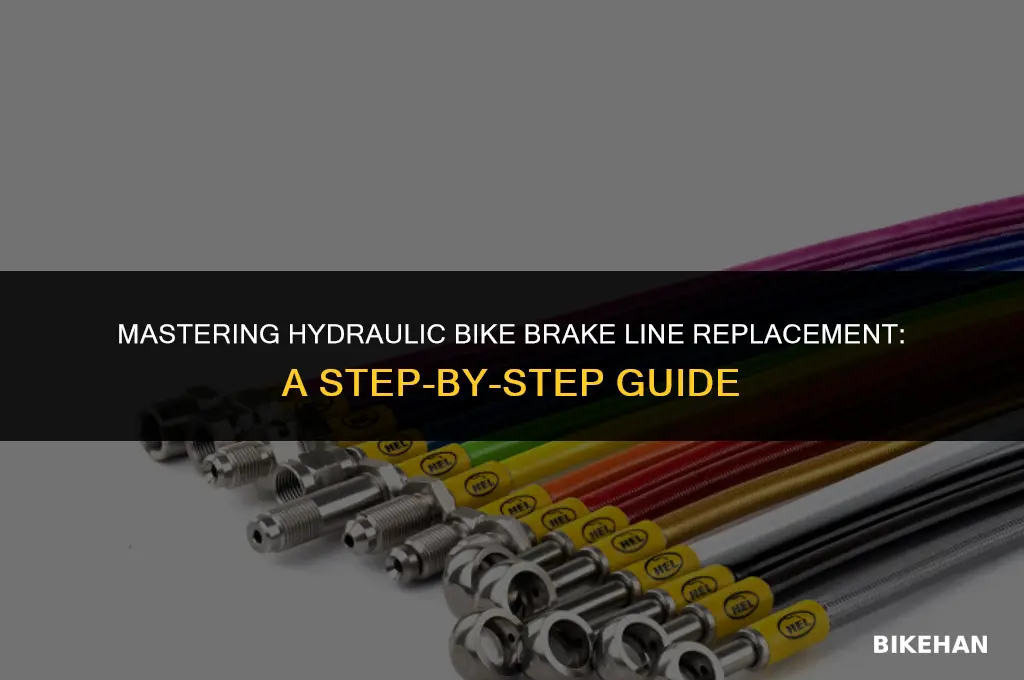
Replacing bike brake lines, particularly hydraulic ones, is a crucial maintenance task for ensuring optimal braking performance and safety. Over time, brake lines can become worn, corroded, or contaminated, leading to reduced braking efficiency and potential failure. In this guide, we'll walk you through the step-by-step process of replacing hydraulic brake lines on your bike. From preparing the necessary tools and materials to bleeding the brakes for optimal performance, we'll cover everything you need to know to tackle this essential repair with confidence. Whether you're a seasoned cyclist or a beginner, mastering this skill will help you maintain your bike's safety and reliability for years to come.
| Characteristics | Values |
|---|---|
| Brake Line Type | Hydraulic |
| Replacement Frequency | Every 1-2 years or as needed |
| Tools Required | Wire cutters, pliers, wrench, brake line tool |
| Parts Needed | New hydraulic brake line, brake fluid, o-rings |
| Difficulty Level | Intermediate to advanced |
| Time Estimated | 1-2 hours per brake line |
| Safety Precautions | Wear gloves and safety glasses, ensure bike is stable |
| Steps Involved | 1. Remove old brake line 2. Clean and inspect components 3. Install new brake line 4. Bleed brakes to remove air 5. Test brake function |
| Common Issues | Air in lines, improper bleeding, leaks at connections |
| Tips for Success | Use high-quality brake fluid, ensure all connections are tight, test brakes thoroughly after installation |
| Environmental Considerations | Dispose of old brake fluid properly, recycle old brake lines if possible |
| Cost Estimate | $20-$50 for parts and tools, depending on bike model and location |
| Frequency of Maintenance | Regularly check brake lines for wear and damage, perform full replacement as needed |
| Compatibility | Ensure new brake lines are compatible with bike's brake system and frame |
| Customization Options | Different brake line materials (e.g., steel, aluminum), colors, and lengths available |
| Troubleshooting Guide | If brakes are spongy or unresponsive, bleed the lines again. If leaks persist, check all connections and replace worn components. |
Explore related products


What You'll Learn
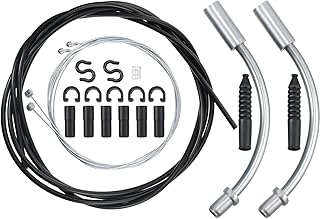
- Gather Tools and Materials: Essential items include new brake lines, cutters, pliers, and brake fluid
- Prepare the Bike: Clean the bike, remove wheels, and disconnect the old brake lines
- Cut and Install New Lines: Measure, cut the new hydraulic lines to length, and route them through the bike frame
- Connect and Bleed Brakes: Attach the new lines to the brake levers and calipers, then bleed the system to remove air
- Test and Adjust: Reconnect wheels, test brake performance, and make necessary adjustments for optimal braking

Gather Tools and Materials: Essential items include new brake lines, cutters, pliers, and brake fluid
Before embarking on the task of replacing hydraulic brake lines on a bicycle, it is crucial to gather all the necessary tools and materials. This ensures a smooth and efficient process, minimizing the risk of complications or delays. The essential items required for this task include new brake lines, cutters, pliers, and brake fluid. Each of these components plays a vital role in the brake line replacement process.
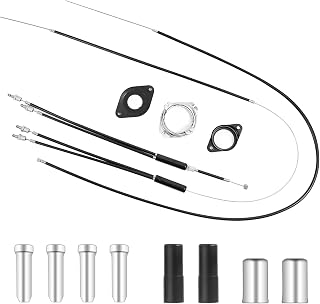
New brake lines are the primary replacement part. It is important to select brake lines that are compatible with the bicycle's brake system and are of high quality to ensure optimal performance and safety. Cutters are needed to trim the brake lines to the appropriate length, while pliers are used to secure the brake line fittings tightly. Brake fluid is a critical component of the hydraulic brake system, and it is necessary to have the correct type and amount on hand to refill the system after the new brake lines are installed.
In addition to these essential items, it may be helpful to have a few other tools and materials on hand. A wrench or socket set can be useful for removing and reinstalling the brake calipers and levers. A torque wrench can help ensure that the fittings are tightened to the correct specification, preventing leaks or damage to the brake system. A rag or paper towels can be used to clean up any spills or messes during the process.
When gathering tools and materials, it is also important to consider safety precautions. Wearing gloves and safety glasses can protect against injuries from sharp edges or chemical exposure. Having a stable and secure work surface, such as a bike repair stand or a sturdy table, can make the task easier and safer.
By taking the time to gather all the necessary tools and materials before beginning the brake line replacement process, cyclists can ensure a successful and hassle-free experience. This preparation not only saves time but also helps prevent potential mistakes or accidents that could occur if the wrong tools or materials are used.
Effortless Brake Removal: A Step-by-Step Guide for Bike Pedals
You may want to see also
Explore related products


Prepare the Bike: Clean the bike, remove wheels, and disconnect the old brake lines
Begin by thoroughly cleaning the bike to remove any dirt or debris that could interfere with the brake line replacement process. Use a soft brush and mild detergent to clean the frame, wheels, and brake components. Pay special attention to the areas around the brake calipers and levers, as these are prone to accumulating grime. Once the bike is clean, dry it completely with a soft cloth to prevent any moisture from affecting the new brake lines.
Next, remove the wheels from the bike. This will give you better access to the brake lines and make it easier to disconnect them. To remove the wheels, loosen the axle nuts and carefully lift the wheels off the bike. If your bike has disc brakes, you may need to remove the brake rotors as well. Consult your bike's manual for specific instructions on how to remove the wheels and rotors.
After the wheels are removed, disconnect the old brake lines. Start by locating the brake line fittings, which are typically found near the brake levers and calipers. Use a wrench to loosen the fittings and carefully remove the brake lines. Be sure to keep track of the routing of the brake lines, as you will need to replicate this when installing the new lines. Once the old brake lines are disconnected, inspect them for any signs of wear or damage. If the lines are frayed or kinked, it's a good idea to replace them immediately.
Before proceeding to the next step, take a moment to inspect the brake components for any signs of wear or damage. Check the brake pads, calipers, and levers to ensure they are in good working condition. If any components are worn or damaged, consider replacing them along with the brake lines. This will help ensure that your bike's braking system is functioning at its best.
Finally, prepare the new brake lines for installation. Cut the lines to the appropriate length, leaving enough extra for routing and fitting. Be sure to use high-quality brake lines that are compatible with your bike's braking system. Once the new lines are cut, thread them through the frame and connect them to the brake levers and calipers. Tighten the fittings securely, but be careful not to overtighten, as this can damage the lines.
After the new brake lines are installed, bleed the brakes to remove any air from the system. This is an important step to ensure that the brakes are functioning properly. Consult your bike's manual for specific instructions on how to bleed the brakes. Once the brakes are bled, test them to make sure they are working smoothly and adjust the brake pads if necessary.
Mastering Bike Brake Caliper Repair: A Step-by-Step Guide
You may want to see also
Explore related products


Cut and Install New Lines: Measure, cut the new hydraulic lines to length, and route them through the bike frame
Begin by measuring the length of the new hydraulic lines needed for your bike. Use a flexible measuring tape to ensure accuracy, taking into account any curves or bends in the frame where the lines will be routed. It's crucial to measure twice to avoid any errors, as cutting the lines too short can render them unusable.
Once you have the correct measurements, use a sharp utility knife or specialized cable cutters to cut the hydraulic lines to length. Make sure to cut cleanly through the outer sheath without damaging the inner components. After cutting, inspect the ends of the lines for any fraying or damage and trim as necessary.
Routing the new lines through the bike frame requires patience and attention to detail. Start by identifying the entry and exit points for the lines, typically near the brake levers and calipers. Use a cable routing tool or a long, flexible rod to help guide the lines through the frame's internal routing channels. Be cautious not to kink or bend the lines excessively, as this can affect their performance.
As you route the lines, secure them to the frame using cable ties or specialized clips to keep them in place and prevent any movement that could lead to wear or damage. Ensure that the lines are properly aligned and not rubbing against any moving parts or sharp edges.
Finally, once the lines are fully routed and secured, bleed the brake system to remove any air bubbles and ensure proper hydraulic pressure. This step is essential for the brakes to function correctly and safely. After bleeding the system, test the brakes to confirm that they are working as expected.
Mastering Brake Removal: A Step-by-Step Guide for Hydraulic Bike Brakes
You may want to see also
Explore related products


Connect and Bleed Brakes: Attach the new lines to the brake levers and calipers, then bleed the system to remove air
Begin by carefully attaching the new hydraulic brake lines to the brake levers and calipers. Ensure that the fittings are secure and properly aligned to prevent any leaks or damage to the system. Once the lines are connected, it's crucial to bleed the brakes to remove any air that may have entered the system during the replacement process.
To bleed the brakes, start by locating the bleed screws on the brake calipers. These screws are typically found on the top or side of the caliper and are used to release air from the system. Before beginning the bleeding process, make sure to have a container or rag ready to catch any brake fluid that may spill out.
Next, open the bleed screw slightly and press the brake lever to force air out of the system. You may need to repeat this process several times to ensure that all air is removed. It's important to keep an eye on the brake fluid level in the reservoir and top it off as needed to maintain proper pressure in the system.
After bleeding the brakes, inspect the system for any leaks or damage. Test the brakes by squeezing the lever and ensuring that the calipers engage the rotors properly. If you encounter any issues or are unsure about the process, it's recommended to consult a professional mechanic for assistance.
Remember to dispose of any used brake fluid properly, as it can be harmful to the environment. Finally, take your bike for a test ride to ensure that the brakes are functioning smoothly and safely.
DIY Guide: Replacing Brake Pads on Your Caliper Bike
You may want to see also
Explore related products


Test and Adjust: Reconnect wheels, test brake performance, and make necessary adjustments for optimal braking
Reconnecting the wheels after replacing the brake lines is a critical step that requires precision and care. Begin by ensuring that the quick-release skewers or thru-axle bolts are properly tightened to the manufacturer's specifications. This will prevent any unwanted movement or loosening during the test ride. Next, check that the brake pads are correctly aligned with the rim or rotor, and that there is no rubbing or interference.
Once the wheels are securely in place, it's time to test the brake performance. Start by gently applying the brakes while the bike is stationary, ensuring that the pads make clean contact with the rim or rotor. Then, take the bike for a slow test ride, gradually increasing your speed and applying the brakes at regular intervals. Pay close attention to the brake lever feel, the stopping distance, and any unusual noises or vibrations.
If the brake performance is not optimal, you may need to make adjustments. Begin by checking the brake pad alignment again, as even a slight misalignment can cause poor braking. If the alignment is correct, you may need to adjust the brake lever tension or the caliper position. For hydraulic brakes, you may need to bleed the system to remove any air bubbles that could be affecting the performance.
Remember to always follow the manufacturer's guidelines and recommendations when making adjustments to your bike's braking system. And, if you're unsure about any aspect of the process, it's always best to consult with a professional mechanic.
Effortless Brake Cushion Removal: A Step-by-Step Guide for Bike Owners
You may want to see also