Ryan Cole
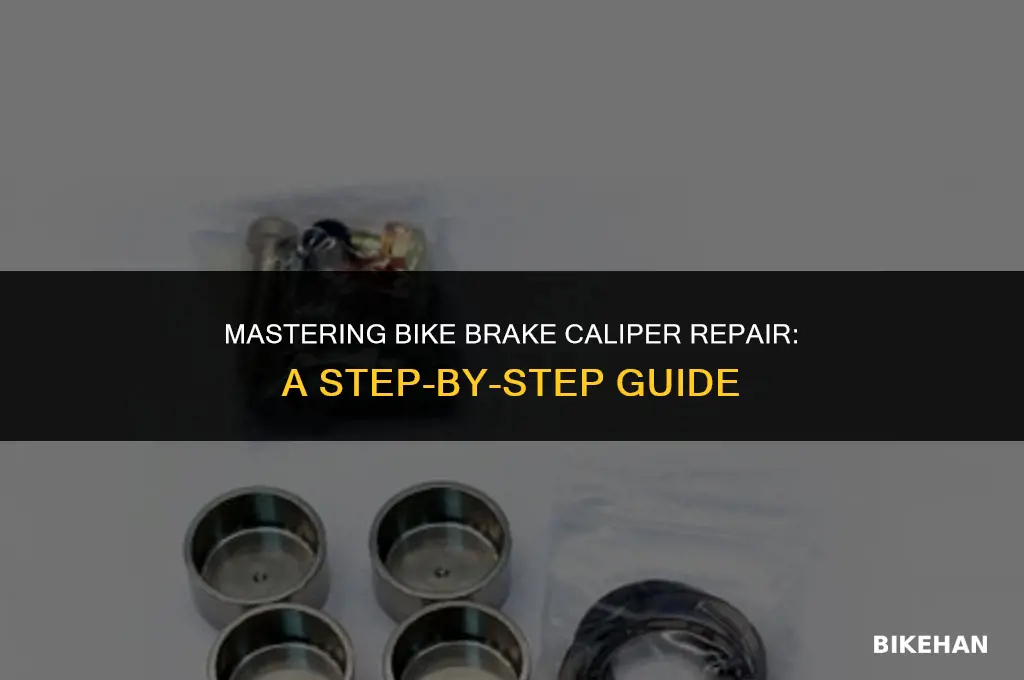
Repairing a bike brake caliper can seem daunting, but with the right tools and knowledge, it's a manageable task. First, ensure you have a good understanding of your bike's brake system, including the type of caliper you have—whether it's a rim brake caliper or a disc brake caliper. Gather necessary tools such as Allen wrenches, screwdrivers, and possibly a bleed kit if you'll be working with hydraulic brakes. Safety should always be a priority, so wear gloves and safety glasses to protect yourself from sharp edges and brake fluid. Begin by inspecting the caliper for any obvious damage or wear, such as rust or cracks. If the caliper appears to be in good condition, proceed to check the brake pads for wear and replace them if necessary. For hydraulic systems, you may need to bleed the brakes to remove any air bubbles that could affect performance. Always refer to your bike's manual for specific instructions, as different models may have unique requirements. With patience and attention to detail, you can successfully repair your bike's brake caliper and ensure safe, reliable braking.
Explore related products


What You'll Learn
- Identify the Problem: Determine if the issue is with the caliper, pads, or rotor. Look for signs of wear or damage
- Gather Tools and Parts: Assemble necessary tools like Allen wrenches, screwdrivers, and replacement parts such as brake pads or caliper
- Remove the Caliper: Carefully detach the caliper from the bike's frame or fork using the appropriate tools
- Inspect and Clean: Examine the caliper for damage, clean out any debris or old lubricant, and assess the condition of the brake pads
- Reassemble and Test: Reattach the caliper, ensuring proper alignment and function. Test the brakes to confirm they're working correctly

Identify the Problem: Determine if the issue is with the caliper, pads, or rotor. Look for signs of wear or damage
To effectively repair a bike brake caliper, it's crucial to first identify the specific issue. This involves a careful examination of the caliper, brake pads, and rotor to determine which component is causing the problem. Begin by inspecting the brake pads for signs of wear, such as uneven surfaces or excessive thinning. If the pads appear worn, they may need to be replaced. Next, examine the rotor for any warping, scoring, or rust that could impede braking performance. A damaged rotor may require resurfacing or replacement.
The caliper itself should also be scrutinized for any signs of damage or malfunction. Check for leaks around the piston seals, which could indicate a need for new seals or fluid. Additionally, ensure that the caliper is properly aligned with the rotor and that the mounting bolts are tightened to the correct torque. Misalignment or loose bolts can lead to poor braking performance and should be addressed promptly.
When diagnosing brake issues, it's important to consider the bike's usage and riding conditions. For example, frequent use in wet or muddy conditions can accelerate wear on brake components. Similarly, aggressive riding styles or heavy loads can put additional stress on the braking system, leading to more rapid deterioration. By taking these factors into account, you can better pinpoint the source of the problem and take appropriate steps to address it.
In some cases, the issue may be more complex, such as a stuck piston or a malfunctioning brake lever. In these situations, it may be necessary to disassemble the caliper or consult a professional mechanic for assistance. Remember, safety should always be a top priority when working on bike brakes, as improper repairs can lead to serious accidents.
By carefully identifying the problem and taking the necessary steps to address it, you can ensure that your bike's braking system is functioning optimally, providing you with the confidence and control you need for a safe and enjoyable ride.
Mastering Bike Brake Repair: A Step-by-Step Guide
You may want to see also
Explore related products


Gather Tools and Parts: Assemble necessary tools like Allen wrenches, screwdrivers, and replacement parts such as brake pads or caliper
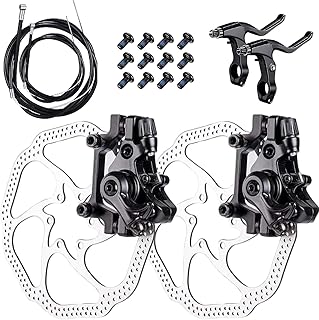
Before diving into the intricacies of repairing a bike brake caliper, it's crucial to ensure you have all the necessary tools and parts at your disposal. This preparation phase can save you significant time and frustration during the repair process. Start by assembling a toolkit that includes Allen wrenches of various sizes, as these are often required for adjusting and securing components on modern bicycles. Screwdrivers, both flathead and Phillips, are also essential for manipulating screws and bolts.
In addition to tools, you'll need to gather the appropriate replacement parts. This could include new brake pads, which are the friction material that contacts the rim to slow the bike down. If your caliper is beyond repair, you may also need a new caliper itself. It's important to ensure that these parts are compatible with your specific bike model, so consult your bike's manual or a reputable bike parts retailer if you're unsure.
Once you have your tools and parts ready, it's a good idea to lay them out in an organized manner. This will help you keep track of everything and make the repair process smoother. You might also want to clean your workspace and ensure that it's well-lit, as this will make it easier to see small components and perform delicate tasks.
Remember, safety should always be a priority when working on your bike. Wear appropriate protective gear, such as gloves and safety glasses, to protect yourself from sharp edges and debris. And if you're not confident in your ability to perform the repair, it's always best to consult a professional mechanic.
By taking the time to gather the necessary tools and parts, and by ensuring a safe and organized workspace, you'll be well-prepared to tackle the task of repairing your bike brake caliper. This preparation will not only make the process more efficient but will also help to ensure a successful outcome.
Mastering the Art of Removing Bike Wheels with Hydraulic Brakes
You may want to see also
Explore related products


Remove the Caliper: Carefully detach the caliper from the bike's frame or fork using the appropriate tools
Begin by ensuring your bike is securely positioned on a stand or against a stable surface to prevent it from moving during the repair process. Next, locate the caliper bolts, which are typically found on the frame or fork near the brake pads. Using the appropriate size Allen wrench or screwdriver, carefully loosen and remove these bolts. Be cautious not to overtighten or strip the bolts, as this can cause damage to the frame or fork.
Once the bolts are removed, gently pull the caliper away from the frame or fork. You may need to wiggle it slightly to disengage it from any tight spots. Be careful not to yank or force the caliper, as this can damage the brake pads or other components. If the caliper is stuck, you may need to use a bit of lubricant or penetrating oil to help loosen it.
After removing the caliper, inspect it for any signs of damage or wear. Check the brake pads for excessive wear or contamination, and replace them if necessary. Also, examine the caliper's mounting surface for any debris or corrosion that could affect its performance. Clean the area thoroughly before proceeding with any further repairs or reassembly.
When reassembling the caliper, ensure that the brake pads are properly aligned and that the caliper is securely fastened to the frame or fork. Tighten the bolts in a crisscross pattern to ensure even pressure distribution. Finally, test the brakes to ensure they are functioning properly and make any necessary adjustments.
Effortless Brake Hood Removal: A Step-by-Step Guide for Bike Enthusiasts
You may want to see also
Explore related products


Inspect and Clean: Examine the caliper for damage, clean out any debris or old lubricant, and assess the condition of the brake pads
Begin by carefully inspecting the caliper for any signs of damage or wear. Look for cracks, dents, or any other structural issues that could compromise the caliper's performance. If you notice any damage, it's best to replace the caliper entirely rather than attempt to repair it. Next, clean out any debris or old lubricant that may have accumulated inside the caliper. This can be done using a soft brush or cloth and a degreaser specifically designed for bicycle components. Be sure to remove all traces of old lubricant, as this can interfere with the new lubricant's effectiveness.
Once the caliper is clean, assess the condition of the brake pads. Check for uneven wear, cracks, or any other damage that could affect their performance. If the brake pads are worn down to less than 1/8 inch, it's time to replace them. When replacing brake pads, be sure to use the correct type for your specific brake system. After installing new brake pads, apply a small amount of lubricant to the caliper's moving parts to ensure smooth operation.
During the inspection process, be sure to check the caliper's mounting bolts for tightness. Loose bolts can cause the caliper to shift or move, leading to poor braking performance. Tighten the bolts to the manufacturer's recommended torque specification, but be careful not to overtighten, as this can damage the caliper or the mounting bracket.
Finally, test the brakes to ensure they are functioning properly. Squeeze the brake lever and make sure the brake pads engage the rim or rotor smoothly and evenly. If you notice any issues, such as spongy or weak braking, it may be necessary to bleed the brakes or adjust the caliper's position. By following these steps, you can ensure that your bike's brake caliper is in good working condition and provides reliable stopping power.
Effortless Brake Cable Removal: A Step-by-Step Guide for Bike Owners
You may want to see also
Explore related products


Reassemble and Test: Reattach the caliper, ensuring proper alignment and function. Test the brakes to confirm they're working correctly
With the caliper reassembled, it's crucial to ensure that all components are properly aligned. Misalignment can lead to uneven brake pad wear, reduced braking efficiency, and even safety hazards. To check alignment, visually inspect the caliper to ensure it's centered over the rotor. You can also use a ruler or caliper tool to measure the distance between the brake pads and the rotor surface, ensuring it's consistent on both sides.
Once alignment is confirmed, it's time to test the brakes. Start by gently squeezing the brake lever to ensure it moves freely and doesn't feel spongy or stuck. Then, perform a more rigorous test by riding the bike at a moderate speed and applying the brakes firmly. The bike should slow down smoothly and come to a stop without any unusual noises or vibrations. If you notice any issues during testing, such as squealing, grinding, or uneven braking, you may need to readjust the caliper or brake pads.
It's also important to check the brake pads for wear after reassembly. If they're excessively worn, they may need to be replaced to ensure optimal braking performance. Additionally, inspect the brake cables or hydraulic lines for any signs of damage or wear, as these can also impact brake function.
Finally, after completing the reassembly and testing process, it's a good idea to take the bike for a longer ride to ensure the brakes perform well under various conditions. This will give you confidence that the repair was successful and that your bike is safe to ride.
Sunny Bike Brake Pads Removal: A Step-by-Step Guide
You may want to see also
Frequently asked questions
Common symptoms include spongy or soft brake levers, inconsistent braking performance, excessive noise during braking, and brake pads wearing down unevenly.
To clean your bike's brake caliper, first remove the wheel and brake pads. Then, use a soft brush or cloth to wipe away any dirt or debris. For stubborn grime, you can use a degreaser or brake cleaner, but be sure to avoid getting any cleaning fluids on the brake pads or rotor.
To replace your bike's brake pads, start by removing the wheel and loosening the caliper mounting bolts. Then, carefully remove the old brake pads and replace them with new ones, ensuring they are properly aligned and secured. Finally, reattach the wheel and test the brakes to ensure they are functioning correctly.
To adjust the brake caliper, first check that the brake pads are properly aligned with the rotor. Then, adjust the caliper mounting bolts to ensure the caliper is centered over the rotor. Finally, adjust the brake lever tension to ensure the brakes engage smoothly and consistently.