Samantha Lee
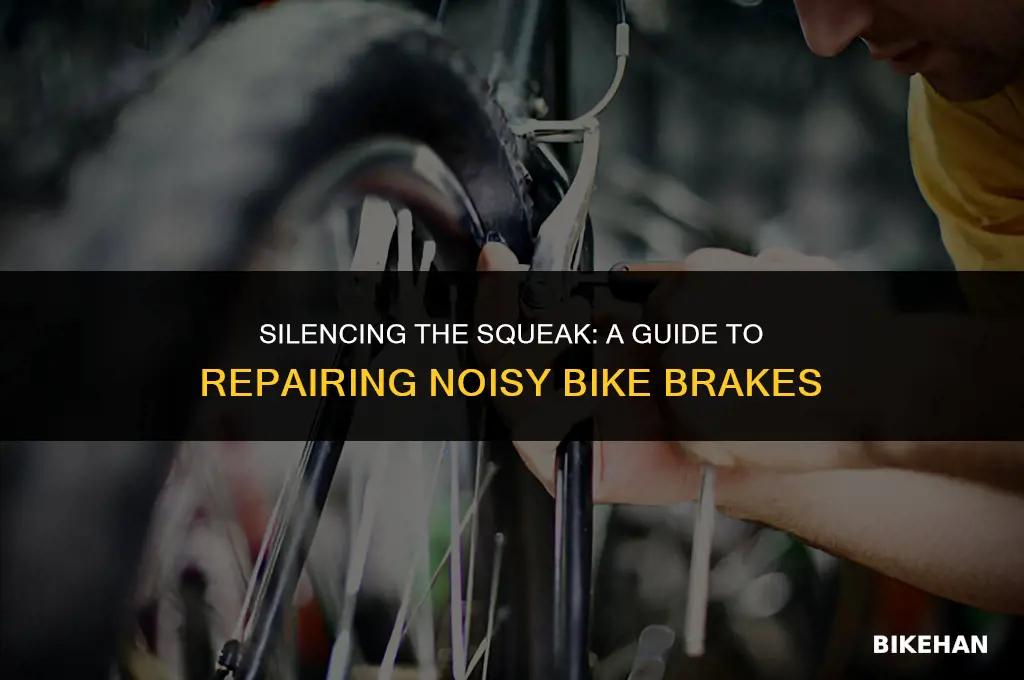
Squeaky bike brakes can be both annoying and potentially dangerous, as they may indicate underlying issues that could affect your bike's stopping power. Fortunately, with a few simple steps and some basic tools, you can often diagnose and fix the problem yourself. In this guide, we'll walk you through the process of repairing squeaky bike brakes, starting with identifying the cause of the noise and then providing step-by-step solutions to get your brakes working smoothly and quietly again. Whether you're a seasoned cyclist or a beginner, this guide will help you maintain your bike and ensure a safer, more enjoyable riding experience.
| Characteristics | Values |
|---|---|
| Cause of Squeak | Metal-on-metal contact, misaligned brake pads, debris, worn brake pads |
| Tools Required | Allen wrenches, brake pad replacement tool, lubricant, rag, screwdriver |
| Time Needed | 15-30 minutes per brake |
| Difficulty Level | Beginner to intermediate |
| Safety Precautions | Wear gloves, ensure bike is securely clamped, avoid touching brake rotor |
| Steps Involved | 1. Remove brake pads 2. Clean brake rotor and caliper 3. Inspect and replace brake pads if necessary 4. Realign brake pads 5. Lubricate moving parts 6. Test brakes |
| Common Mistakes | Over-tightening brake pads, not cleaning rotor thoroughly, misaligning pads |
| Cost of Repair | $10-$30 (depending on parts needed) |
| Frequency of Maintenance | Every 1000-2000 miles or as needed |
| Environmental Impact | Minimal, as it involves maintenance rather than replacement |
| Required Knowledge | Basic understanding of bike brake systems, ability to follow instructions |
| Recommended Resources | Bike repair manuals, online tutorials, local bike repair shops |
| Alternative Solutions | Using a different type of brake pad, upgrading to a higher-quality brake system |
| Long-term Benefits | Improved brake performance, reduced wear on brake components, increased safety |
| Short-term Benefits | Elimination of squeaking noise, smoother braking experience |
Explore related products



What You'll Learn
- Identify the Source: Determine if the squeak is from the brake pads, caliper, or rotor
- Clean the Brakes: Remove debris and dust from the brake components using a soft brush
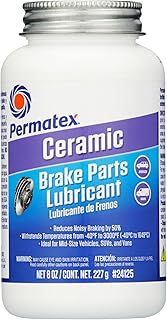
- Lubricate Moving Parts: Apply lubricant to the brake caliper pins and other moving parts
- Check Brake Pads: Inspect pads for wear and replace if necessary to ensure optimal performance
- Adjust Brake Caliper: Align the caliper to ensure even contact with the rotor, reducing noise

Identify the Source: Determine if the squeak is from the brake pads, caliper, or rotor
To identify the source of a squeak in your bike brakes, start by isolating the sound. During a test ride, pay close attention to when and where the squeaking occurs. Does it happen only when you apply the brakes, or is it constant? Is the sound coming from the front or rear wheel? Once you've pinpointed the general location, you can begin to narrow down the specific component causing the noise.
If the squeak is intermittent and occurs mainly when you apply the brakes, it's likely coming from the brake pads. Worn or contaminated pads can create a high-pitched noise when they make contact with the rotor. Inspect the pads for wear and tear, and check for any debris or dirt that might be causing the squeak. If the pads appear to be in good condition, try cleaning them with a soft cloth and a mild detergent. If the noise persists, it may be time to replace the pads.
A constant squeak, on the other hand, could be indicative of a problem with the caliper. The caliper is the component that houses the brake pads and applies pressure to the rotor. If the caliper is misaligned or stuck, it can create a persistent squeaking sound. To address this issue, you'll need to remove the wheel and inspect the caliper. Make sure it's properly aligned and that the pistons are moving freely. If you find any signs of damage or wear, consider replacing the caliper.
Finally, if the squeak seems to be coming from the rotor itself, it could be due to a warped or damaged surface. Rotors can become warped over time due to excessive heat or impact. Inspect the rotor for any signs of damage, and check for any areas that appear to be warped or bent. If you find any issues, you'll need to replace the rotor.
In summary, identifying the source of a squeak in your bike brakes requires a systematic approach. By paying attention to the sound's characteristics and location, you can narrow down the specific component causing the noise. Whether it's the brake pads, caliper, or rotor, addressing the issue promptly will ensure your brakes are functioning safely and efficiently.
Revive Your Ride: A Step-by-Step Guide to Fixing V-Brakes
You may want to see also
Explore related products


Clean the Brakes: Remove debris and dust from the brake components using a soft brush
Begin by disassembling the brake caliper to access the internal components. This typically involves removing the brake pads and carefully sliding the caliper off the rotor. Once the caliper is removed, use a soft-bristled brush to gently sweep away any debris, dust, or dirt that may have accumulated on the brake pads, rotor, and caliper. Be sure to brush in the direction of the rotor's rotation to avoid embedding any particles further into the braking surface.
After brushing, inspect the brake pads for wear and replace them if necessary. Worn brake pads can cause squeaking and reduce braking efficiency. When replacing brake pads, ensure they are properly aligned and seated within the caliper. Next, clean the rotor with a damp cloth to remove any remaining residue or oils. Avoid using harsh chemicals or abrasive cleaners, as these can damage the braking surface.
Reassemble the brake caliper, ensuring all components are securely fastened. Apply a small amount of brake lubricant to the moving parts of the caliper, such as the pistons and springs, to reduce friction and prevent squeaking. Be cautious not to over-lubricate, as excess lubricant can attract dirt and debris, leading to further issues.
Test the brakes by squeezing the brake lever and ensuring the pads make proper contact with the rotor. If the brakes still squeak after cleaning and reassembly, it may be necessary to bed in the new brake pads. This process involves riding the bike and applying the brakes repeatedly to heat up the pads and rotor, allowing them to form a smooth, consistent contact surface.
Regular brake maintenance, including cleaning and lubrication, can help prevent squeaky brakes and ensure optimal performance. By following these steps, you can effectively clean your bike's brakes and reduce the likelihood of squeaking, providing a safer and more enjoyable riding experience.
Revive Your Ride: Effective Rust Removal for Bike Disc Brakes
You may want to see also
Explore related products
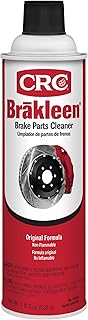


Lubricate Moving Parts: Apply lubricant to the brake caliper pins and other moving parts
To effectively lubricate the moving parts of your bike's brakes, begin by identifying the specific components that require attention. The brake caliper pins are a common culprit for squeaky brakes, as they can become dry and rusty over time. Start by locating these pins, which are typically found where the brake pads attach to the caliper.
Once you've identified the pins, clean them thoroughly using a degreaser and a soft cloth or brush. This step is crucial to ensure that the new lubricant can adhere properly and that you're not simply trapping dirt and grime beneath the surface. After cleaning, allow the pins to dry completely before proceeding.
Next, apply a small amount of lubricant to the pins. Use a lubricant specifically designed for bike brakes, as these products are formulated to withstand the high temperatures and pressures generated during braking. Avoid using too much lubricant, as excess can attract dirt and lead to a buildup of grime. A little goes a long way in this case.
In addition to the brake caliper pins, don't forget to lubricate other moving parts of the brake system, such as the pivot points and adjustment screws. These components can also become dry and rusty, leading to squeaky or sticky brakes. Use the same cleaning and lubrication process for these parts, taking care to apply the lubricant sparingly and precisely.
After lubricating all the necessary components, test your brakes to ensure they're functioning smoothly and quietly. If you still experience squeaking, it may be necessary to repeat the lubrication process or to replace worn brake pads. Regular maintenance, including cleaning and lubricating your brake system, can help prevent squeaky brakes and ensure safe, reliable performance.
Effortless Wheel Removal: Disc Brake Bike Guide
You may want to see also
Explore related products


Check Brake Pads: Inspect pads for wear and replace if necessary to ensure optimal performance
Begin by removing the wheel from the bicycle to access the brake pads. This typically involves loosening the bolts that secure the wheel to the frame and fork, carefully lifting the wheel off, and setting it aside. Make sure to support the bike properly to prevent it from falling over during this process.
Next, locate the brake pads on the brake caliper. The brake pads are usually positioned on either side of the rotor, within the caliper housing. Gently pry the pads out of their slots, taking care not to damage the surrounding components. Inspect the pads for signs of wear, such as thinning, cracking, or excessive heat damage.
If the brake pads are worn beyond the manufacturer's recommended thickness, it's time to replace them. Start by removing the old pads completely, then clean the caliper housing and rotor with a soft cloth to remove any debris or residue. Apply a small amount of brake pad grease to the new pads, then carefully insert them into the caliper housing, ensuring they are properly aligned with the rotor.
Once the new pads are in place, reassemble the brake caliper and wheel. Tighten the bolts securely, but be careful not to overtighten, as this can cause the wheel to become misaligned. Test the brakes by squeezing the brake lever and spinning the wheel, ensuring that the pads make proper contact with the rotor and that the wheel stops smoothly.
Regularly checking and replacing brake pads is crucial for maintaining safe and efficient braking performance on your bicycle. By following these steps, you can ensure that your bike's brakes are in top condition, reducing the risk of accidents and improving your overall riding experience.
Effortless Disc Brake Rotor Removal: A Step-by-Step Guide for Bike Enthusiasts
You may want to see also
Explore related products


Adjust Brake Caliper: Align the caliper to ensure even contact with the rotor, reducing noise
To adjust a brake caliper for optimal performance and noise reduction, begin by ensuring the bike is securely positioned on a flat surface or a bike repair stand. This will prevent any accidental movement during the adjustment process. Next, locate the brake caliper bolts, which are typically found on the front or rear of the caliper, depending on the brake system design.
Loosen the caliper bolts slightly using an appropriately sized Allen wrench or socket. Be careful not to remove the bolts completely, as this could cause the caliper to detach from the mounting bracket. Once the bolts are loosened, gently slide the caliper back and forth to ensure it moves freely along the mounting bracket. This will help identify any binding or misalignment issues.
Now, carefully tighten the caliper bolts in a crisscross pattern to ensure even pressure distribution. This is crucial for maintaining consistent contact between the brake pads and the rotor, which will help reduce noise and improve braking efficiency. As you tighten the bolts, periodically check the caliper's alignment with the rotor. The brake pads should be parallel to the rotor surface and make even contact when the brake lever is engaged.
After achieving proper alignment, securely tighten the caliper bolts to the manufacturer's recommended torque specification. Over-tightening the bolts can cause damage to the caliper or mounting bracket, so it's essential to follow the recommended torque values. Once the adjustment is complete, test the brakes by applying the brake lever and ensuring the brake pads make clean contact with the rotor without any excessive noise or vibration.
Remember, regular maintenance and inspection of your bike's brake system are crucial for ensuring safe and efficient operation. By addressing issues like misaligned calipers, you can prevent more significant problems down the road and enjoy a smoother, quieter ride.
Effortless Riding: A Guide to Removing Hand Brakes from Your Bike
You may want to see also
Frequently asked questions
Bike brakes can squeak due to several reasons, including misaligned brake pads, worn-out brake pads, debris caught between the pads and the rotor, or improperly adjusted brake cables.
To fix misaligned brake pads, you'll need to loosen the brake pad mounting bolts and adjust the position of the pads so they are parallel to the rotor. Ensure the pads are centered and not touching the rotor, then tighten the bolts securely.
If your brake pads are worn out, they need to be replaced. Start by removing the old brake pads and cleaning the brake caliper and rotor. Install the new brake pads, ensuring they are properly aligned and secured. After installation, test the brakes to ensure they are functioning correctly.