Megan Blake
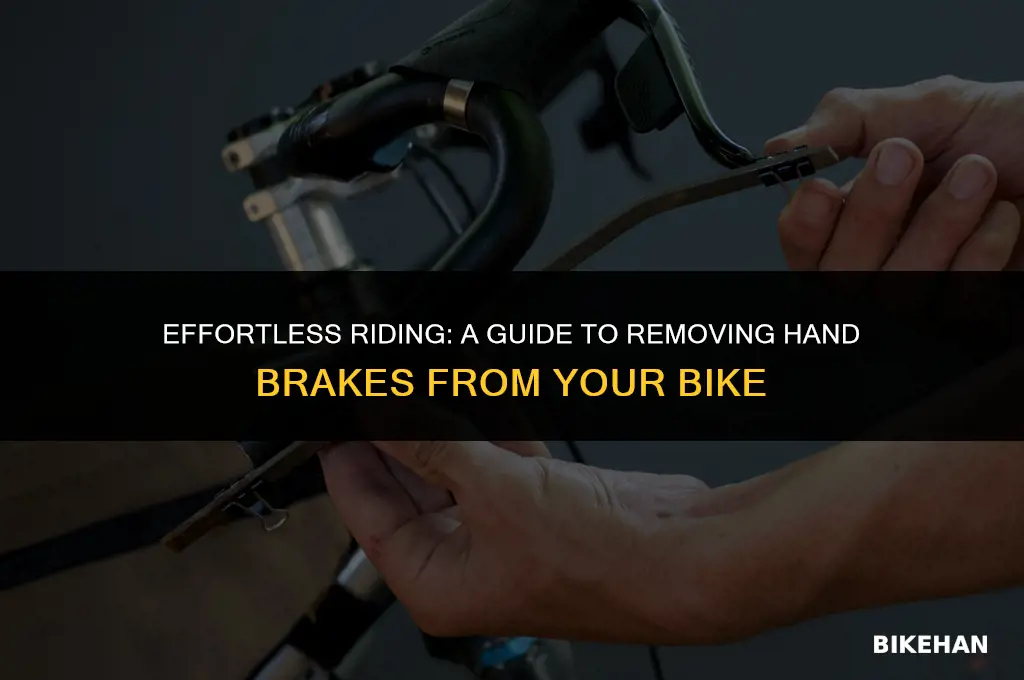
Removing hand brakes from a bike can seem like a daunting task, but with the right tools and a bit of know-how, it's a manageable job. Hand brakes, also known as rim brakes, are a common type of brake system found on many bicycles. They work by applying pressure to the rims of the wheels to slow down or stop the bike. Over time, hand brakes may wear out or become less effective, leading to the need for replacement or removal. In this guide, we'll walk you through the steps to safely and effectively remove hand brakes from your bike, whether you're looking to upgrade to a different braking system or simply need to replace worn-out components.
Explore related products




What You'll Learn
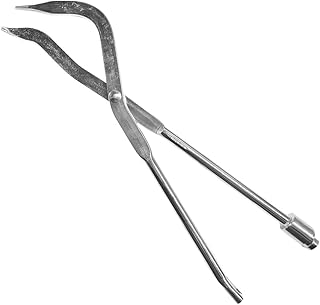
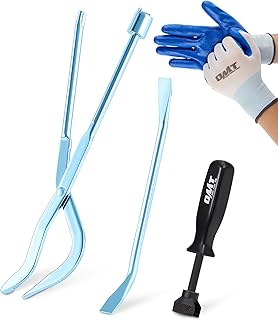
- Tools Required: Gather necessary tools like Allen wrenches, pliers, and a screwdriver for brake removal
- Brake Cable Detachment: Carefully disconnect the brake cable from the hand brake lever
- Removing Brake Lever: Unscrew the brake lever from the handlebar and remove it
- Disconnecting Brake Caliper: Release the caliper mounting bolt and detach the caliper from the wheel
- Final Steps: Clean the handlebar area, check for any remaining parts, and ensure the wheel spins freely

Tools Required: Gather necessary tools like Allen wrenches, pliers, and a screwdriver for brake removal
Before you begin the process of removing hand brakes from your bike, it's crucial to ensure you have the right tools at hand. Allen wrenches are essential for loosening and tightening the bolts that secure the brake components to the bike frame and handlebars. Pliers will come in handy for gripping and manipulating small parts, such as brake pads and cables. A screwdriver, specifically a flathead, is necessary for prying off the brake pad retaining clips.
When selecting your tools, consider the size and type of your bike. For example, if you have a road bike with drop handlebars, you may need a longer Allen wrench to reach the bolts on the brake calipers. Similarly, if your bike has a complex braking system, such as a hydraulic disc brake, you might require additional specialized tools.
It's also important to have a clean and well-lit workspace. A bike repair stand can be helpful in keeping your bike stable and at a comfortable height while you work. Wearing safety gloves can protect your hands from sharp edges and grease.
Before starting the removal process, make sure your bike is in a safe and stable position. If you're working on the front brakes, it's a good idea to remove the front wheel to give yourself more access to the brake components. For the rear brakes, you may need to remove the rear wheel or loosen the seat post to gain enough clearance.
Remember to always follow the manufacturer's instructions for your specific bike model. If you're unsure about any part of the process, it's better to consult a professional mechanic rather than risk damaging your bike or injuring yourself.
Effortless Brake Hood Removal: A Step-by-Step Guide for Bike Enthusiasts
You may want to see also
Explore related products



Brake Cable Detachment: Carefully disconnect the brake cable from the hand brake lever
Begin by locating the brake cable where it connects to the hand brake lever. This connection is typically secured with a small bolt or a quick-release mechanism. Using the appropriate tool, carefully loosen the bolt or release the quick-release to detach the cable. Be cautious not to damage the cable or the lever during this process.
Once the cable is detached, it's essential to ensure that the brake system is properly supported to prevent any accidental engagement of the brakes. This can be done by either clamping the cable to a stationary object or having a helper hold the cable taut.
Next, inspect the detached cable for any signs of wear or damage. If the cable appears frayed or kinked, it may be necessary to replace it before reinstalling the hand brakes. Also, take this opportunity to clean the cable and the lever connection point to remove any dirt or debris that may have accumulated.
Before reattaching the cable, apply a small amount of lubricant to the connection point to ensure smooth operation. Then, carefully thread the cable back through the lever and tighten the bolt or secure the quick-release mechanism. Make sure the cable is properly tensioned to ensure effective braking.
Finally, test the brakes to ensure they are functioning correctly. Squeeze the hand brake lever and verify that the brake pads engage the wheel rim or disc as intended. If the brakes do not function properly, recheck the cable connection and tension.
Effortlessly Remove Your Bike's Disc Brakes: A Step-by-Step Guide
You may want to see also
Explore related products


Removing Brake Lever: Unscrew the brake lever from the handlebar and remove it
To remove the brake lever from a bicycle handlebar, begin by identifying the correct tool for the job. Typically, this will be a hex key or an Allen wrench, depending on the type of bolt securing the lever. Ensure that you have the appropriate size to fit the bolt head snugly.
Next, locate the bolt that attaches the brake lever to the handlebar. This is usually found where the lever meets the bar, often concealed by a cover or cap that needs to be removed first. Once the bolt is exposed, insert the hex key or Allen wrench and turn it counterclockwise to loosen the bolt. Be careful not to overtighten, as this can damage the threads or the lever itself.
As you unscrew the bolt, you may need to wiggle the lever slightly to help it detach from the handlebar. Once the bolt is fully removed, carefully pull the lever away from the bar, taking note of any additional components that may be attached, such as cables or housing.
Before completely removing the lever, ensure that you have a firm grasp on any connected cables to prevent them from slipping or getting damaged. If necessary, use cable ties or tape to secure the cables temporarily. Finally, inspect the area where the lever was attached for any signs of wear or damage, and clean it thoroughly before proceeding with the next steps of your maintenance or repair process.
Effortless Brake Lever Removal: A Step-by-Step Guide for Bike Enthusiasts
You may want to see also
Explore related products


Disconnecting Brake Caliper: Release the caliper mounting bolt and detach the caliper from the wheel
To disconnect the brake caliper, you'll need to release the caliper mounting bolt. This bolt is typically located near the top of the caliper, where it attaches to the bike's frame or fork. Use an appropriately sized wrench or socket to loosen the bolt, turning it counterclockwise. Be careful not to overtighten, as this can damage the threads or the caliper itself. Once the bolt is loose, you can detach the caliper from the wheel.
Before you begin this process, it's important to ensure that the bike is properly supported and that the wheel is removed. This will give you better access to the caliper and prevent the bike from falling over. Additionally, make sure to disconnect the brake cable from the caliper before attempting to remove it. This will prevent any tension on the cable from interfering with the removal process.
When removing the caliper, be mindful of any brake pads that may be attached to it. These pads can be easily damaged if not handled carefully. If you're planning to reuse the caliper, it's a good idea to inspect the pads for wear and replace them if necessary. This will ensure optimal braking performance when you reinstall the caliper.
After detaching the caliper, you may need to bleed the brakes to remove any air that has entered the system. This is especially important if you've disconnected the brake cable or if the caliper has been removed for an extended period. Bleeding the brakes involves opening the brake lever and allowing the fluid to flow out, which can help prevent spongy or unresponsive braking.
In summary, disconnecting the brake caliper involves releasing the mounting bolt, detaching the caliper from the wheel, and taking care to handle the brake pads and cable properly. By following these steps and being mindful of potential complications, you can successfully remove the hand brakes from your bike.
Effortless Disc Brake Rotor Removal: A Step-by-Step Guide for Bike Enthusiasts
You may want to see also
Explore related products


Final Steps: Clean the handlebar area, check for any remaining parts, and ensure the wheel spins freely
With the hand brakes removed from your bike, it's crucial to perform a thorough cleanup and safety check before considering the job done. Begin by wiping down the handlebar area with a damp cloth to remove any grease, dirt, or debris that may have accumulated during the removal process. This will not only improve the aesthetics of your bike but also ensure a better grip and control when you reinstall the brakes or ride without them.
Next, inspect the handlebar and stem area for any remaining parts or loose ends that need to be addressed. Check for any forgotten screws, bolts, or small components that could potentially interfere with the bike's performance or safety. It's also a good idea to examine the brake mounting points for any signs of damage or wear that may have occurred during the removal process.
Finally, give the wheel a spin to ensure it rotates freely and smoothly. This is an essential step to confirm that the removal of the hand brakes has not affected the wheel's alignment or caused any issues with the bike's drivetrain. If you notice any resistance or wobbling, it may be necessary to adjust the wheel or address any underlying problems before proceeding.
Remember, safety should always be your top priority when working on your bike. By following these final steps, you can ensure that your bike is not only free of hand brakes but also clean, safe, and ready for your next ride.
Effortless Maintenance: Swapping Out Bike Disk Brake Pads
You may want to see also
Frequently asked questions
To remove hand brakes from a bike, you'll typically need a set of Allen wrenches (also known as hex keys), a Phillips screwdriver, and possibly a cable housing tool if you need to replace the brake cables.
First, locate the cable clamp that secures the brake cable to the hand brake lever. Use an Allen wrench to loosen the clamp, then carefully pull the cable out of the housing. Make sure to keep track of the cable's routing path for reassembly.
Once the hand brakes are removed, you'll need to disconnect the brake cables from the brake calipers at the wheels. This usually involves loosening another cable clamp or bolt at the caliper and pulling the cable through. Be cautious not to damage the cables or calipers during this process.
Start by routing the brake cables back through the frame and handlebars to the hand brake levers. Secure the cables with the cable clamps, making sure they're tight but not over-tightened. Then, reattach the hand brake levers to the handlebars, ensuring they're aligned correctly and securely fastened. Finally, test the brakes to make sure they're functioning smoothly and safely.